SPACEto play / pauseARROW RIGHTorLto go forwardARROW LEFTorJto go backwardARROW UPto increase volumeARROW DOWNto decrease volumeFto toggle fullscreenMto toggle mute0 to 9to go to the corresponding part of the videoSHIFT+,to decrease playback speedSHIFT+.or;to increase playback speed
Shortcuts ⌨️
Unlock content 🔓
To get access to 93 hours of video, a members-only Discord server, subtitles, lesson resources, future updates and much more join us for only $95!
Want to learn more? 🤘
That's the end of the free part of this lesson
WebGPU & TSL Course
new
$45
VAT incl.
- 21 lessons · 24 hours of video
- Quizzes · Certificate
- Members-only Discord server · Future updates
Introduction 00:00
This exercise is the opportunity to mix many Three.js and TSL features.
We’re going to:
- Animate the hammer on click
- Animate a point light to brighten the scene near the impact
- Add and animate an emissive area on the blade to simulate heat
- Make hundreds of sparkles explode, and bounce on the floor
It’s also finally the opportunity to truly utilize that anvil model.
And before you say anything, this animation is not physically accurate. Hammering down a metal piece does generate heat, but not enough to turn such a massive chunk of metal red hot, even less white hot. But that’s the cool part with creative coding, there is no limit to your imagination.
Setup 01:16
The starter already contains the following:
OrbitControlsto rotate around- The same floor we used in previous lessons
- A model composed of an anvil, a blade, and a hammer, as separated objects
- Some lighting with shadows
- A
SkyMeshto have something to look at in the background - The
WebGPURendererwith theRenderPipelineto add a bloom pass - An instance of the
Inspector - A
Timerinstance with a clamped delta time
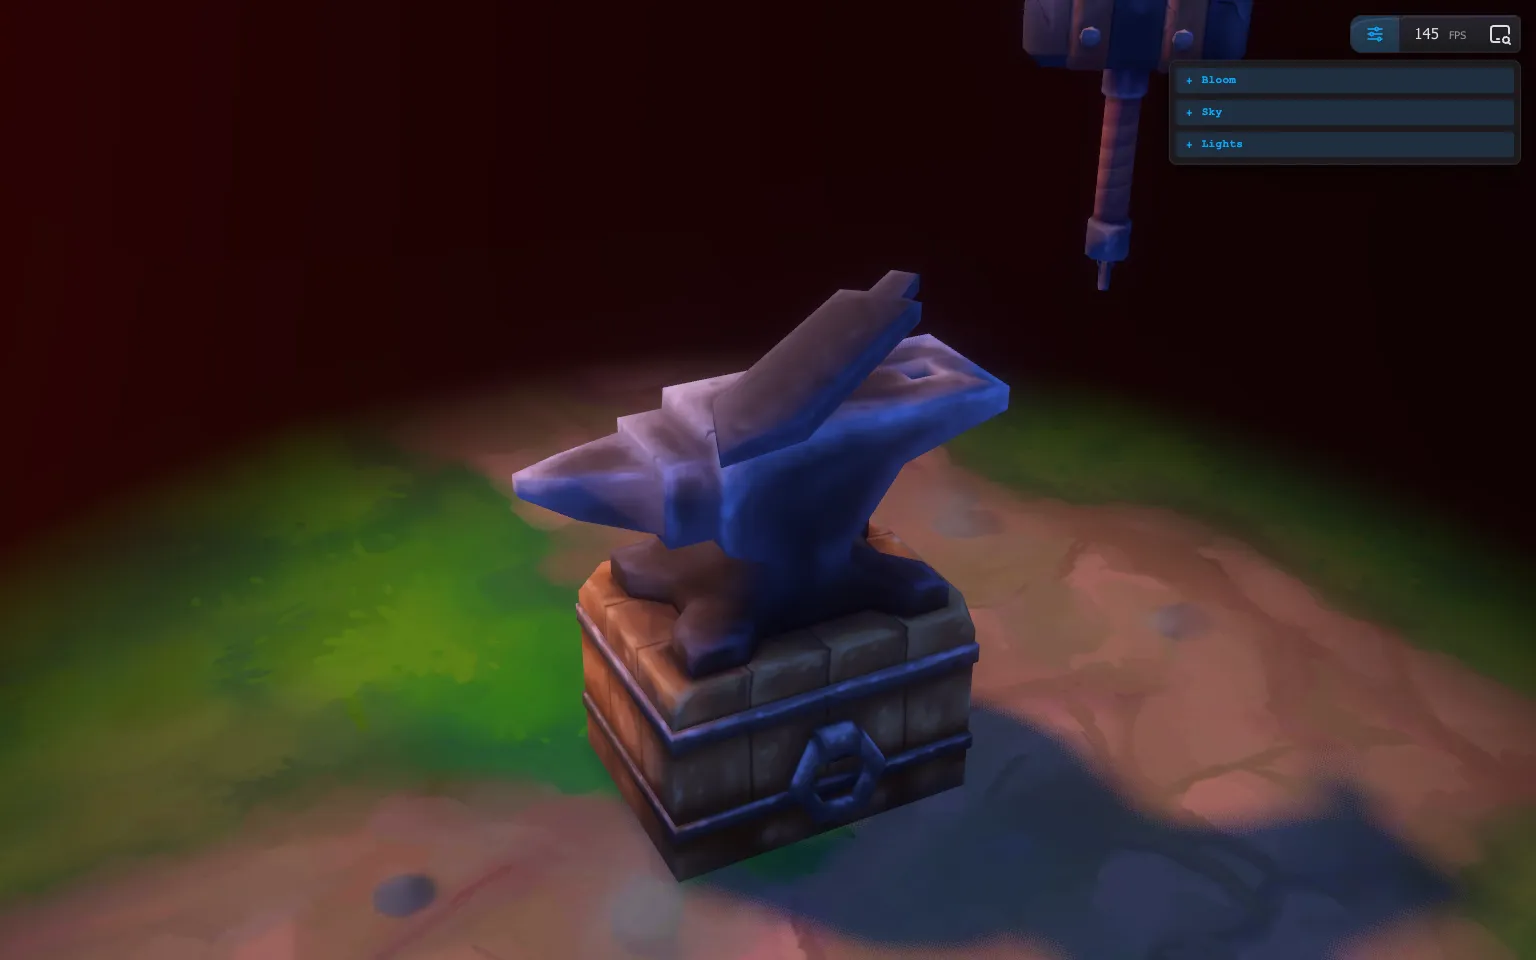
The model 01:59
The Blender file for the model is provided with the lesson.
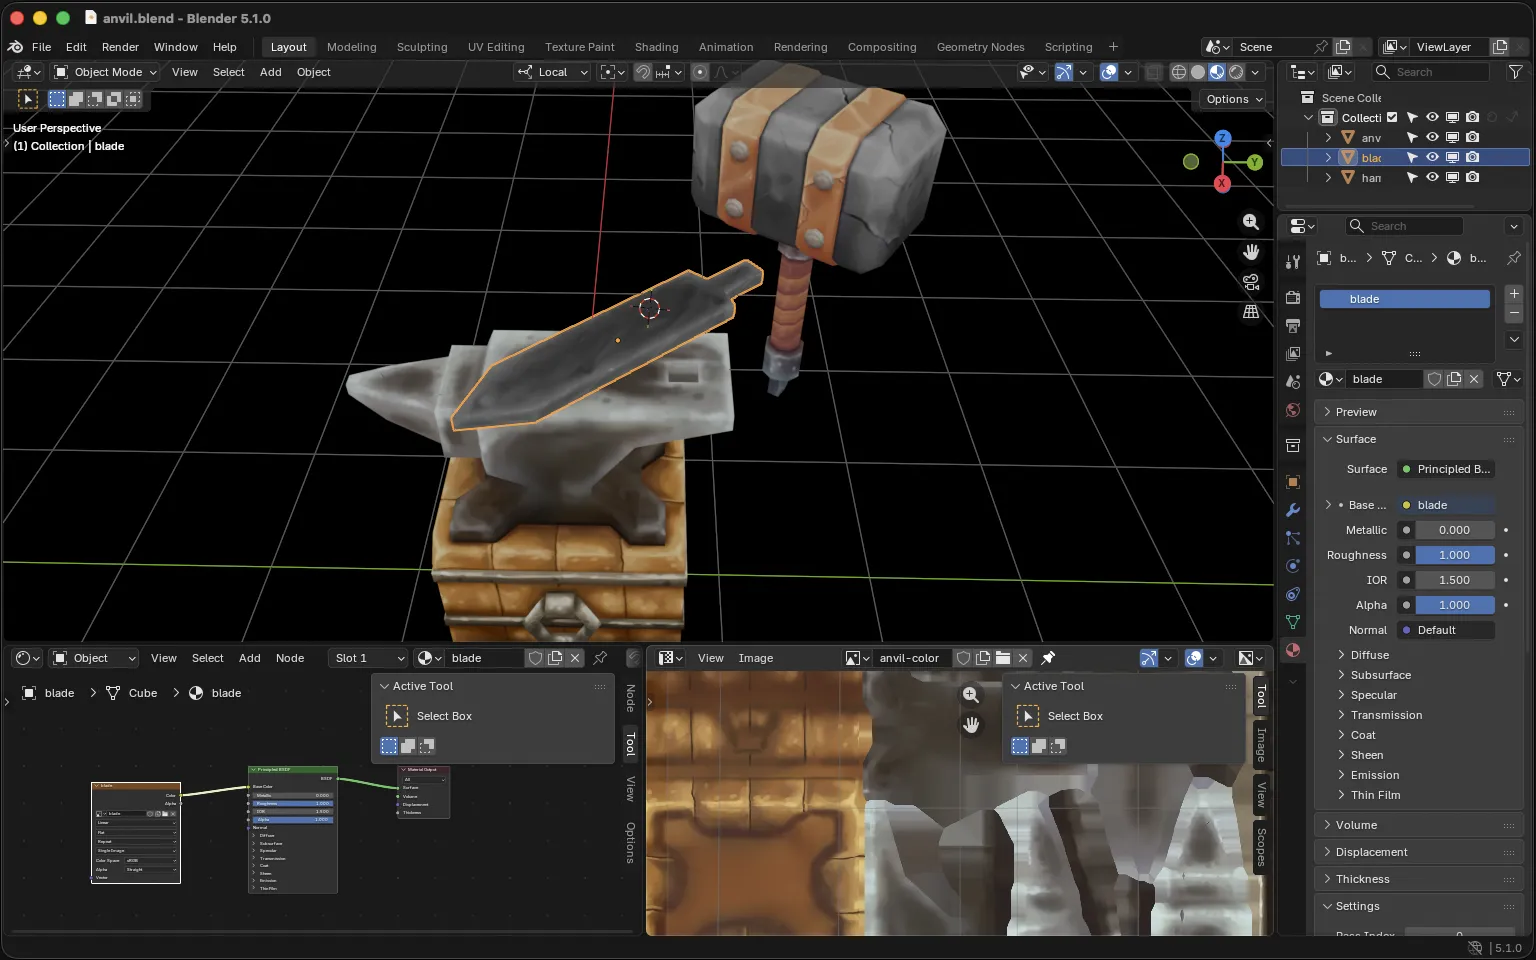
As you can see in the Outliner (the area with the scene graph), each part of the model has a specific name:
hammeranvilblade
Having those names will allow us to retrieve them in the JavaScript.
Also note that the hammer’s origin and rotation are set so that we can rotate it on its local x axis to create the animation.
Hammer impact 03:16
Speaking of the hammer, let’s animate it.
We are going to put everything in the script.js file, no class, just delicious spaghetti code. Don’t worry, most features are quite simple.
Before the Animate section, create a Hammer section:
/**
 * Hammer
 */
In there, retrieve the hammer object from the loaded model, using the getObjectByName() method:
const hammer = model.scene.getObjectByName('hammer')
console.log(hammer)
☝
We can access the model.scene directly after loading the model because we used loadAsync() which will hold the execution of the script until the promise (loading the model) is resolved. No need for a callback function.
We have our hammer object, remove the console.log():
const hammer = model.scene.getObjectByName('hammer')
// console.log(hammer)
We are going to animate it on click, but first, let’s give it a try in the tick to see how it behaves.
Increment the rotation.x by deltaTime in the tick function:
const tick = () =>
{
    // ...

    // Hammer
    hammer.rotation.x += deltaTime

    // Render
    // ...
}
The hammer is rotating weirdly because of the rotation order.
To fix it, we need to change the order so that the rotation applies first on the y axis (the vertical one), then on the x axis (the one we want to animate), and we don’t care about the z axis.
Use the reorder() method to set the rotation order to 'YXZ':
const hammer = model.scene.getObjectByName('hammer')
hammer.rotation.reorder('YXZ')
The rotation is working, but this is not Thor’s hammer, and we don’t want it to swing all the time like that.
For now, comment the rotation in the tick function:
const tick = () =>
{
    // ...

    // Hammer
    // hammer.rotation.x += deltaTime

    // Render
    // ...
}
Instead, we want to rotate it on click, and since we’re going to have a lot more than just the hammer rotation, let’s create a function dedicated to this.
After the Hammer section, create an Impact section:
/**
 * Impact
 */
In there, create an impact function with a simple console.log():
const impact = () =>
{
    console.log('impact')
}
And listen to the pointerdown event on the canvas to trigger it:
const impact = () =>
{
    console.log('impact')
}

canvas.addEventListener('pointerdown', impact)
☝
Using the pointerdown event means that the impact will occur when we try to rotate the camera by drag and dropping. Since it’s for the demo, we won’t bother with this behavior.
If we see the impact in the Console, it’s working, and we can replace that console.log() by a 90° rotation on the hammer:
const impact = () =>
{
    // Hammer
    hammer.rotation.x = Math.PI * 0.5
}
The down movement won’t be animated. But the movement back to the initial position will. This way, we get a fast and immediate feedback of the action, and we can still enjoy an animation.
And to move the hammer to its initial position, we need to animate the rotation back to 0°. To do that, we are going to use the usual ease technique to move it a little bit closer to the target on each frame.
In the tick, ease the rotation.x of the hammer back to the 0 angle, and use the deltaTime to get a similar result regardless of the frame rate:
const tick = () =>
{
    // ...

    // Hammer
    hammer.rotation.x += (0 - hammer.rotation.x) * deltaTime

    // Render
    // ...
}
And since the target is 0, the formula can be simplified:
const tick = () =>
{
    // ...

    // Hammer
    hammer.rotation.x += - hammer.rotation.x * deltaTime

    // Render
    // ...
}
Blade 10:46
Let’s take care of something more challenging and create the blade heat effect.
How to use it 🤔
- Download the Starter pack or Final project
- Unzip it
- Open your terminal and go to the unzip folder
-
Run
npm installto install dependencies
(if your terminal warns you about vulnerabilities, ignore it) -
Run
npm run devto launch the local server
(project should open on your default browser automatically) - Start coding
- The JS is located in src/script.js
- The HTML is located in src/index.html
- The CSS is located in src/style.css