SPACEto play / pauseARROW RIGHTorLto go forwardARROW LEFTorJto go backwardARROW UPto increase volumeARROW DOWNto decrease volumeFto toggle fullscreenMto toggle mute0 to 9to go to the corresponding part of the videoSHIFT+,to decrease playback speedSHIFT+.or;to increase playback speed
Shortcuts ⌨️
Unlock content 🔓
To get access to 93 hours of video, a members-only Discord server, subtitles, lesson resources, future updates and much more join us for only $95!
Want to learn more? 👍
That's the end of the free part of this lesson
WebGPU & TSL Course
new
$45
VAT incl.
- 21 lessons · 24 hours of video
- Quizzes · Certificate
- Members-only Discord server · Future updates
Introduction 00:00
As you might already know, I get a lot of inspiration from games. And I recently played one of the best games of 2025, Clair Obscur. Among the many effects in the game, some of the most memorable ones involve petals, and it starts right from the title screen.
The initial lesson was targeted toward rebuilding the exact same title screen, but it felt boring and was lacking interaction. Fortunately, I remembered one of Unseen’s beautiful experiments, and it was just perfect for the theme.
I don’t know how their version works, but in this lesson we’re going to learn how I would do it with TSL.
Setup 01:40
The starter already contains the following:
OrbitControlsto rotate around- The
WebGPURendererwith theRenderPipelineto add a bloom pass - An instance of the
Inspector - Some lighting with shadows
- A custom title inspired by the actual Clair Obscur title.
- In
src/utils.js, the samerandomSphericalPositionwe wrote in the Galaxy TSL lesson
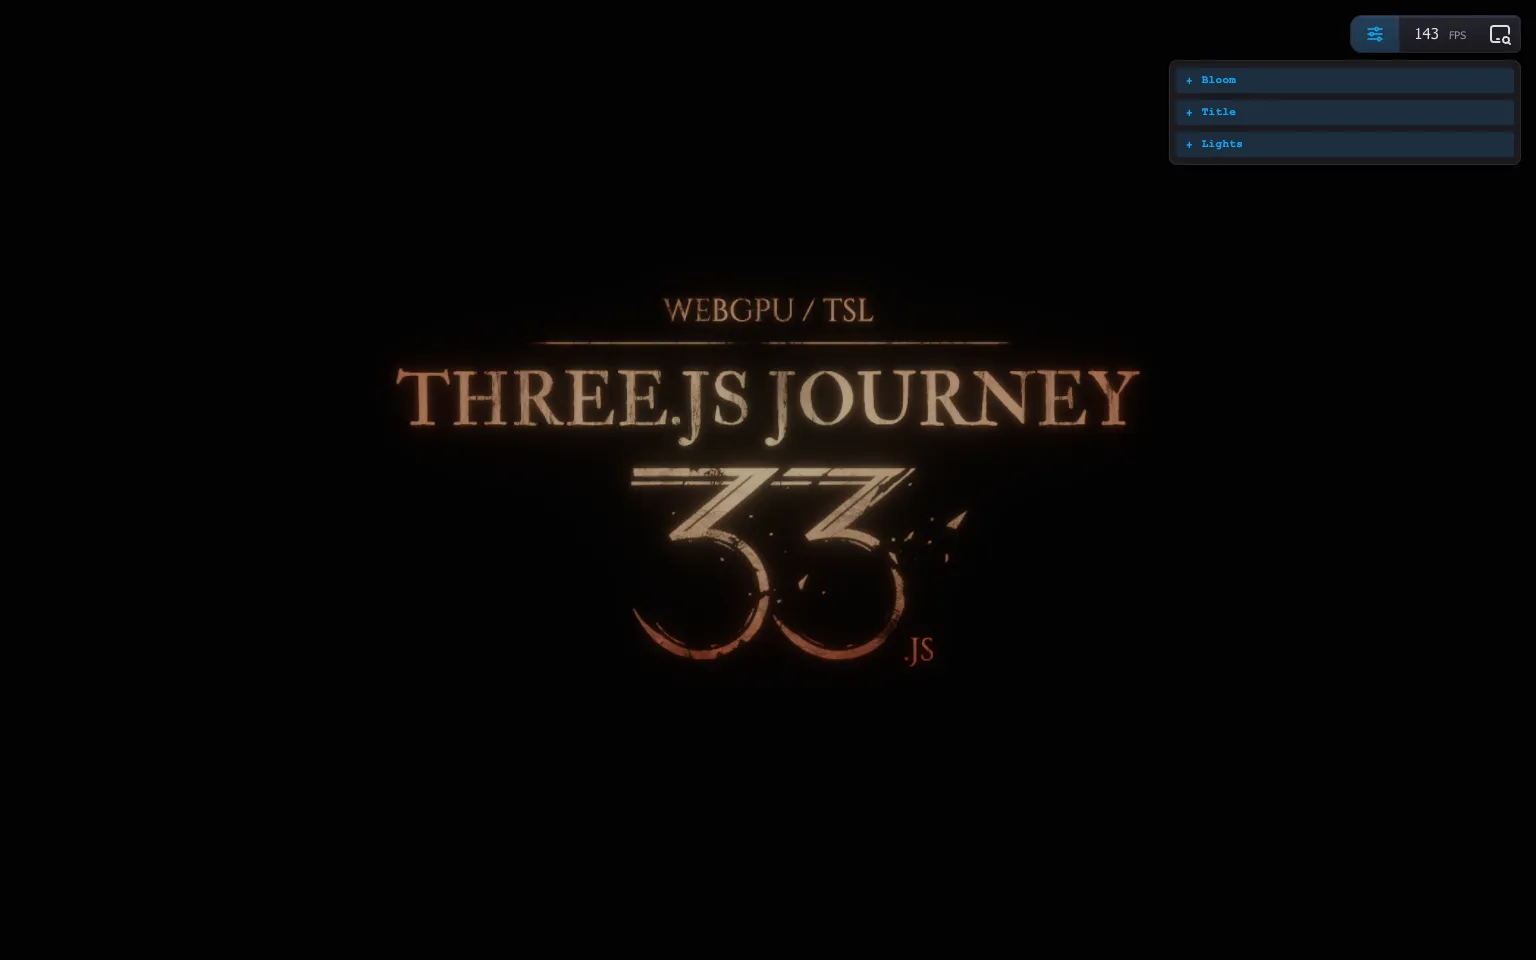
☝
We are not going to implement the title in this lesson, but have a look if curious. There’s a little bit of TSL to create a radial gradient.
Petal instances 03:15
For the petals, we’ll use instances so that we can have thousands of petals with good performance. We can’t use sprites because we want them to rotate in the wind, but also because they’ll be slightly curved.
Create a Petals section after the Post Processing section:
/**
 * Petals
 */
Create count variable:
// Setup
const count = 100
We start at 100 so that it’s easy to distinguish them, but we will add a lot more later.
Create the geometry, and start with a simple PlaneGeometry for now:
// Geometry
const geometry = new THREE.PlaneGeometry(1, 1)
Now for the material, since we don’t need something too realistic, we can use the cheapest material that supports light shading, MeshLambertNodeMaterial, and set its side to THREE.DoubleSide, right away:
// Material
const material = new THREE.MeshLambertNodeMaterial({
    side: THREE.DoubleSide,
})
For the mesh, we’ll use the Three.js Mesh class, set its count property to count, and add it to the scene:
// Mesh
const mesh = new THREE.Mesh(geometry, material)
mesh.count = count
scene.add(mesh)
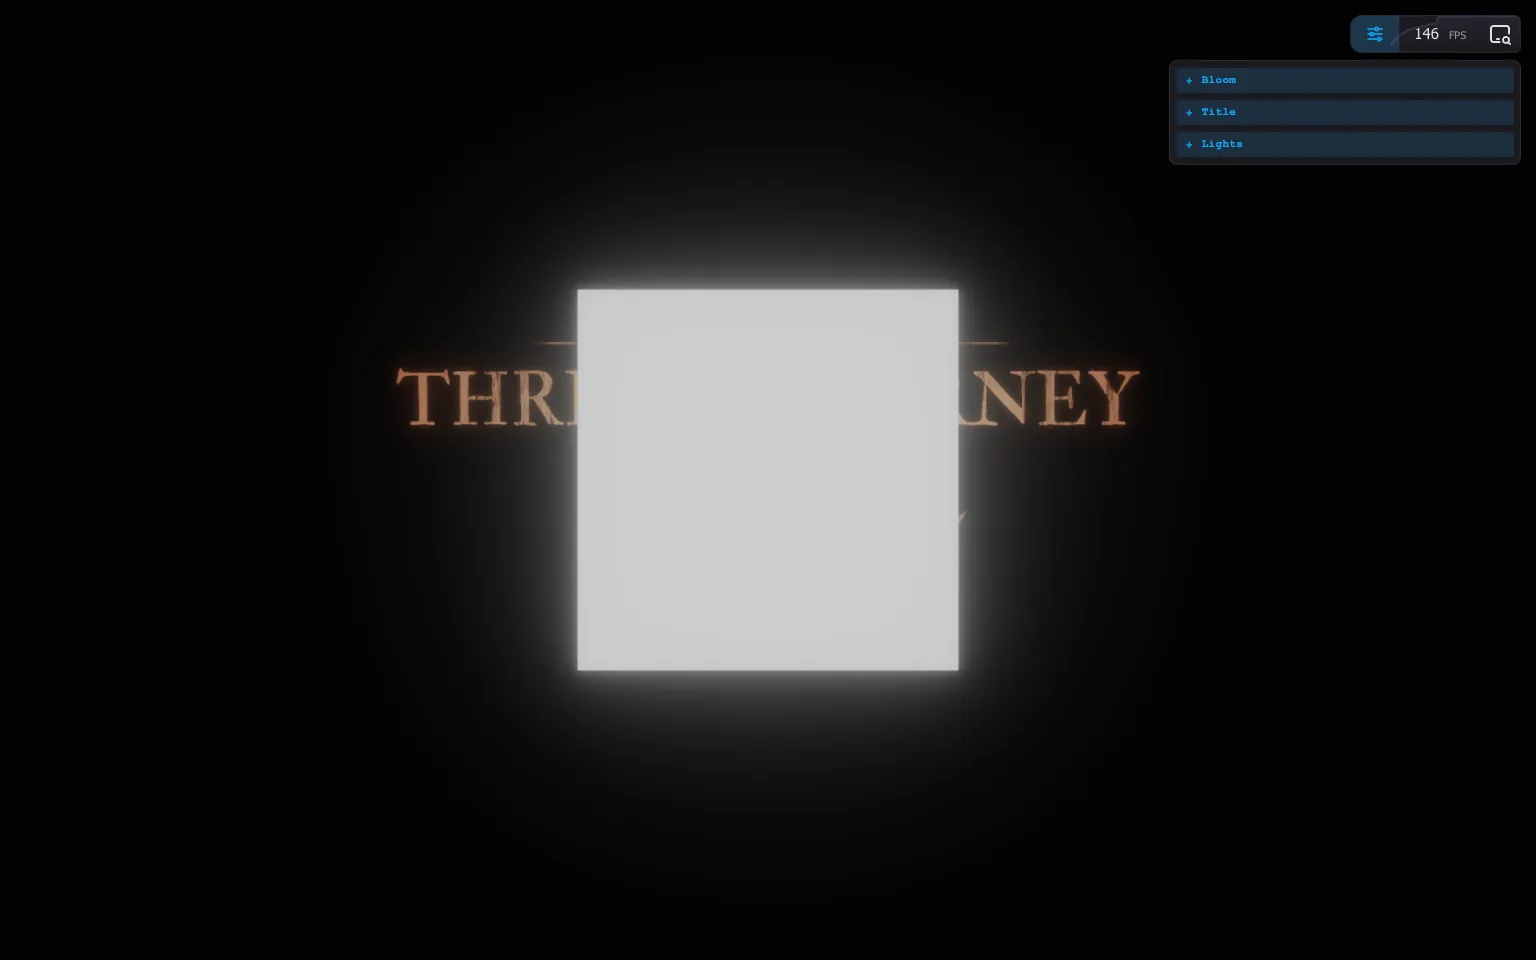
Right now, we have 100 planes on top of each other.
We’ll move, rotate, and scale the petals in positionNode.
How to use it 🤔
- Download the Starter pack or Final project
- Unzip it
- Open your terminal and go to the unzip folder
-
Run
npm installto install dependencies
(if your terminal warns you about vulnerabilities, ignore it) -
Run
npm run devto launch the local server
(project should open on your default browser automatically) - Start coding
- The JS is located in src/script.js
- The HTML is located in src/index.html
- The CSS is located in src/style.css