SPACEto play / pauseARROW RIGHTorLto go forwardARROW LEFTorJto go backwardARROW UPto increase volumeARROW DOWNto decrease volumeFto toggle fullscreenMto toggle mute0 to 9to go to the corresponding part of the videoSHIFT+,to decrease playback speedSHIFT+.or;to increase playback speed
Shortcuts ⌨️
Unlock content 🔓
To get access to 93 hours of video, a members-only Discord server, subtitles, lesson resources, future updates and much more join us for only $95!
Want to learn more? 🖖
That's the end of the free part of this lesson
WebGPU & TSL Course
new
$45
VAT incl.
- 21 lessons · 24 hours of video
- Quizzes · Certificate
- Members-only Discord server · Future updates
Introduction 00:00
TSL has made building VFX a lot easier. It’s like connecting nodes in game engines such as Unity, but we connect TSL nodes in JavaScript.
One cool effect we often see in video games is this explosion/smoke effect. With the right settings, you can get a nice smoke like in Valorant. And with a little bit of contrast and emissive areas, you can make it look like magic explosions.
And you know what’s better than an explosion? Dozens of explosions.
In this lesson, we’ll create this VFX magic explosion and use instancing so that we can have dozens (if not hundreds) of explosions with good performance.
Setup 01:08
The starter already contains the following:
- The same floor we used in previous lessons
OrbitControlsto rotate around- The
WebGPURendererwith theRenderPipelineto add a bloom pass - An instance of the
Inspector - Some lighting with shadows
- A noise texture in the
static/folder - A
SkyMeshto have something to look at in the background

Class 01:56
And to make things more interesting, we’ll encapsulate the whole explosion logic into a class.
In the src/ folder, create an Explosions.js file (plural) with a basic Explosions class that we export by default:
export default class Explosions
{
    constructor()
    {
        console.log('hello')
    }
}
Back to script.js, import the Explosions class, and after the Post Processing section instantiate the Explosions in an explosions variable:
import Explosions from './Explosions.js'

// ...

/**
 * Explosions
 */
// Instance
const explosions = new Explosions()
In Explosions.js, let’s create the usual geometry, material and mesh in separate methods:
import * as THREE from 'three/webgpu'

export default class Explosions
{
    constructor()
    {
        this.setGeometry()
        this.setMaterial()
        this.setMesh()
    }

    setGeometry()
    {
        this.geometry = new THREE.SphereGeometry(1, 32, 32)
    }

    setMaterial()
    {
        this.material = new THREE.MeshBasicNodeMaterial({ color: 0x111111 })
    }

    setMesh()
    {
        this.mesh = new THREE.Mesh(this.geometry, this.material)
        this.mesh.castShadow = true
    }
}
☝
In this case, separating the logic into methods is mostly a matter of fragmenting the code into smaller and more readable sections. It’s a little bit overkill, but both the setMaterial() and setMesh() will get more complex soon.
For now, we don’t care about instancing and we will create only one simple explosion so that we can focus on the visual output.
In script.js add the mesh to the scene:
// Instance
const explosions = new Explosions()
scene.add(explosions.mesh)
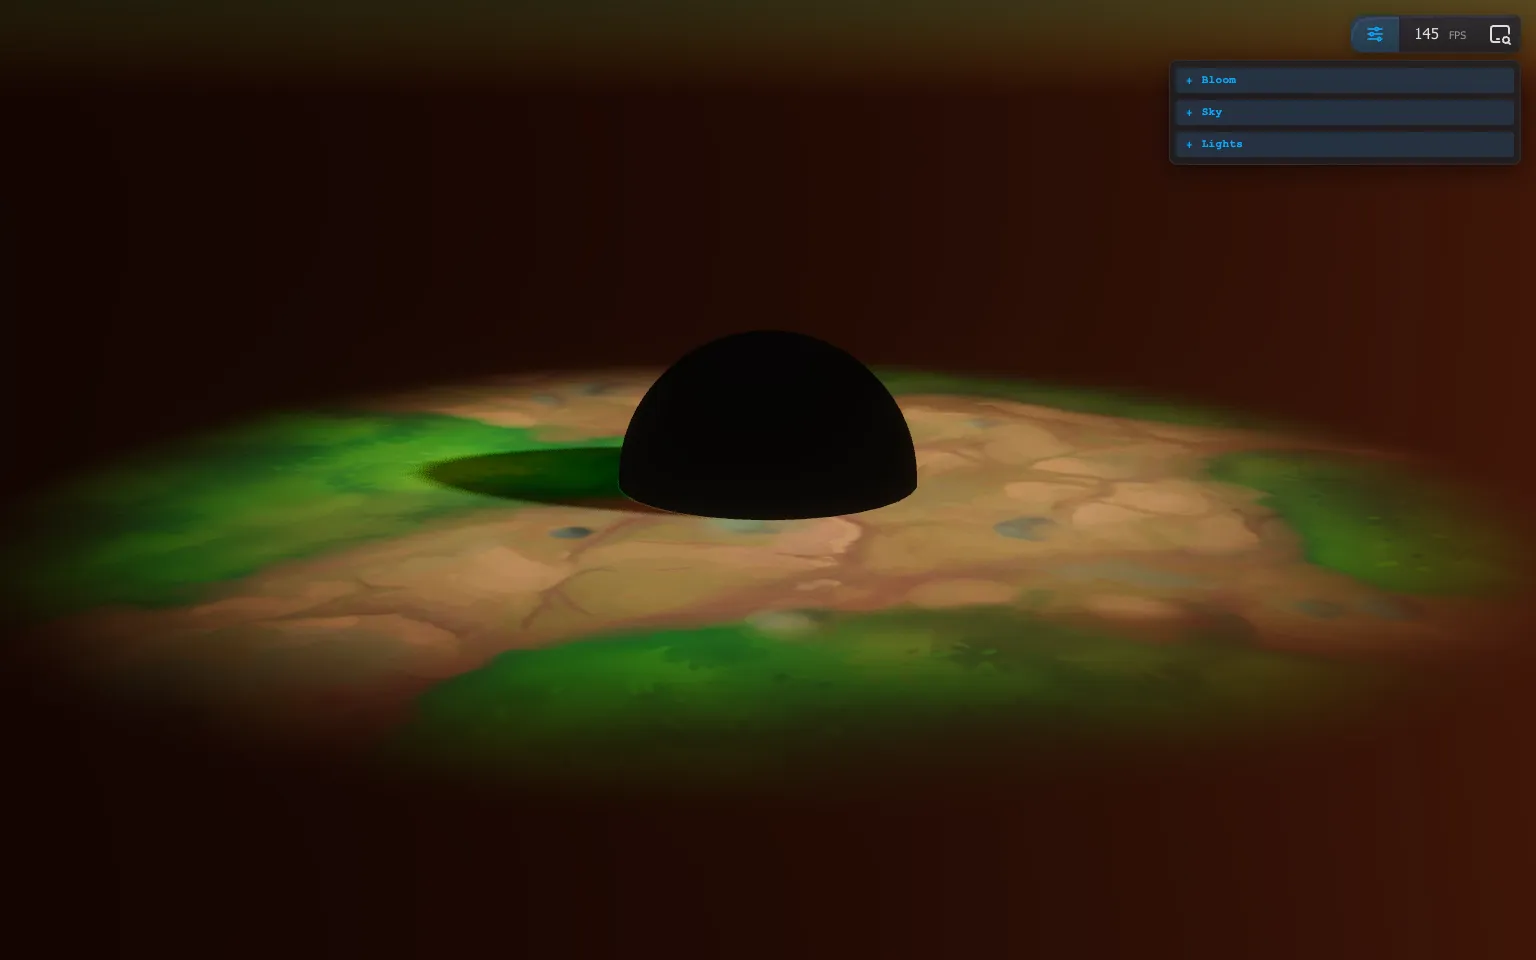
We’ll add all parameters right from the beginning.
How to use it 🤔
- Download the Starter pack or Final project
- Unzip it
- Open your terminal and go to the unzip folder
-
Run
npm installto install dependencies
(if your terminal warns you about vulnerabilities, ignore it) -
Run
npm run devto launch the local server
(project should open on your default browser automatically) - Start coding
- The JS is located in src/script.js
- The HTML is located in src/index.html
- The CSS is located in src/style.css