SPACEto play / pauseARROW RIGHTorLto go forwardARROW LEFTorJto go backwardARROW UPto increase volumeARROW DOWNto decrease volumeFto toggle fullscreenMto toggle mute0 to 9to go to the corresponding part of the videoSHIFT+,to decrease playback speedSHIFT+.or;to increase playback speed
Shortcuts ⌨️
Unlock content 🔓
To get access to 93 hours of video, a members-only Discord server, subtitles, lesson resources, future updates and much more join us for only $95!
Want to learn more? 🤘
That's the end of the free part of this lesson
WebGPU & TSL Course
new
$45
VAT incl.
- 21 lessons · 24 hours of video
- Quizzes · Certificate
- Members-only Discord server · Future updates
WebGPU & TSL
Chapter 02 — Advanced Projects
21. Snow
Introduction 00:00
Being able to leave tracks in the snow is a classic in both real life and video games, from AAA to indies.
While there are many ways to do it, we’re going to discover a simple, yet robust one.
In this lesson, we’re focusing on the snow floor only. Not falling snowflakes, or snow piling up on actual objects in the scene. Just the floor.
Setup 00:53
The starter already contains the following:
OrbitControlsto rotate around- The
WebGPURendererwith theRenderPipelineto add a bloom pass - An instance of the
Inspector - A
SkyMeshto have something to look at in the background - A snow normal map downloaded from Poly Haven
- Michelle dancing around to test how the snow behaves with small feet
- A cube moving around, and a sphere following the cursor
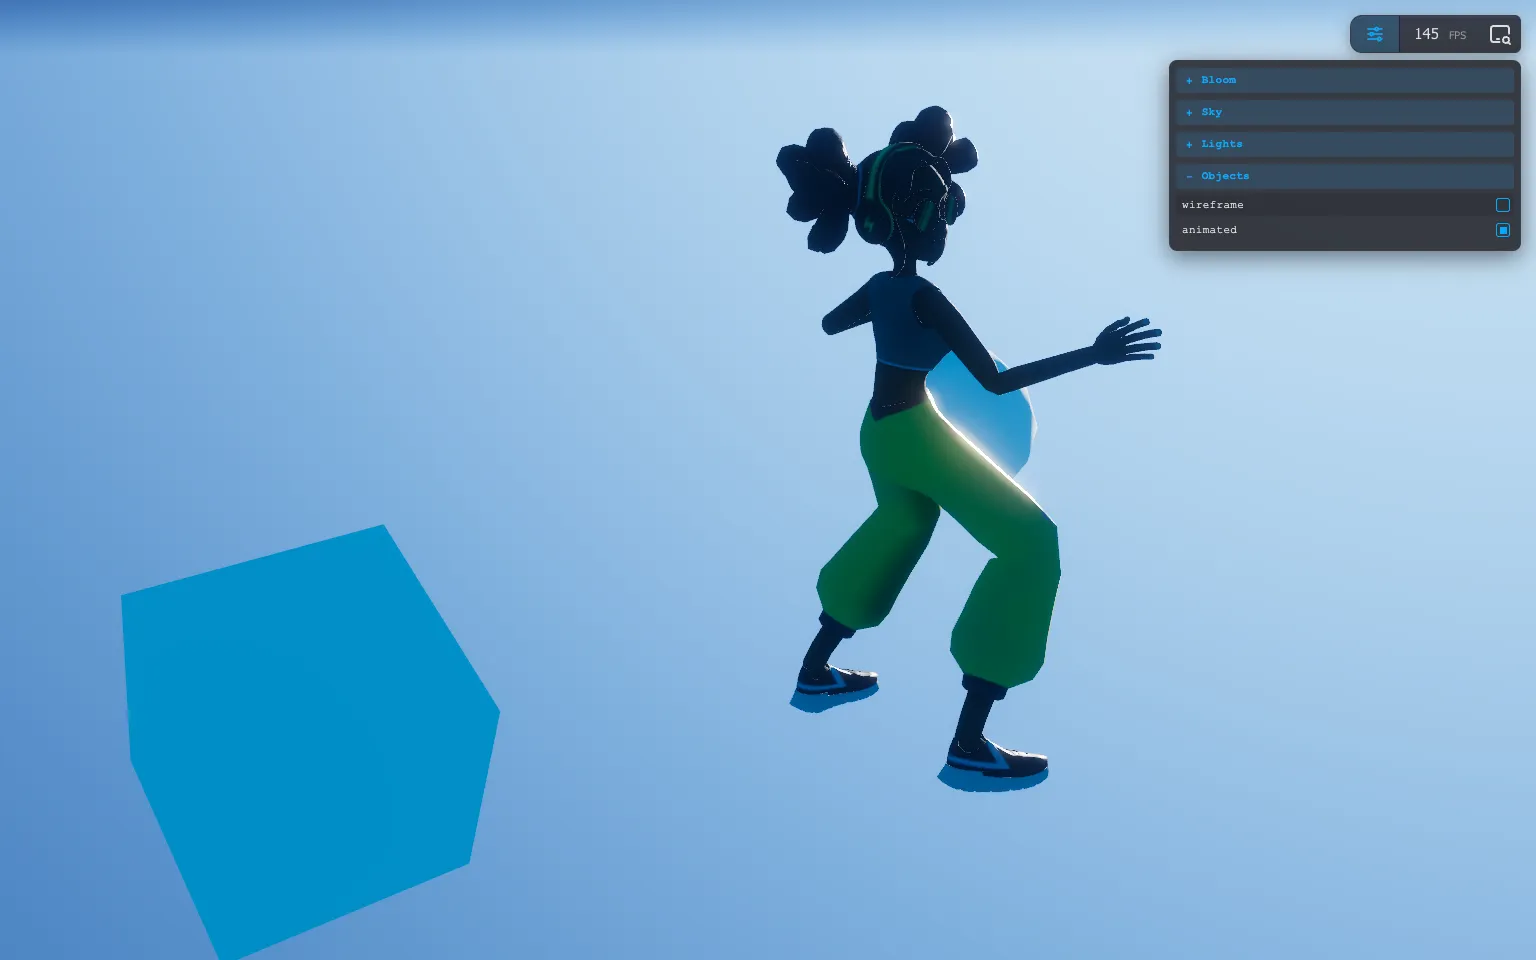
For the sphere following the cursor, I used the intersection of a ray against a Plane, and eased the position to get a smooth animation. Since we did that in previous lessons already, we won’t cover it again.
Technique 02:25
Before we start adding anything, let’s talk about the technique we’re going to use.
Since we want realistic tracks on the snow, corresponding to the actual objects on top of it, we are going to create a well subdivided plane and move the vertices up and down.
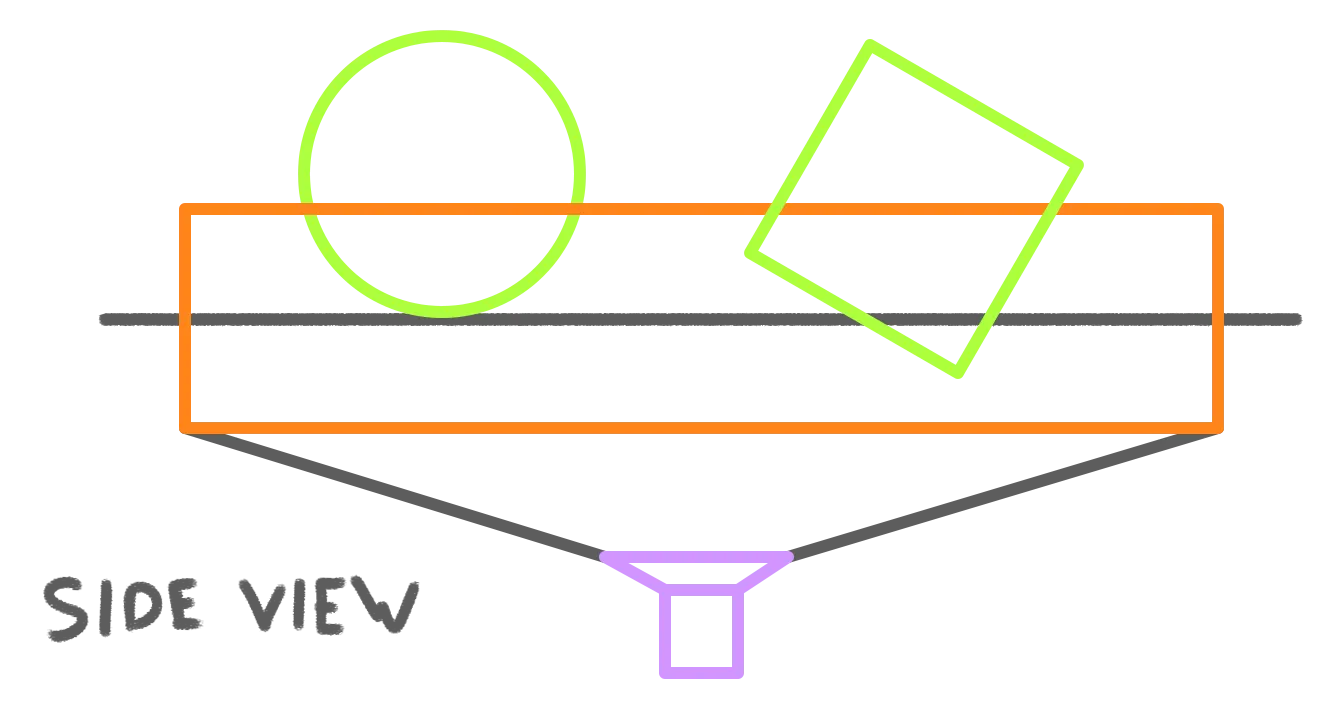
And to know the exact depth (or “elevation” we could say) of the objects, we are going to render the scene seen from below with an orthographic camera, but only retrieve and use the depth. This technique is similar to what the lights are doing for their shadow map. This way, any object passing by will affect the snow.
Unfortunately, using just the depth isn’t enough, and would look weird because the snow would rise back up behind the object, leaving no track. In order to leave a track, we need some sort of persisting data.
We could make the data persist on a buffer associated with the vertices, but instead, we are going to use a texture buffer. It’s suited to the square-ness of our plane, we can decide to have a different resolution for the texture compared to the plane subdivision, and it’ll become handy to apply texture tricks such as a blur, but I’m getting too far ahead.
It’s another opportunity to use a storage texture, and compute it.
Floor 05:32
We’re going to separate our code into a few sections, but some variables are shared between them. So let’s put those together.
Before the Animate section, create a Common section:
/**
 * Common
 */
In there, add the following variables:
const size = 20
const resolution = 512
const thickness = uniform(0.3)sizeis the width of the floorresolutionwill be used for both the geometry subdivision, and the texture resolution (we could have used different values, but a square is more handy)thicknessis the maximum elevation of the snow. Among other things it’ll be used in TSL, which is why we used auniform()node.
☝
To keep things simple, we won’t add any tweak during the lesson, but we will add a few of them at the very end, including thickness.
We can now add the floor.
After the Common section, add a Floor section:
/**
 * Floor
 */
For the geometry, use a PlaneGeometry, and use the resolution for the subdivisions:
// Geometry
const geometry = new THREE.PlaneGeometry(size, size, resolution, resolution)
For the material, let’s go realistic with the MeshStandardNodeMaterial:
// Material
const material = new THREE.MeshStandardNodeMaterial()
Instantiate the Mesh, rotate it to be flat on the floor, and add it to the scene:
// Mesh
const floor = new THREE.Mesh(geometry, material)
floor.rotation.x = - Math.PI * 0.5
scene.add(floor)
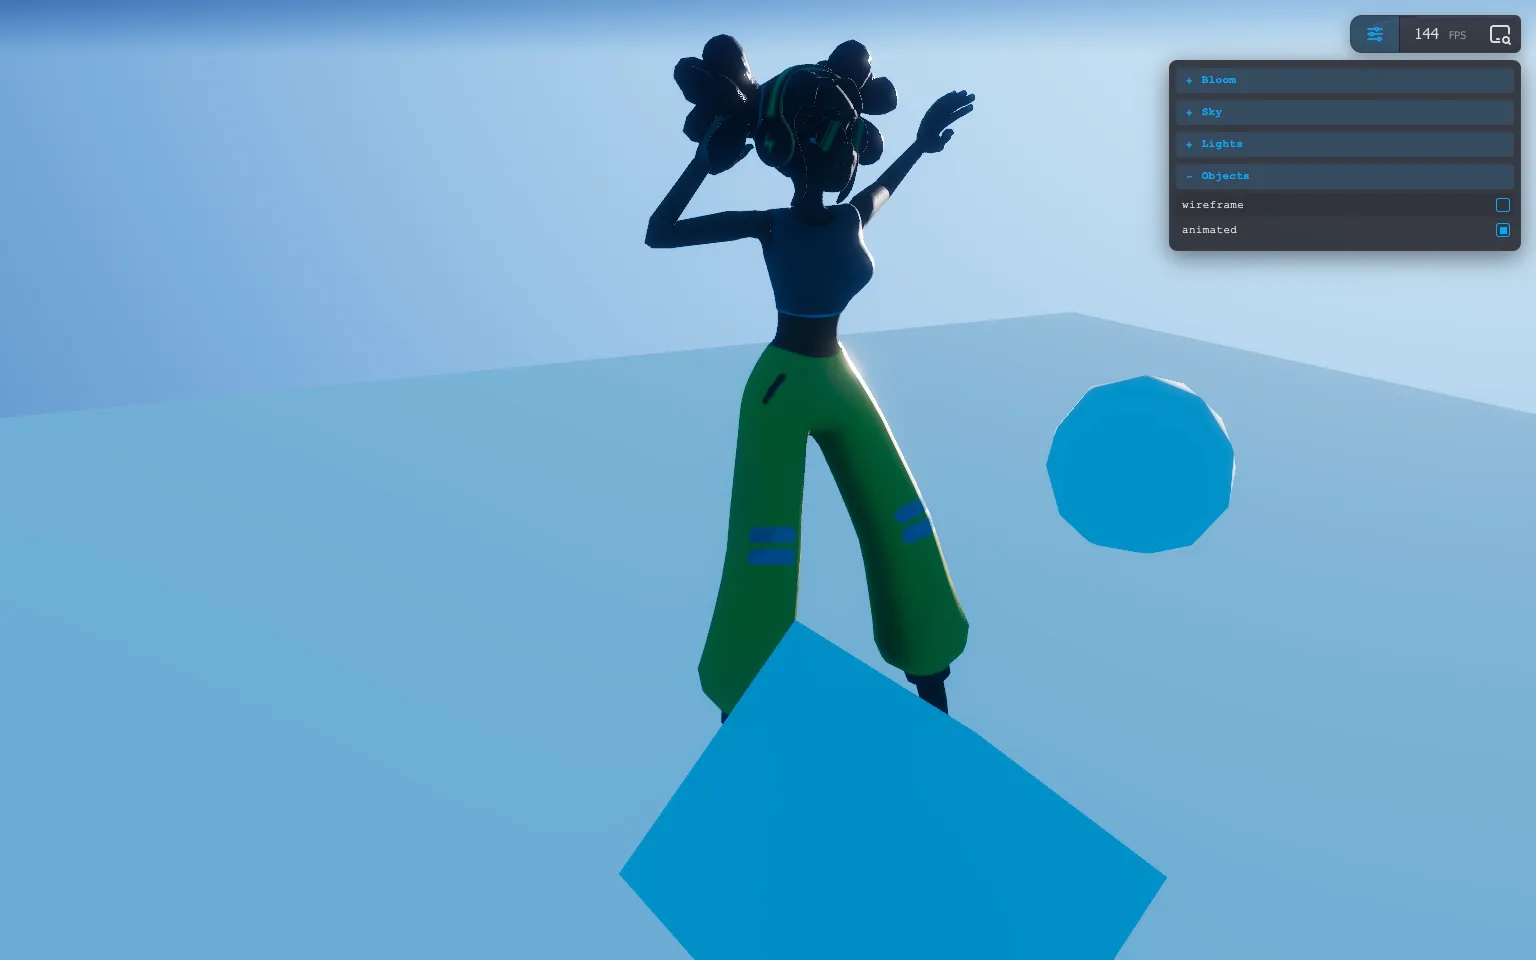
Activate both shadow receiving and shadow casting since the floor will be able to cast shadow on itself with the bumps:
// Mesh
const floor = new THREE.Mesh(geometry, material)
floor.rotation.x = - Math.PI * 0.5
floor.receiveShadow = true
floor.castShadow = true
scene.add(floor)
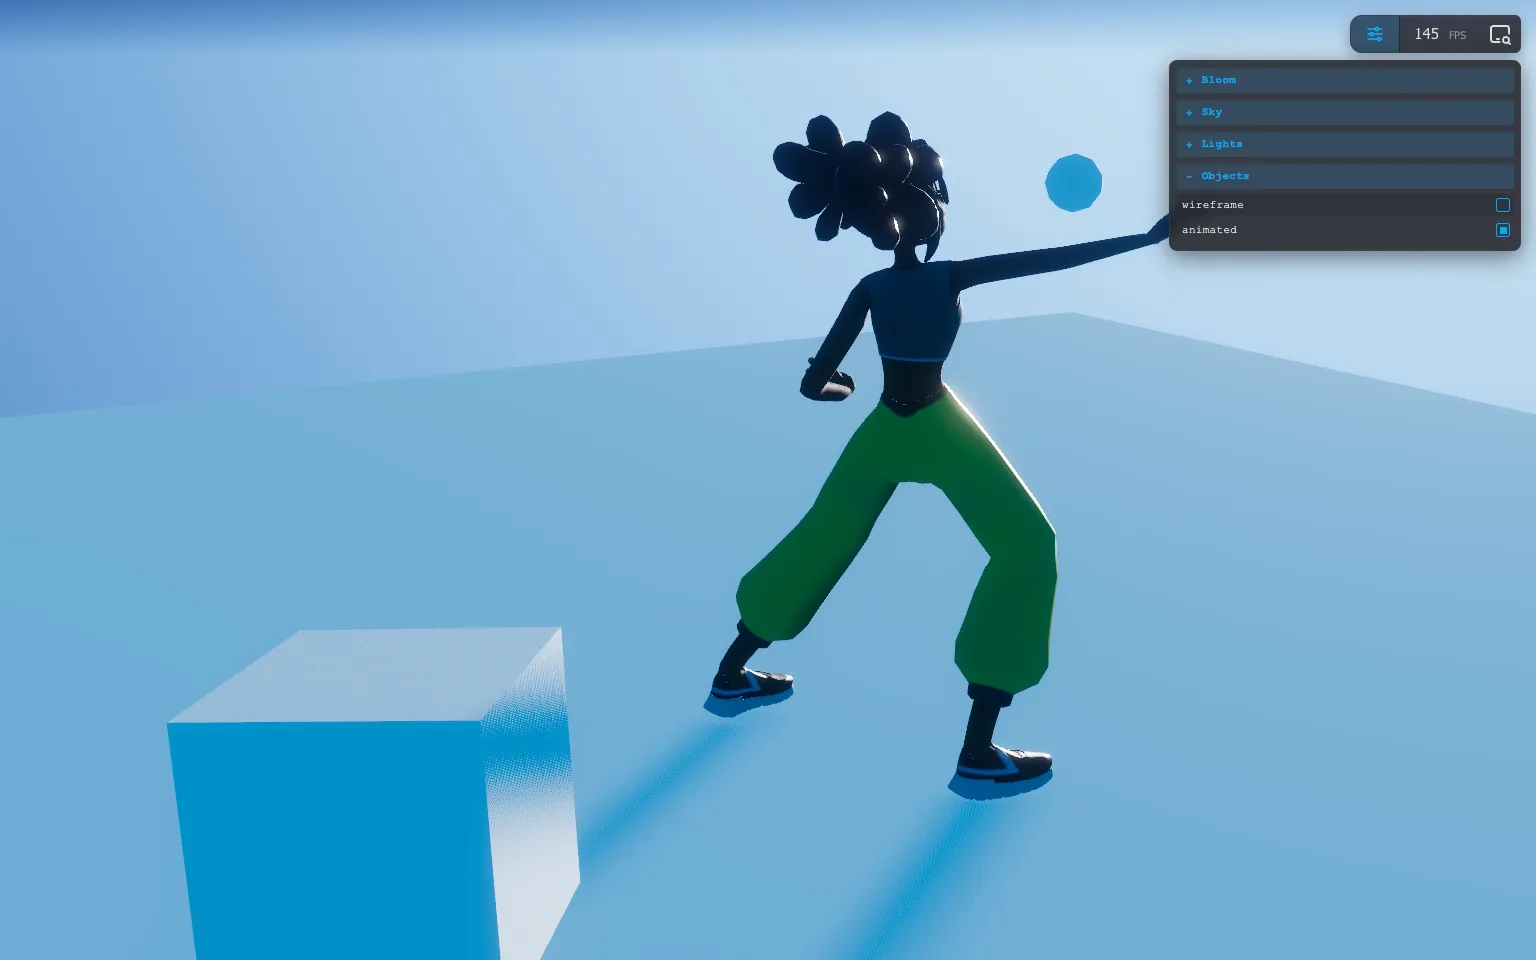
To add more realism and details, we are going to use a snow normal map.
One from Poly Haven is already provided with the course as snow_field_aerial_nor_gl_2k.png and available in the static/ folder.
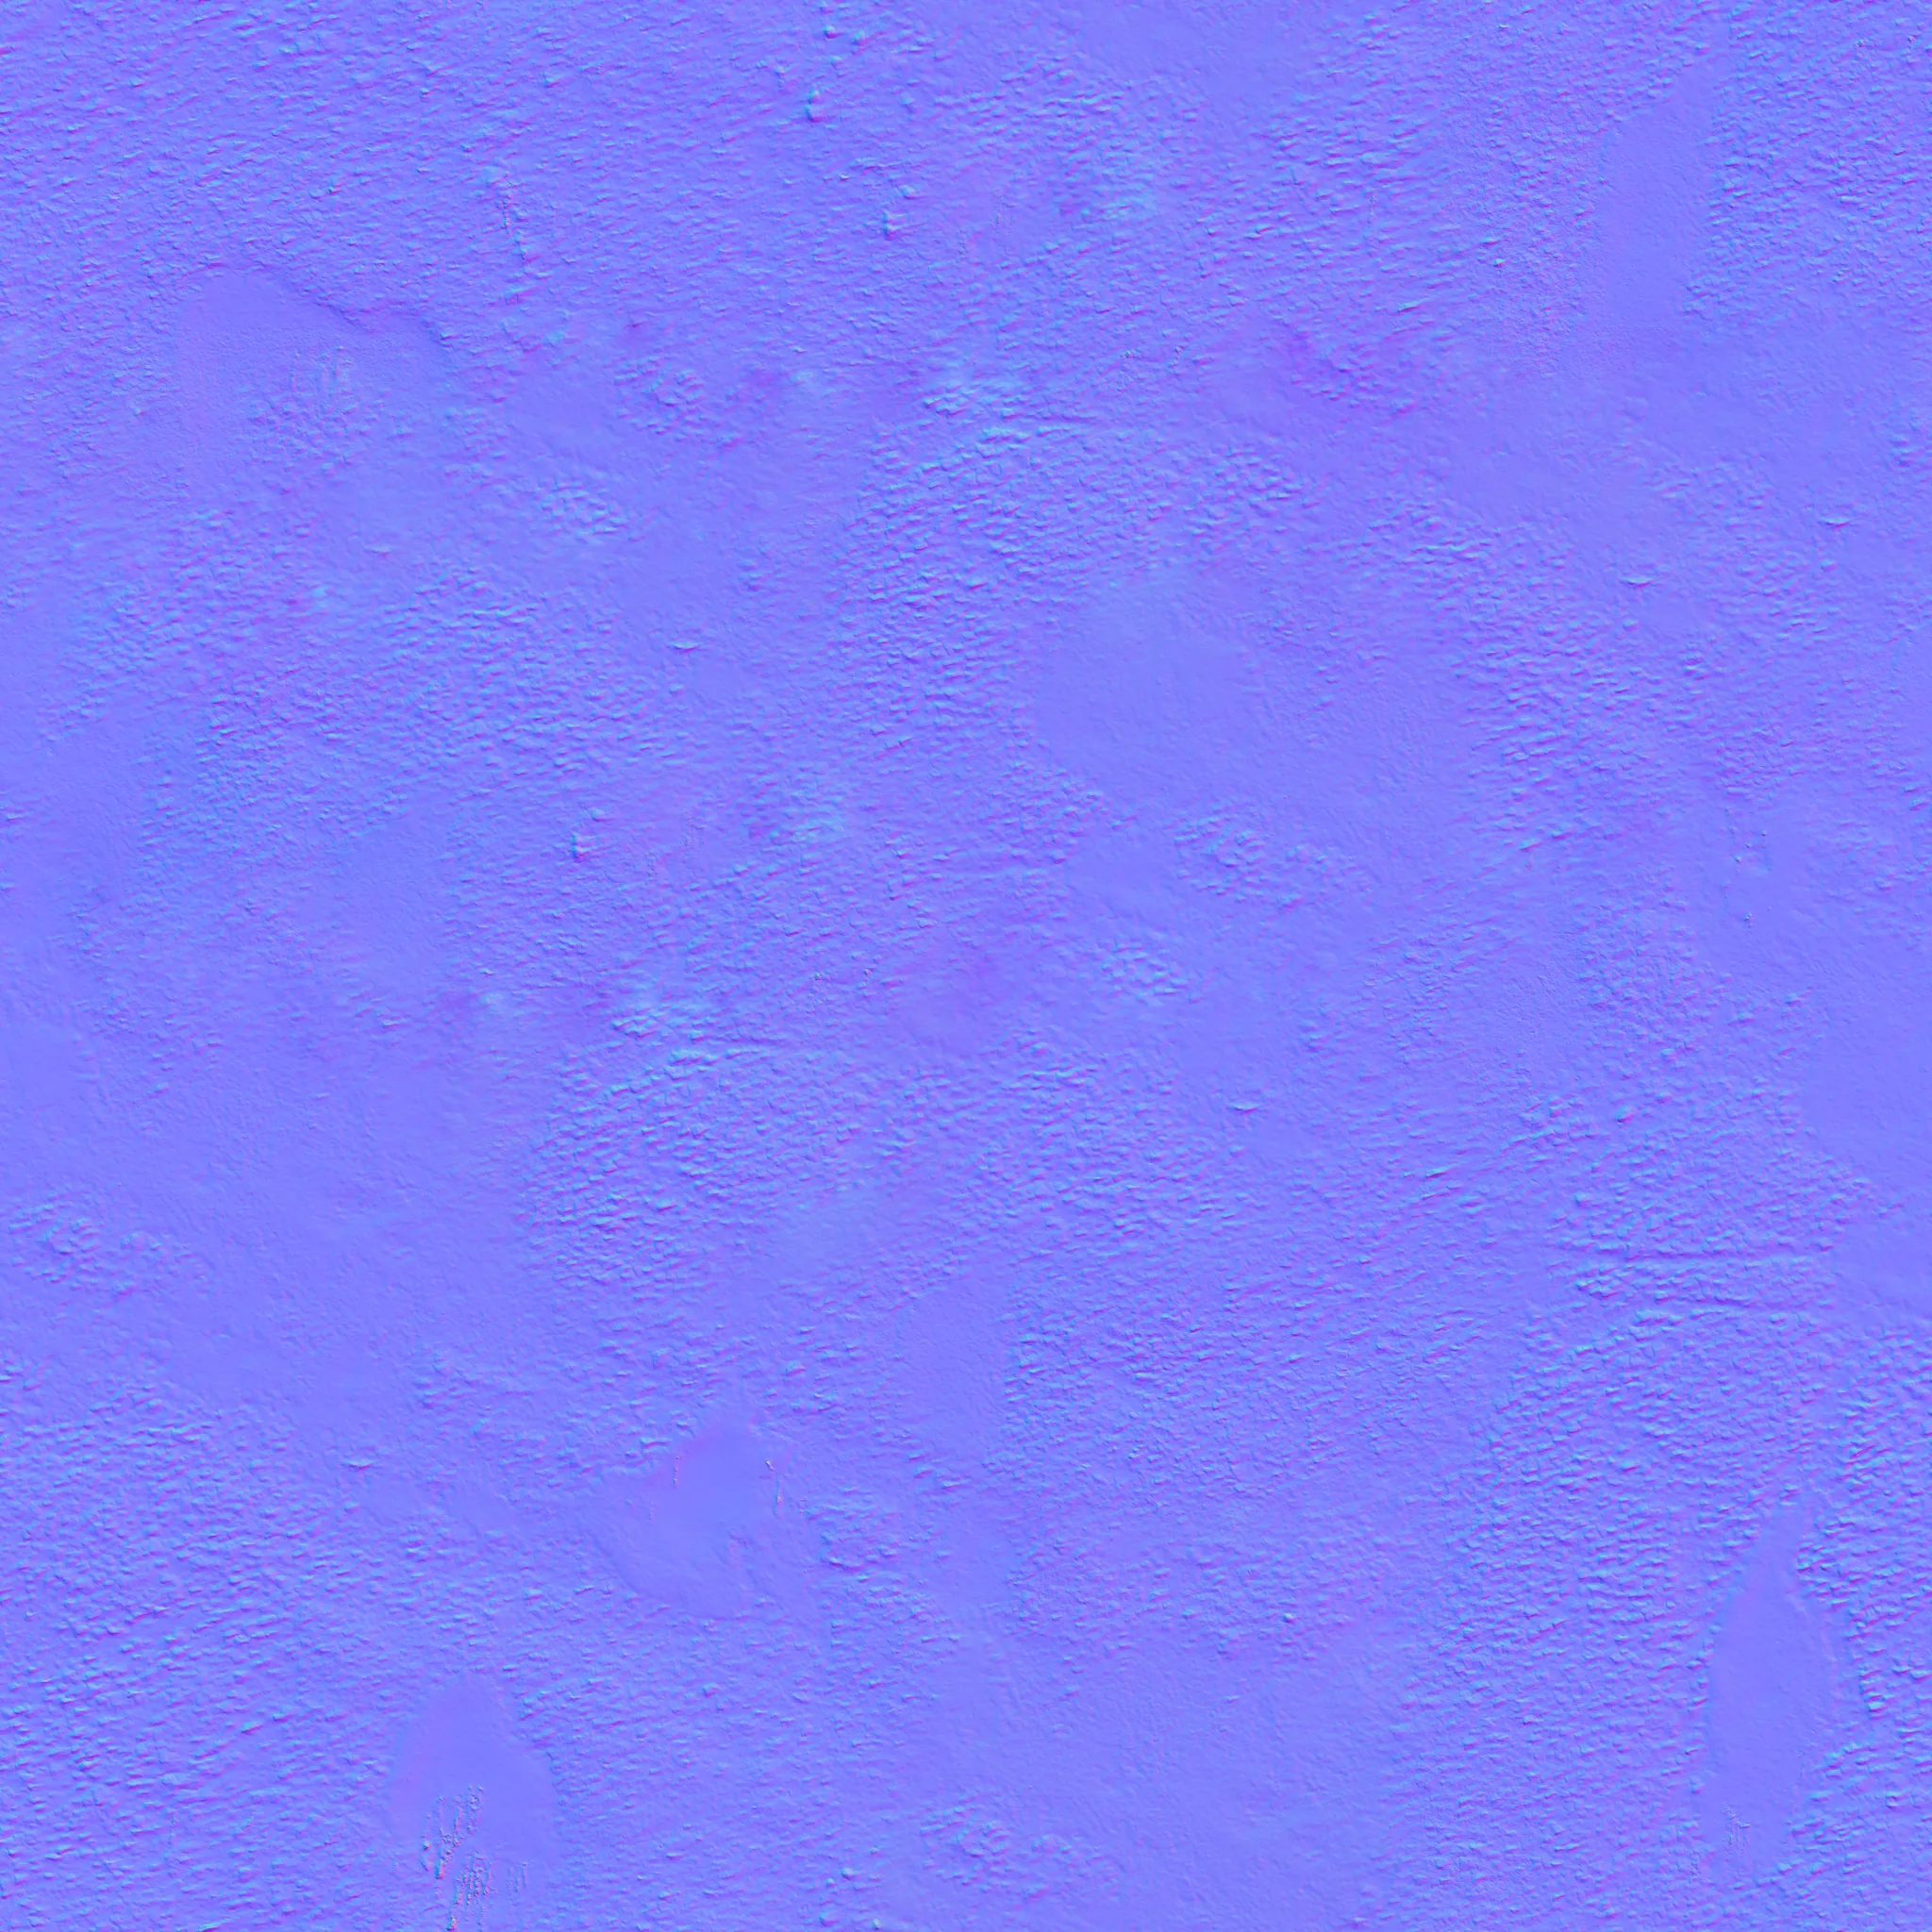
Feel free to test any other texture, make sure you download the Normal (GL) version, and be careful, some of the ones I’ve tested are encoded with SRGB instead of linear.
Before the material, load the './snow_field_aerial_nor_gl_2k.png' texture using the textureLoader, and set the repeat as followed:
// Normal texture
const textureNormal = textureLoader.load('./snow_field_aerial_nor_gl_2k.png')
textureNormal.wrapS = THREE.RepeatWrapping
textureNormal.wrapT = THREE.RepeatWrapping
textureNormal.repeat.x = 3
textureNormal.repeat.y = 3

// Material
// ...
Add the textureNormal to the material using the normalMap:
const material = new THREE.MeshStandardNodeMaterial({
    normalMap: textureNormal
})
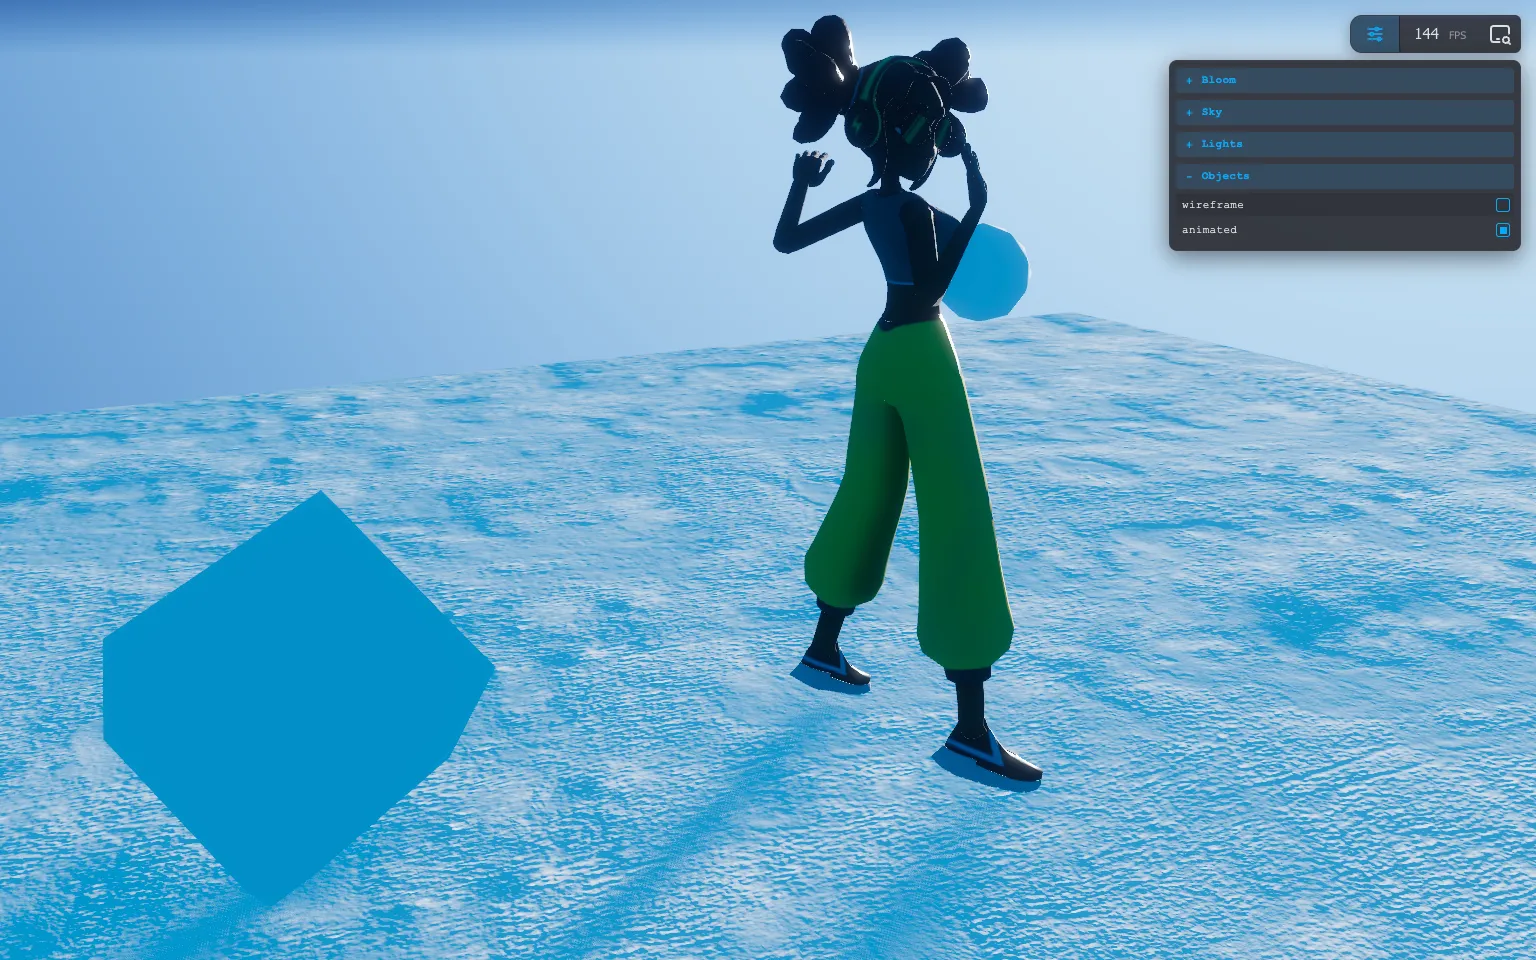
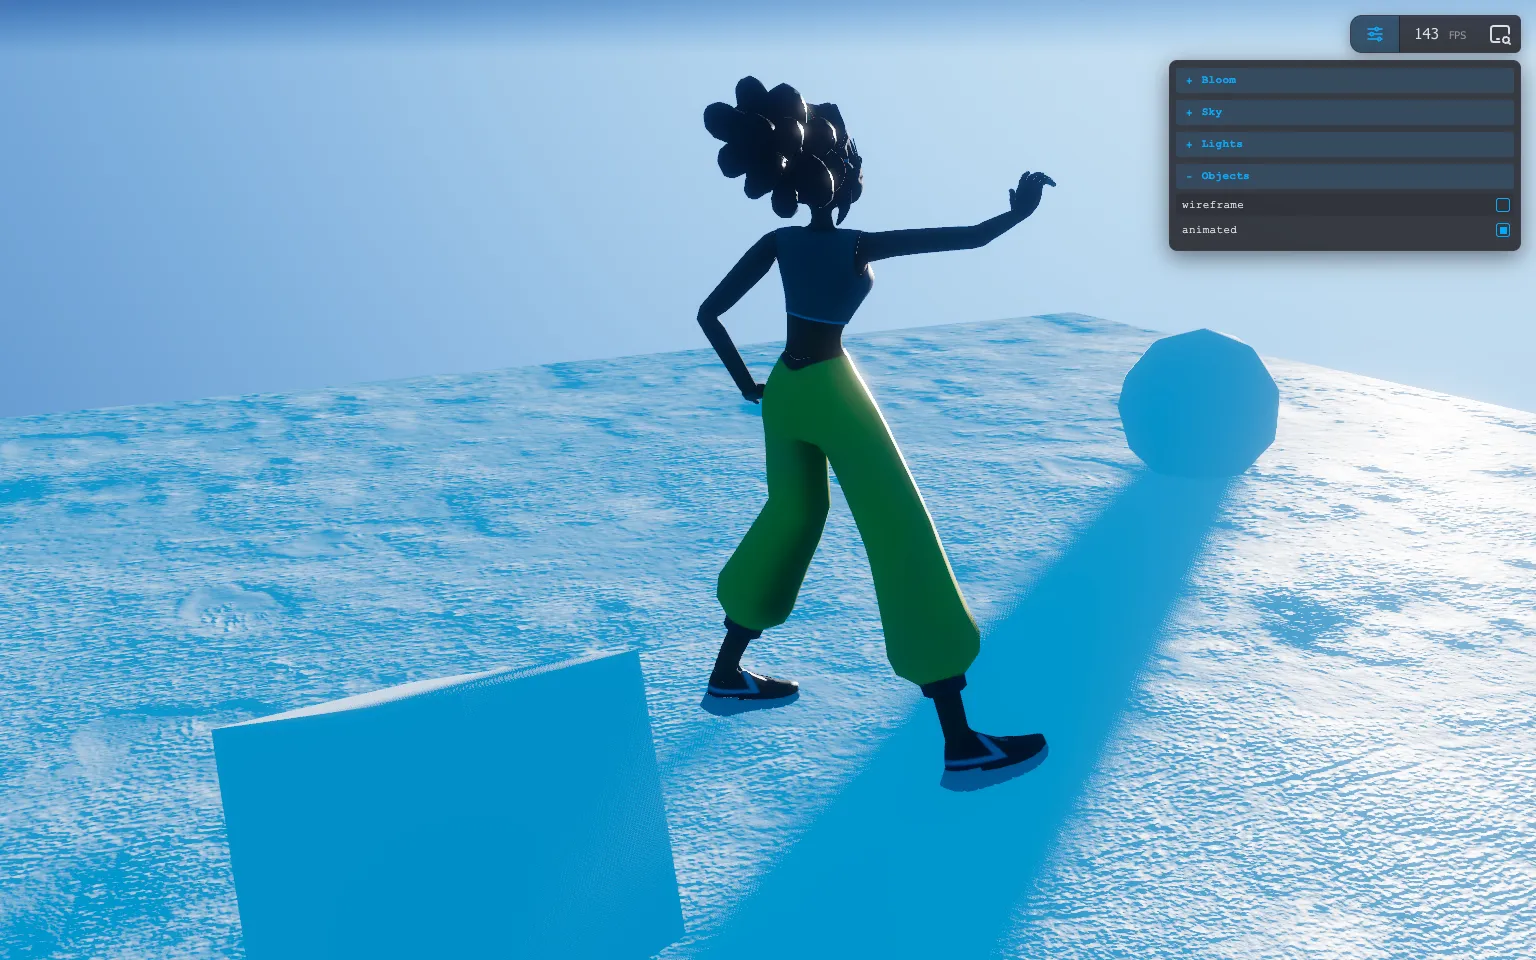
Set the roughness to 0.5 for a little bit of light reflection:
const material = new THREE.MeshStandardNodeMaterial({
    // ...
    roughness: 0.5
})
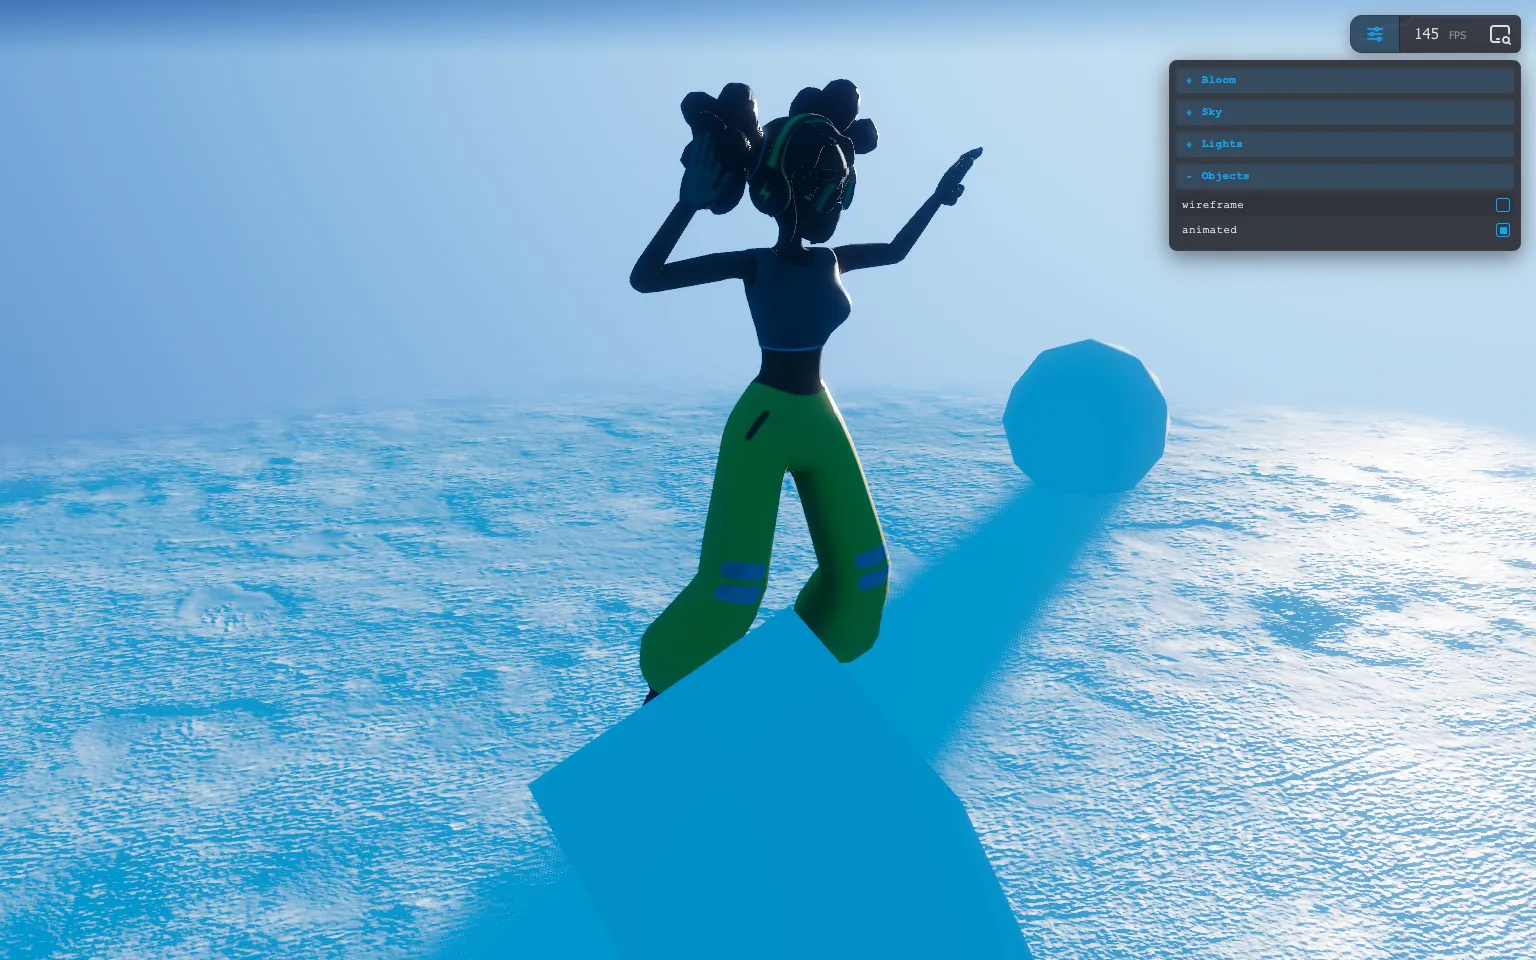
Set transparent to true, and use the same technique we used in a previous lesson to fade out the edges, using the opacityNode:
const material = new THREE.MeshStandardNodeMaterial({
    // ...
    transparent: true
})

material.opacityNode = uv().sub(0.5).length().smoothstep(0.5, 0.35)
We won’t add tweaks for the materials, but feel free to do it in order to find settings that you like.
Depth render 15:13
In order to know the depth/elevation of objects passing above the snow, we need to render our scene, seen from below.
How to use it 🤔
- Download the Starter pack or Final project
- Unzip it
- Open your terminal and go to the unzip folder
-
Run
npm installto install dependencies
(if your terminal warns you about vulnerabilities, ignore it) -
Run
npm run devto launch the local server
(project should open on your default browser automatically) - Start coding
- The JS is located in src/script.js
- The HTML is located in src/index.html
- The CSS is located in src/style.css