SPACEto play / pauseARROW RIGHTorLto go forwardARROW LEFTorJto go backwardARROW UPto increase volumeARROW DOWNto decrease volumeFto toggle fullscreenMto toggle mute0 to 9to go to the corresponding part of the videoSHIFT+,to decrease playback speedSHIFT+.or;to increase playback speed
Shortcuts ⌨️
Unlock content 🔓
To get access to 93 hours of video, a members-only Discord server, subtitles, lesson resources, future updates and much more join us for only $95!
Want to learn more? 👍
That's the end of the free part of this lesson
WebGPU & TSL Course
new
$45
VAT incl.
- 21 lessons · 24 hours of video
- Quizzes · Certificate
- Members-only Discord server · Future updates
Introduction 00:00
Instancing is a well-known technique for rendering the same object many times with good performance.
It can be used in many situations:
- Trees
- Foliage
- Rain drops
- Sparkles
- Projectiles
- Crowd
- Any repeating object
Obviously, we don’t want to render the same object 1000 times in the same place, so we need a way to give each instance a different position. And since we can vary the position, we can just as easily vary the scale, rotation, color, or any other data between instances, as long as we find a way to inject and use that “per-instance data”.
And Three.js has been supporting instancing since early versions as the InstancedMesh class to which we provide a different transform matrix for each instance.
☝
Transform matrices, in 3D, are made from Matrix4 and are usually used to apply a translation, rotation, and scale to a vector 3, which is ideal to move all the vertices of a geometry.
While InstancedMesh works well when all we need to change between instances is the position, the rotation, or the scale, it gets complicated when we want to introduce custom data.
At least, that’s what it used to be. Now with TSL, it’s a lot easier. So easy that you don’t need to be a shader expert or know Three.js by heart to inject and use instance data. Still, there are many ways to do it, each with its own pros and cons, and you need to understand them to use them well.
And that’s the whole purpose of this lesson.
I should warn you, this lesson is a little bit boring. We won’t create cool effects yet because we need to focus on the technique. But with great techniques come great experiences, and we’ll rely a lot on instancing in the following lessons.
When to use instancing 02:02
It’s not always obvious, and there are many variables:
- How many instances?
- How many instances are visible on screen at the same time?
- What data changes between each instance?
- How is the instance data updated?
- Does the data even need to be updated?
- How complex is the geometry?
- How complex is the shader?
The best advice I can give is to test. Whenever you’re not sure if or how you should use instancing, just test it and monitor the performance.
Using instancing for just a few objects might be overkill, and it could result in unnecessary code complexity.
Setup 03:00
The starter already contains the following:
- The same floor we used in previous lessons
OrbitControlsto rotate around- The
WebGPURenderer - An instance of the
Inspector - Some lighting with shadows
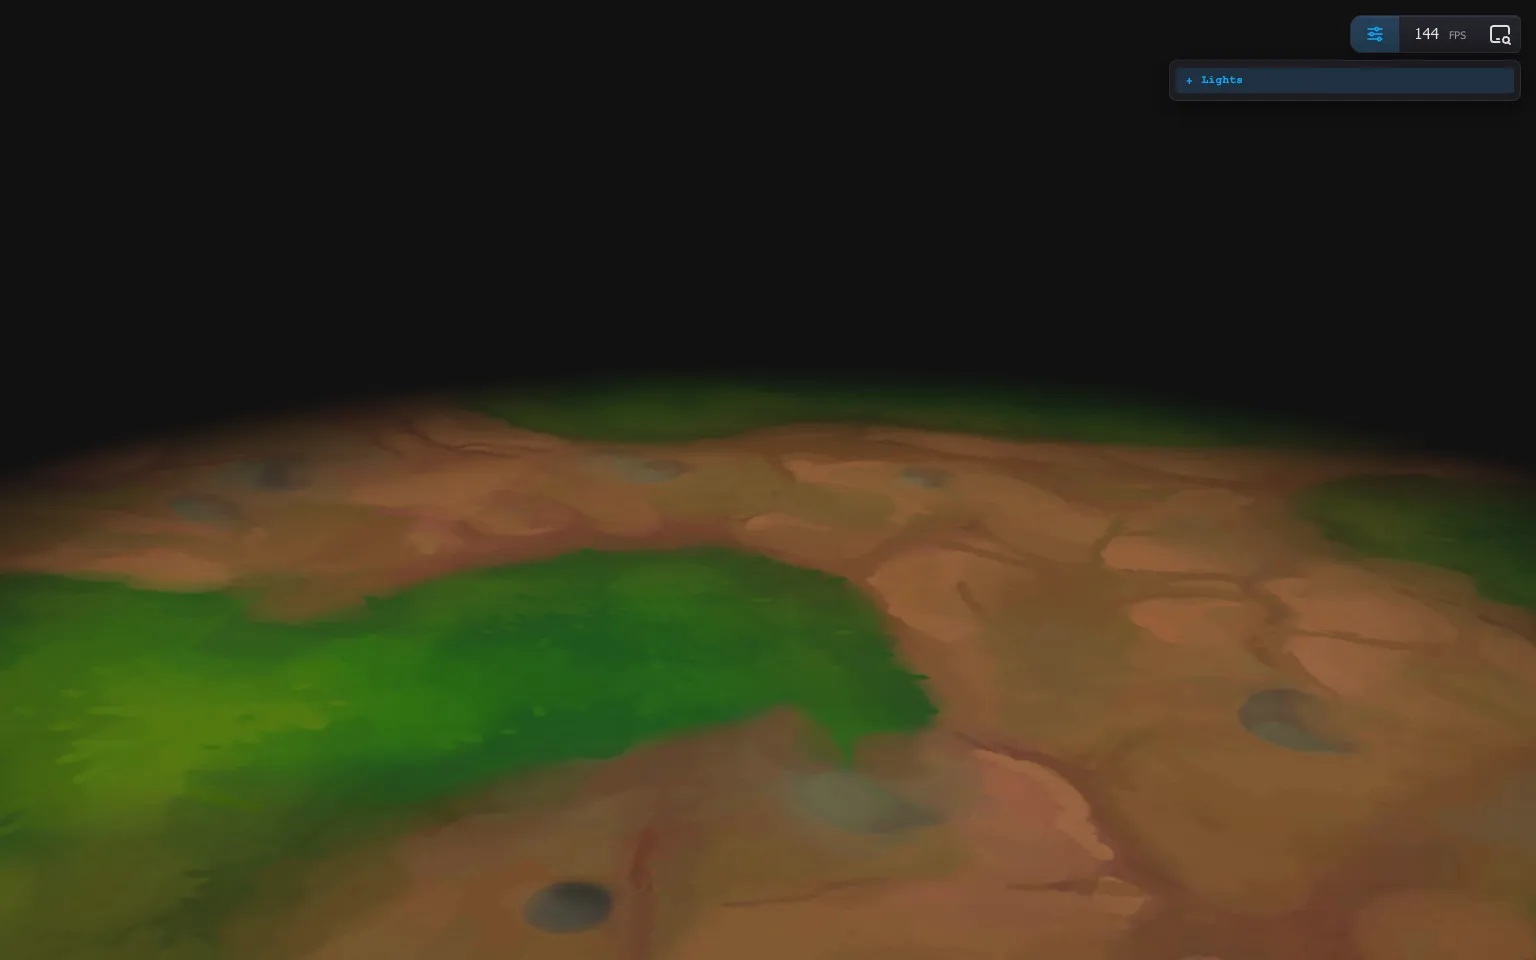
Method 1: Without instancing 03:19
And we’ll start with what could be considered the wrong way: without any instancing.
For the exercise, let’s create 4 boxes, even though it’s not enough to justify the use of instances.
Right after the Floor section, start with a block comment so that we clearly separate each method:
/**
 * Method 1:
 * Without instancing
 */
Create a count variable that will contain how many meshes we want:
const count = 4Create a for() loop from 0 to count (not included):
for(let i = 0; i < count; i++)
{

}
In the for() loop, create a geometry, and use a BoxGeometry with a bit of subdivision:
for(let i = 0; i < count; i++)
{
    // Geometry
    const geometry = new THREE.BoxGeometry(0.5, 1, 0.5, 12, 12, 12)
}
Next, we create the material. We’ll use a MeshStandardNodeMaterial, but any material that supports lighting and shadow would do the trick for the lesson:
for(let i = 0; i < count; i++)
{
    // ...

    // Material
    const material = new THREE.MeshStandardNodeMaterial()
}
Finally, we instantiate the Mesh, set castShadow and receiveShadow, and add to scene:
for(let i = 0; i < count; i++)
{
    // ...

    // Mesh
    const mesh = new THREE.Mesh(geometry, material)
    mesh.castShadow = true
    mesh.receiveShadow = true
    scene.add(mesh)
}
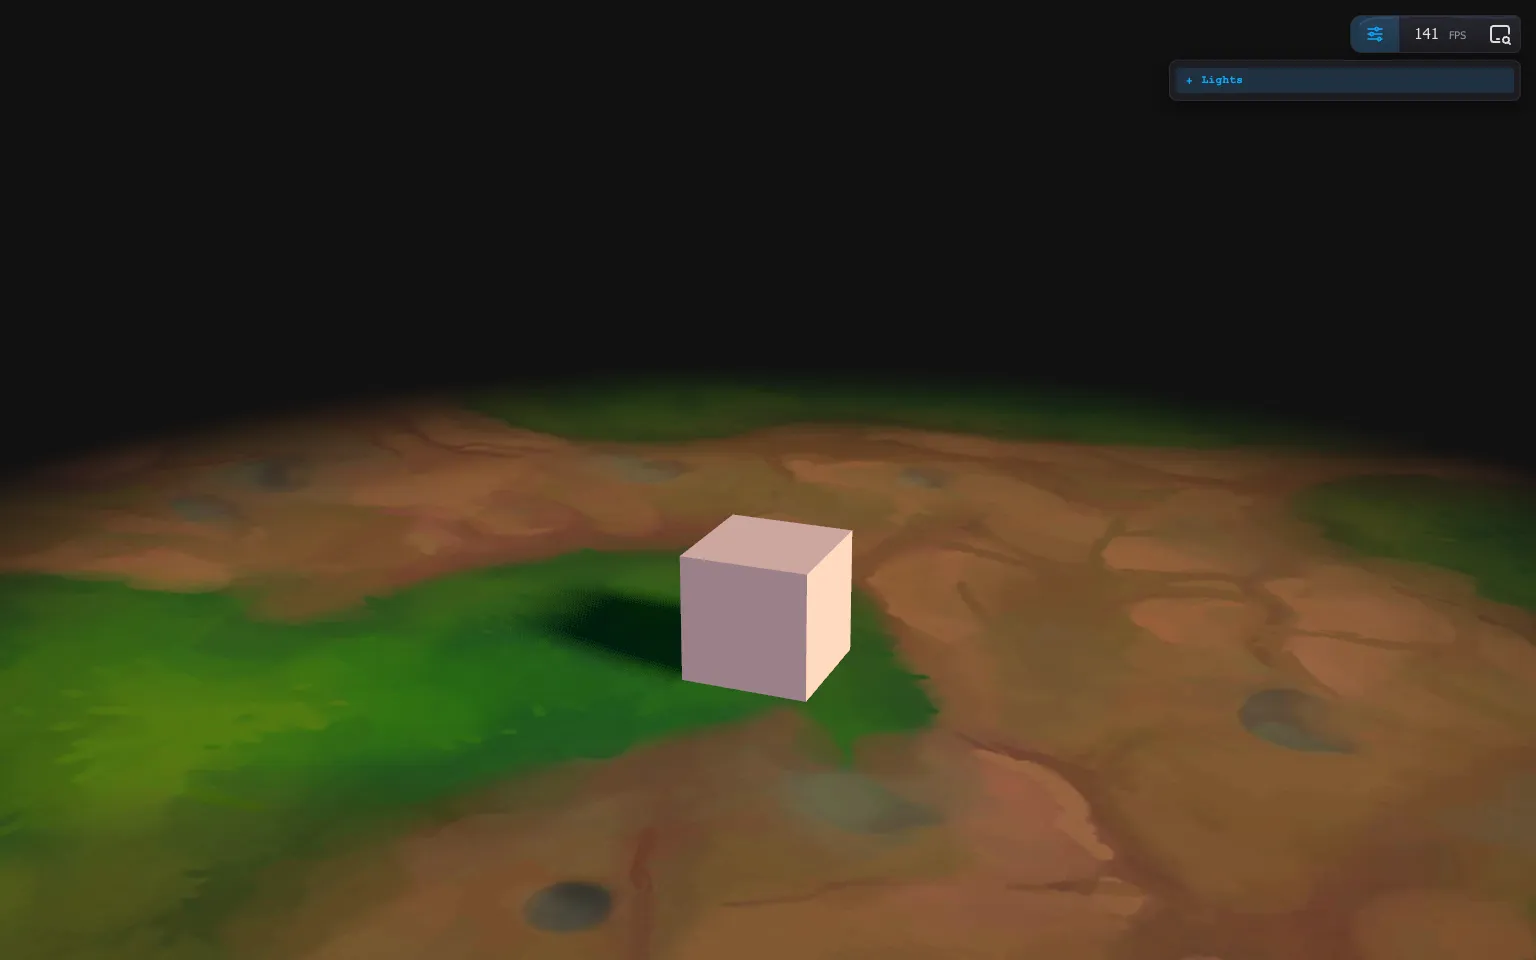
All our boxes are on top of each other, so let’s move them.
In the for(), calculate a progress variable that goes from 0 to 1 (included):
for(let i = 0; i < count; i++)
{
    // ...
    const mesh = new THREE.Mesh(geometry, material)

    const progress = i / (count - 1)

    // ...
}
We do that so all instances fit on screen regardless of the count.
First, use the progress to change the position.x, and also move them up with the position.y:
for(let i = 0; i < count; i++)
{
    // ...
    const mesh = new THREE.Mesh(geometry, material)

    const progress = i / (count - 1)
    mesh.position.x = (progress - 0.5) * 4
    mesh.position.y = 1

    // ...
}
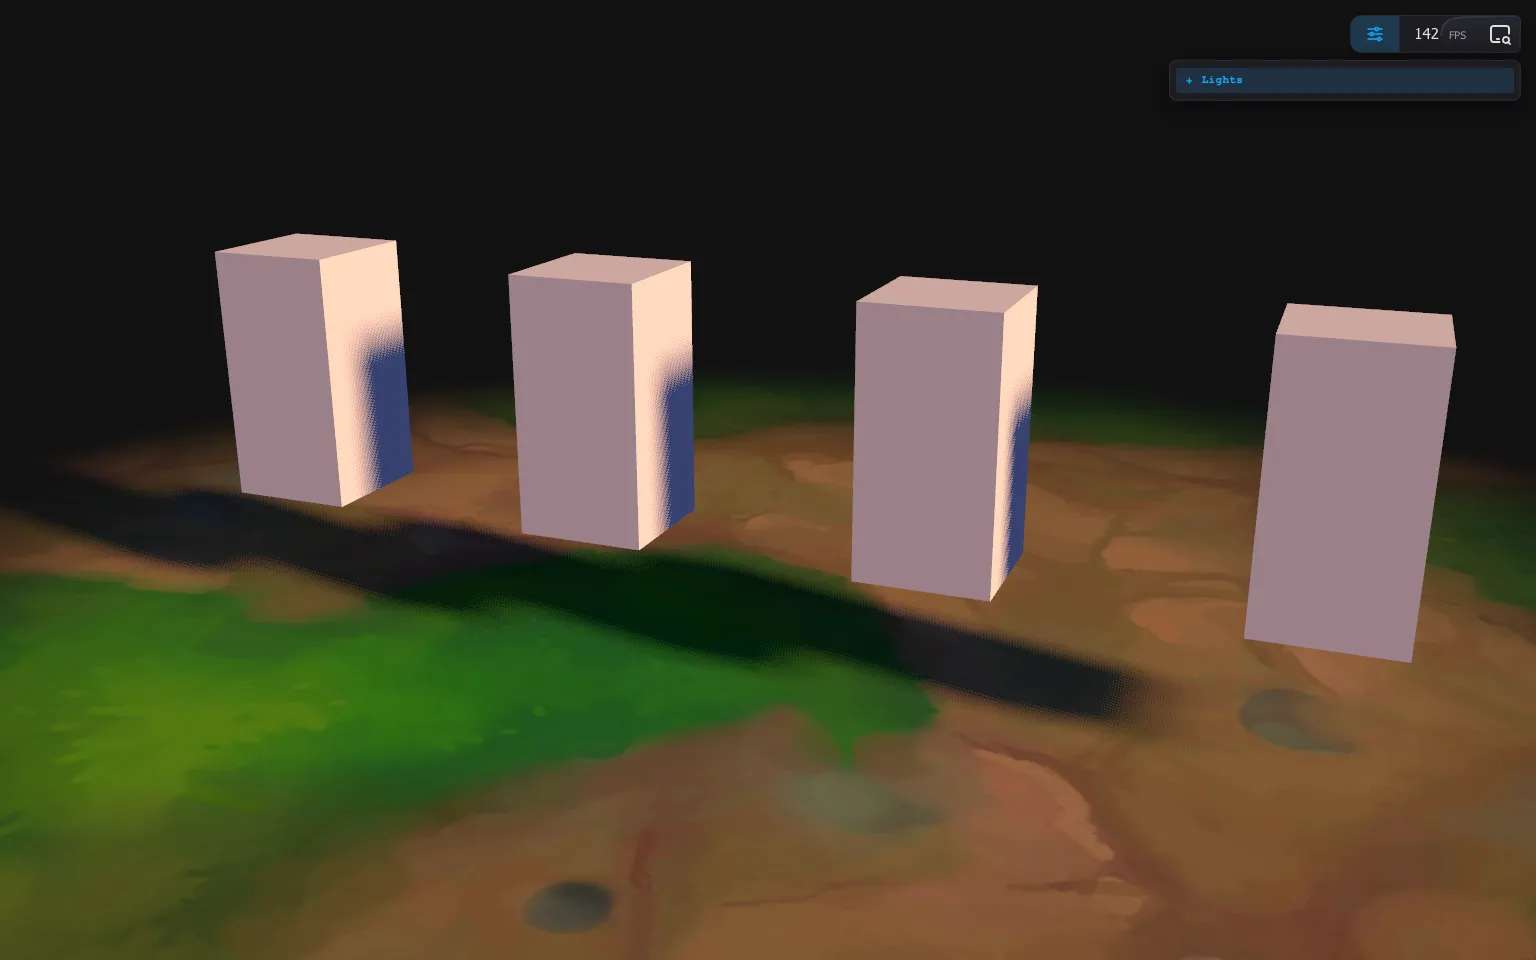
And use again the progress to rotate the boxes using the rotation.y:
for(let i = 0; i < count; i++)
{
    // ...
    const mesh = new THREE.Mesh(geometry, material)

    const progress = i / (count - 1)
    mesh.position.x = (progress - 0.5) * 4
    mesh.position.y = 1
    mesh.rotation.y = progress * 3

    // ...
}
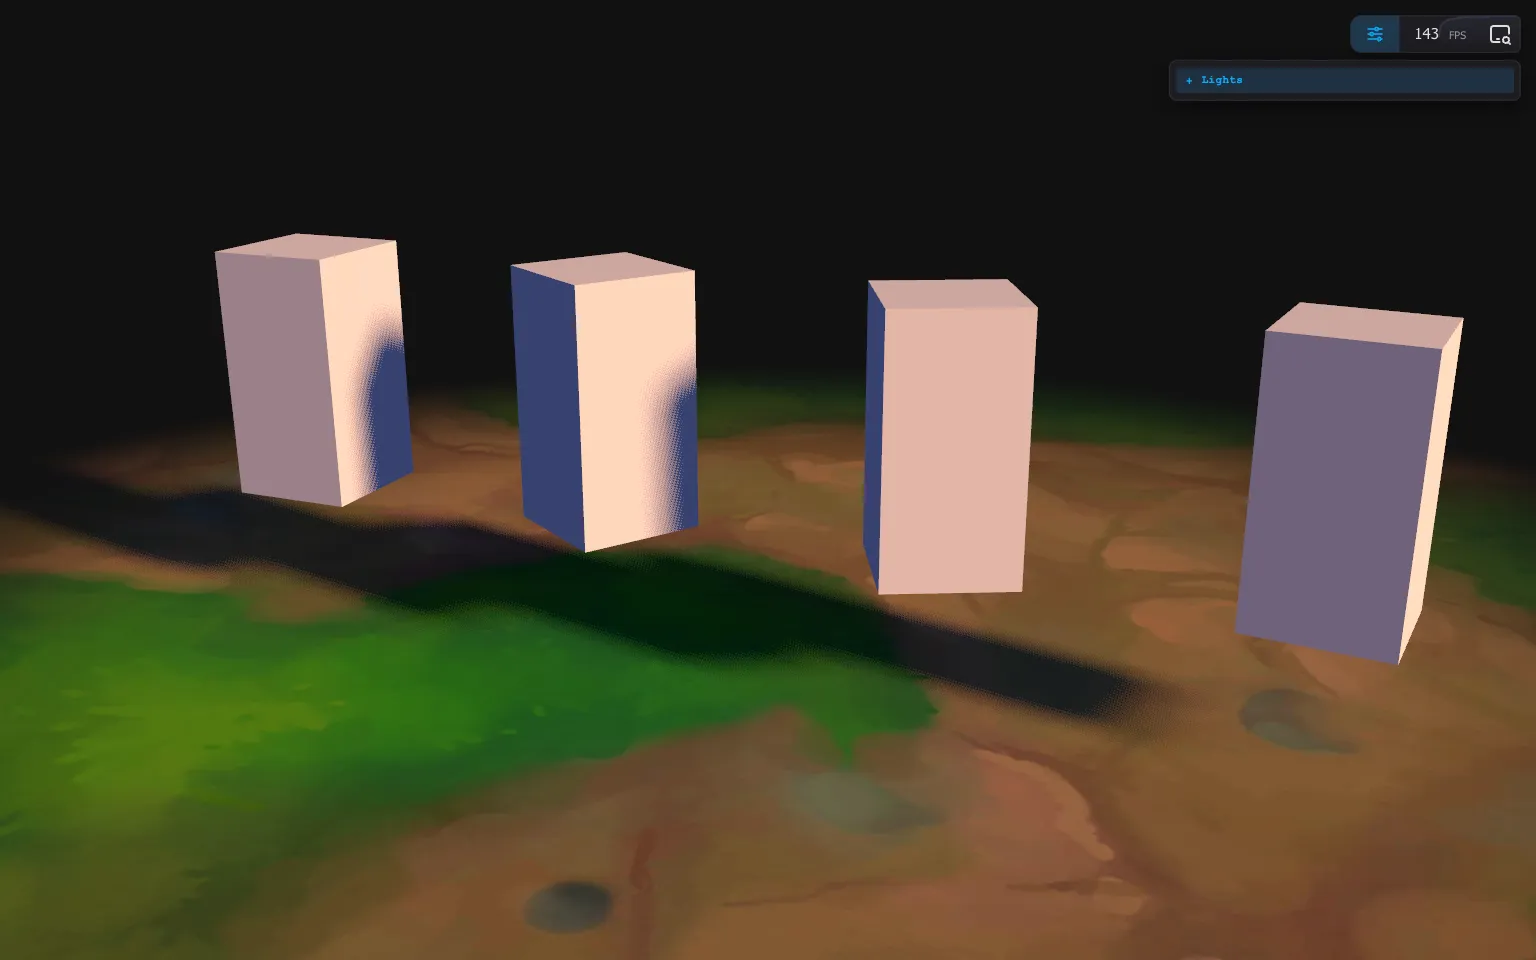
In addition, we’ll make them wave, which will be relevant for the following methods.
Below the material, assign a Fn() to positionNode, and return the positionLocal:
for(let i = 0; i < count; i++)
{
    // ...

    // Material
    const material = new THREE.MeshStandardNodeMaterial()

    material.positionNode = Fn(() =>
    {
        return positionLocal
    })()

    // ...
}
Calculate a wave animation using time, positionLocal.y and sin(), and add it to positionLocal.z:
for(let i = 0; i < count; i++)
{
	  // ...

    material.positionNode = Fn(() =>
    {
        const wave = sin(time.add(positionLocal.y.mul(3))).mul(0.4)
        positionLocal.z.addAssign(wave)
        return positionLocal
    })()

    // ...
}
☝
We are updating positionLocal directly to keep things simple. TSL allows that, but keep in mind that not every reference node can be updated like this. As an example positionGeometry can’t be updated because it refers to an actual attribute which is read-only.
In theory, we should have one draw per mesh.
Open the Inspector, go to Timeline, hit the Record button, and check the result.
Here are the 4 draw calls corresponding to our 4 boxes.
In the shadow map render, we can see only one line, but it’s because they all share the same material, and the amount of calls is written in parentheses ((4) in this case).
Moving the material instantiation and the positionNode outside of the for() results in a similar behavior for the default render of our meshes:
// Material
const material = new THREE.MeshStandardNodeMaterial()

material.positionNode = Fn(() =>
{
    const wave = sin(time.add(positionLocal.y.mul(3))).mul(0.4)
    positionLocal.z.addAssign(wave)
    return positionLocal
})()

for(let i = 0; i < count; i++)
{
    // ...
}
Let’s discover other ways to transform instances without using transform matrices in the following methods.
Method 2: with InstancedMesh 13:10
Let’s create the same 4 boxes, but this time using the classic InstancedMesh.
How to use it 🤔
- Download the Starter pack or Final project
- Unzip it
- Open your terminal and go to the unzip folder
-
Run
npm installto install dependencies
(if your terminal warns you about vulnerabilities, ignore it) -
Run
npm run devto launch the local server
(project should open on your default browser automatically) - Start coding
- The JS is located in src/script.js
- The HTML is located in src/index.html
- The CSS is located in src/style.css