SPACEto play / pauseARROW RIGHTorLto go forwardARROW LEFTorJto go backwardARROW UPto increase volumeARROW DOWNto decrease volumeFto toggle fullscreenMto toggle mute0 to 9to go to the corresponding part of the videoSHIFT+,to decrease playback speedSHIFT+.or;to increase playback speed
Shortcuts ⌨️
Unlock content 🔓
To get access to 93 hours of video, a members-only Discord server, subtitles, lesson resources, future updates and much more join us for only $95!
Want to learn more? 🤘
That's the end of the free part of this lesson
WebGPU & TSL Course
new
$45
VAT incl.
- 21 lessons · 24 hours of video
- Quizzes · Certificate
- Members-only Discord server · Future updates
Introduction 00:00
Until now, we’ve been writing our TSL nodes like spaghetti in an Italian restaurant.
It’s time to organize our nodes into functions and, as always, there is a node for that named Fn().
Fn stands for “function” and is a way to create “node functions”. While it’s indeed a solution for creating reusable instructions, there’s a lot more to it, as you’ll see throughout this lesson.
Setup 00:29
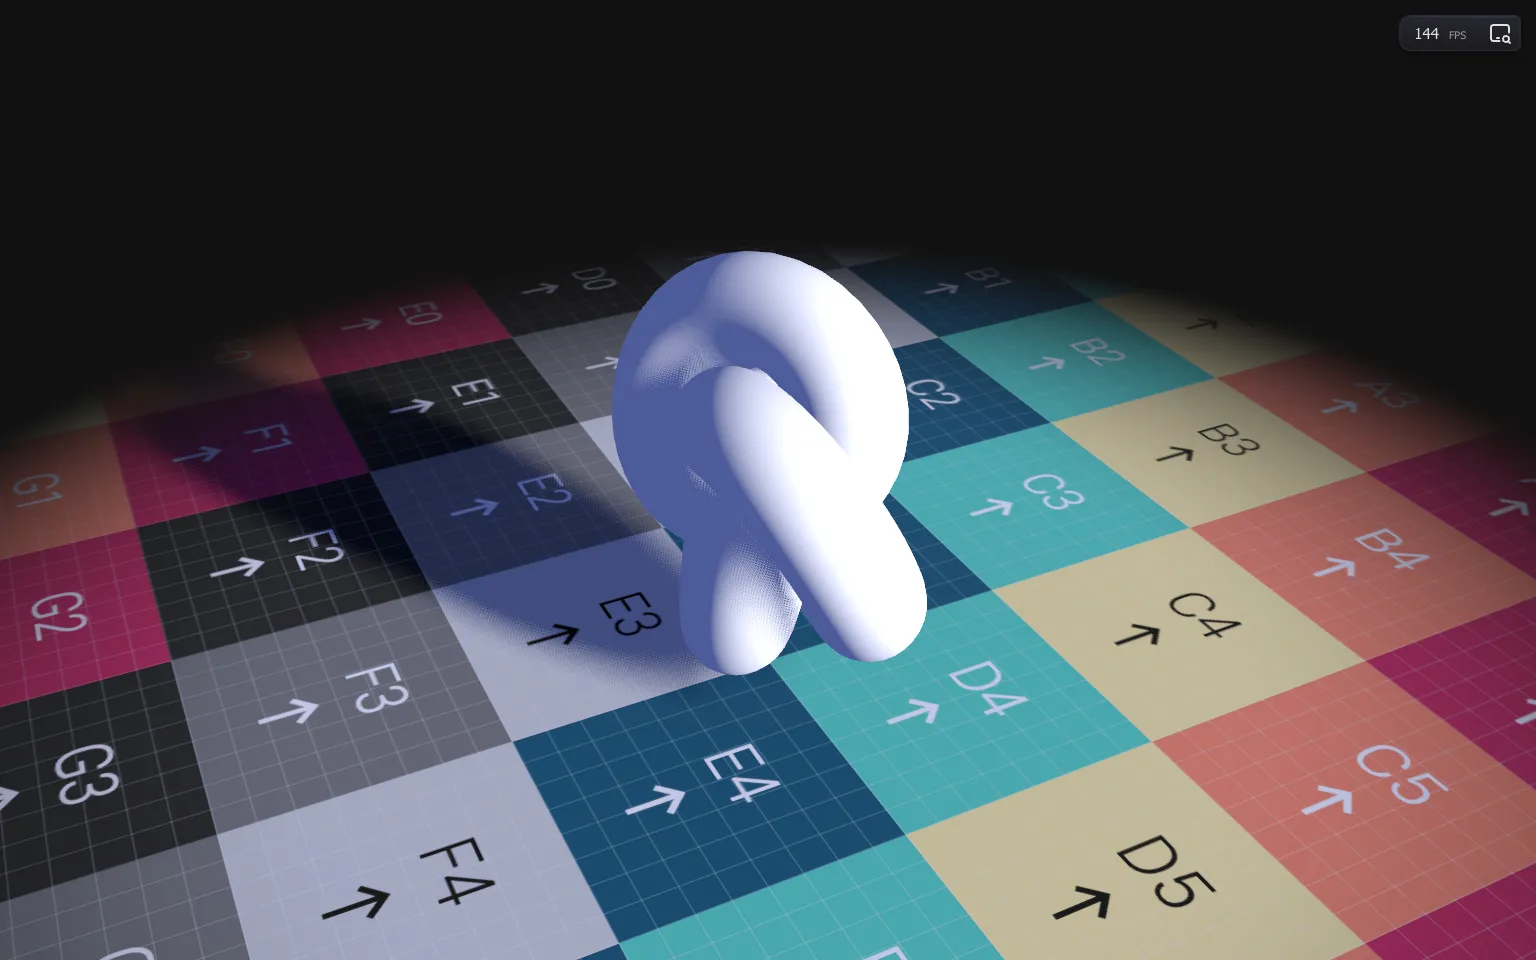
The starter is similar to the previous lessons:
OrbitControlsto rotate around- A floor already using the
MeshStandardNodeMaterialwith the fade out and a UV checker texture generated on uvchecker.atlux.one - A torus knot already using the
MeshStandardNodeMaterial - Running the
WebGPURenderer - Some lighting with shadows
- An instance of the
Inspector
Fn 00:52
To put the Fn() node into practice, we’ll create a function to draw a circle on the floor.
On the Floor section, after the material instantiation, call Fn() and assign it to a circle variable (don’t save yet):
const circle = Fn()And to make it work, we first need to provide a JavaScript function to Fn():
const circle = Fn(() =>
{
})
☝
We used an arrow function, but you can use a traditional JavaScript function, although there is no benefit.
That function is going to hold our nodes, but let’s keep it empty for now. It might trigger an error, so avoid saving until we return something.
Call it in a vec3(), and assign the result to our material.colorNode:
material.colorNode = vec3(circle())The goal of our circle() function is to return a float() equal to 1 when the coordinate is inside the circle shape, and 0 when it’s outside.
Parameters 02:49
To draw this circle, we need to know:
- the UV coordinate to be tested
- the center of the circle
- its radius
- its thickness
We’ll send all of this info as arguments of circle():
material.colorNode = vec3(circle(
    uv(),        // Coordinates
    vec2(0.5),   // Center
    float(0.25), // Radius
    float(0.02)  // Thickness
))
☝
While it’s not always mandatory, it’s good practice to use nodes to be safe.
To retrieve those parameters in our function, we can get all of them at once in a single parameter.
Let’s name it naively parameters:
const circle = Fn((parameters) =>
{

})
parameters is, by default, an array, and we could use it with parameters[0], parameters[1], etc. but it’s going to make our code very hard to read and maintain.
Instead, we can destructure it, and choose variable names that make more sense:
const circle = Fn(([ coordinates, center, radius, thickness ]) =>
{

})
☝
Destructuring is a JavaScript feature.
Now that we have our parameters, we’re ready to draw our circle. We’ll go a little bit fast since drawing circles isn’t the purpose of the lesson, and we’ve done it already in previous lessons. Still, let’s do it step by step.
How to use it 🤔
- Download the Starter pack or Final project
- Unzip it
- Open your terminal and go to the unzip folder
-
Run
npm installto install dependencies
(if your terminal warns you about vulnerabilities, ignore it) -
Run
npm run devto launch the local server
(project should open on your default browser automatically) - Start coding
- The JS is located in src/script.js
- The HTML is located in src/index.html
- The CSS is located in src/style.css