SPACEto play / pauseARROW RIGHTorLto go forwardARROW LEFTorJto go backwardARROW UPto increase volumeARROW DOWNto decrease volumeFto toggle fullscreenMto toggle mute0 to 9to go to the corresponding part of the videoSHIFT+,to decrease playback speedSHIFT+.or;to increase playback speed
Shortcuts ⌨️
Unlock content 🔓
To get access to 93 hours of video, a members-only Discord server, subtitles, lesson resources, future updates and much more join us for only $95!
Want to learn more? 👋
That's the end of the free part of this lesson
WebGPU & TSL Course
new
$45
VAT incl.
- 21 lessons · 24 hours of video
- Quizzes · Certificate
- Members-only Discord server · Future updates
Introduction 00:00
We’ve been using a ton of references and attributes, such as materialColor, modelPosition, positionGeometry, uv(), etc.
But those are built-in data that Three.js already provides.
In this lesson, we’ll learn how to inject our own data, specifically uniforms and attributes.
Setup 00:32
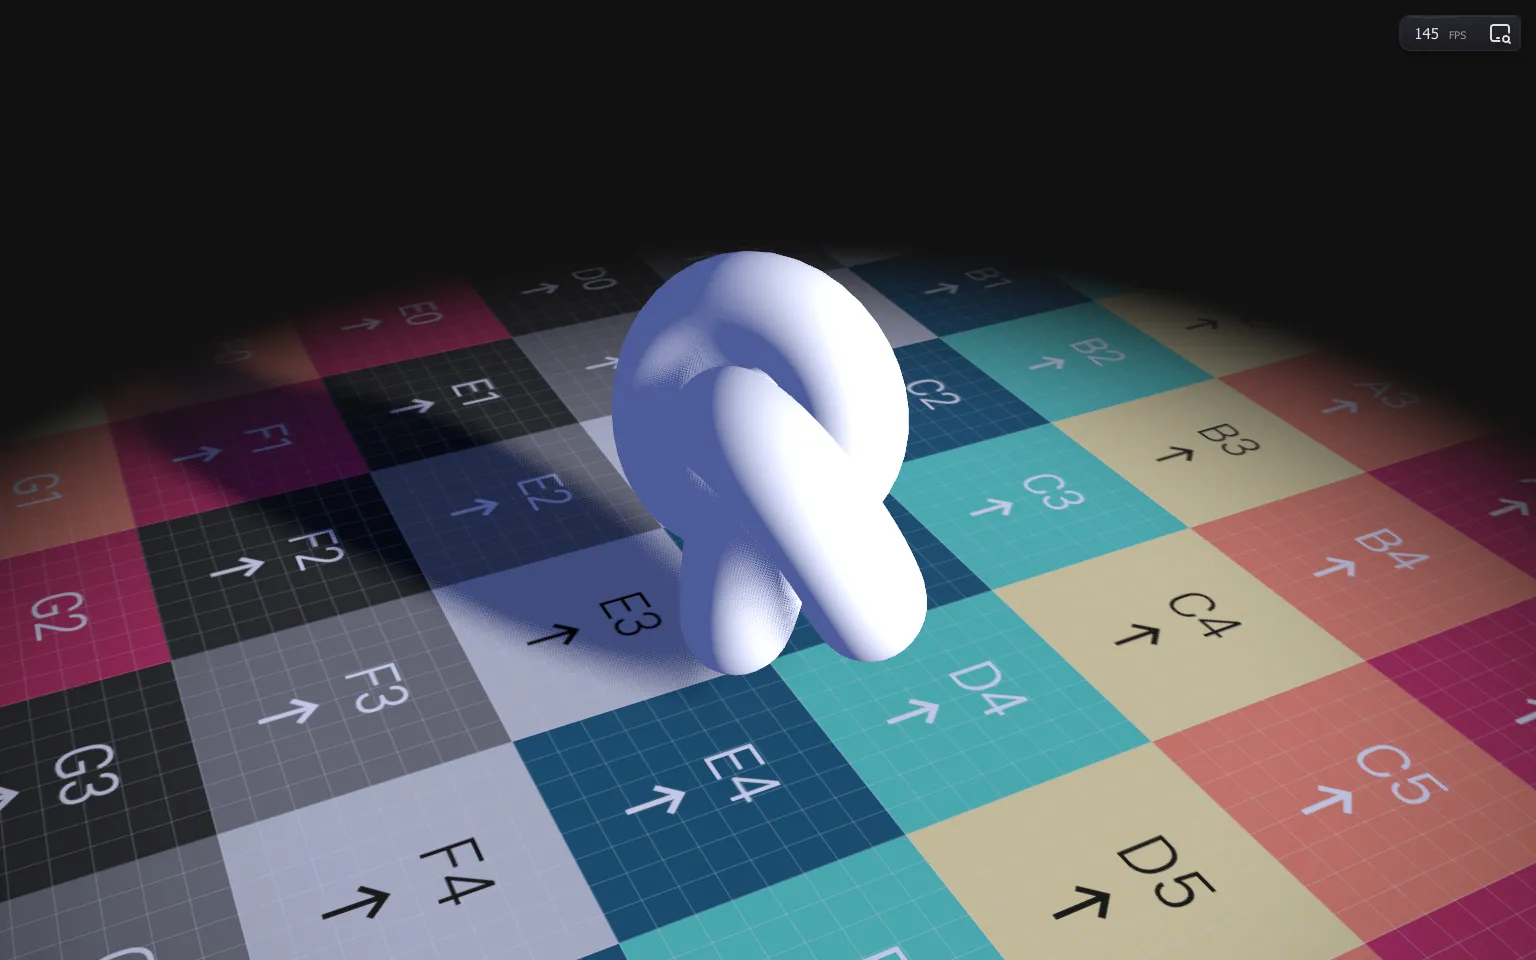
The starter is similar to the previous lessons:
OrbitControlsto rotate around- A floor already using the
MeshStandardNodeMaterialwith the fade out and a UV checker texture generated on uvchecker.atlux.one - A torus knot already using the
MeshStandardNodeMaterial - Running the
WebGPURenderer - Some lighting with shadows
- An instance of the
Inspector
What are uniforms and attributes 00:50
Just to make sure everyone is on the same page, here’s a quick recap about uniforms and attributes.
Uniforms
Uniforms are variables we create and control on the JavaScript side, to be used in the shader.
A uniform has the same value for every vertex, and can be used in both the vertex shader and the fragment shader.
It can be the color of the material, its roughness, some transform matrices, cursor position to create cursor interaction, or anything we want.
Attributes
An attribute is data that varies between vertices, like the position, the UV, or the normals.
It can be used in the vertex shader only, but we can forward it to the fragment shader using a varying, resulting in an interpolated value.
Uniforms 02:53
Let’s start with the uniforms.
Good news, it’s very easy, and almost everything you need to know gravitates around the uniform() node.
First, let’s doodle a little animation on the torus knot so that we have something to play with.
We want a repeating gradient based on the elevation of the fragment, and it should keep moving up.
If you feel like challenging yourself, now is the time.
By the way, this overlaps a little with the upcoming Patterns lesson.
In the Torus Knot section, after the material, start with the positionWorld.y, and assign it to a pattern variable:
const material = new THREE.MeshStandardNodeMaterial()

const pattern = positionWorld.y
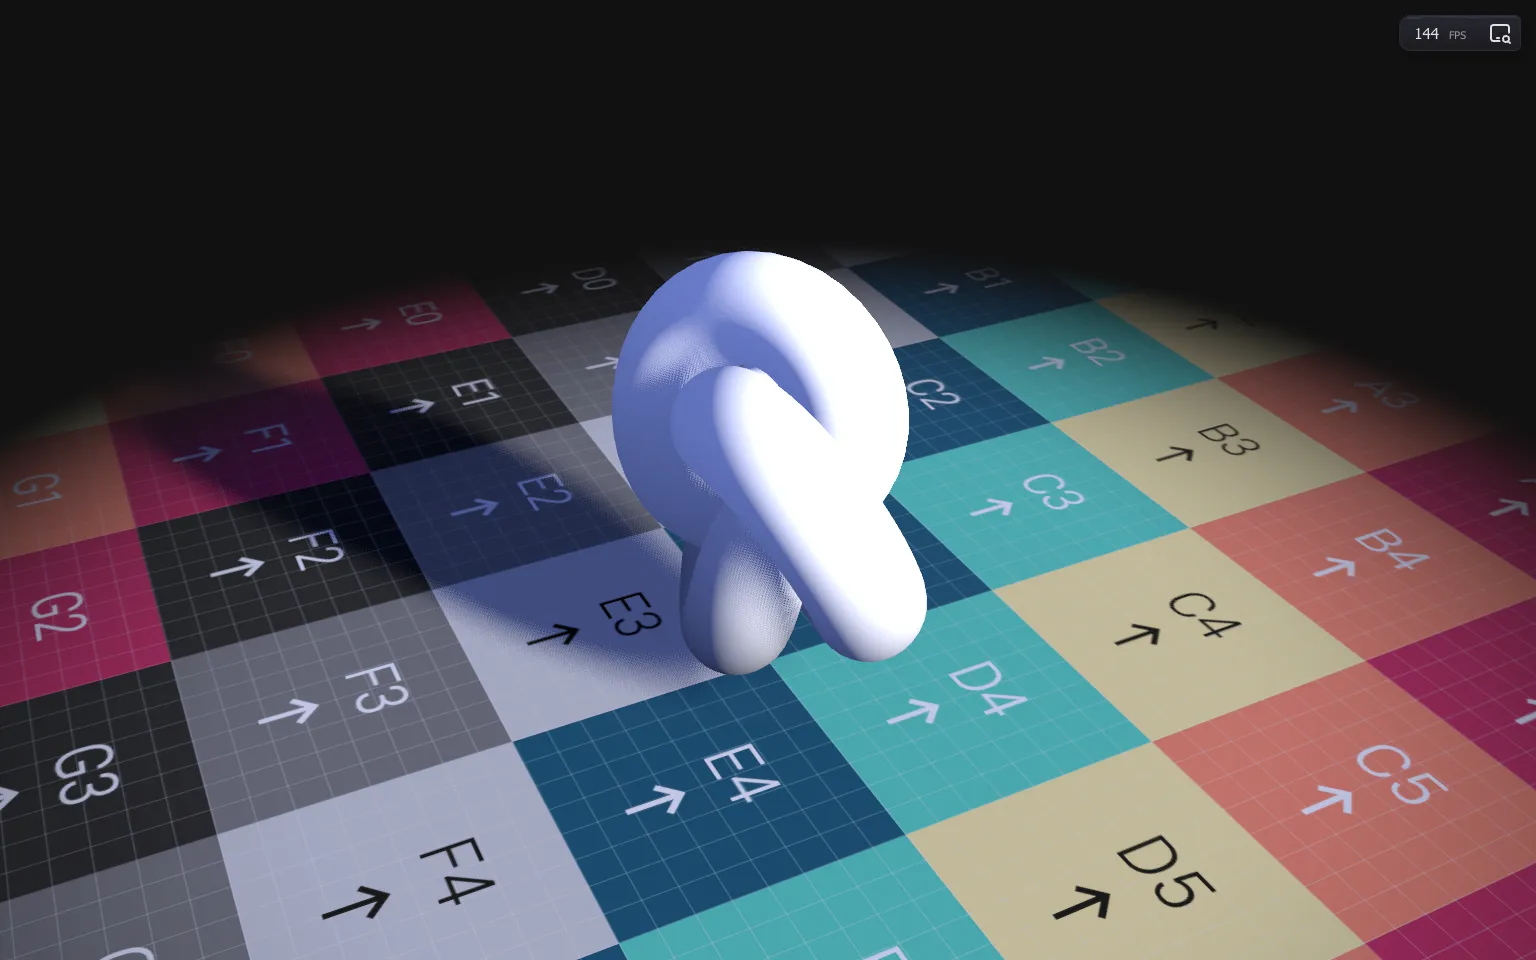
Assign it to the colorNode:
material.colorNode = pattern
☝
We rely on TSL automatic type conversion to turn our pattern, which is a float(), into the expected vec3().
Use a fract() node to make the pattern loop back to 0 when reaching 1:
const pattern = positionWorld.y
    .fract()
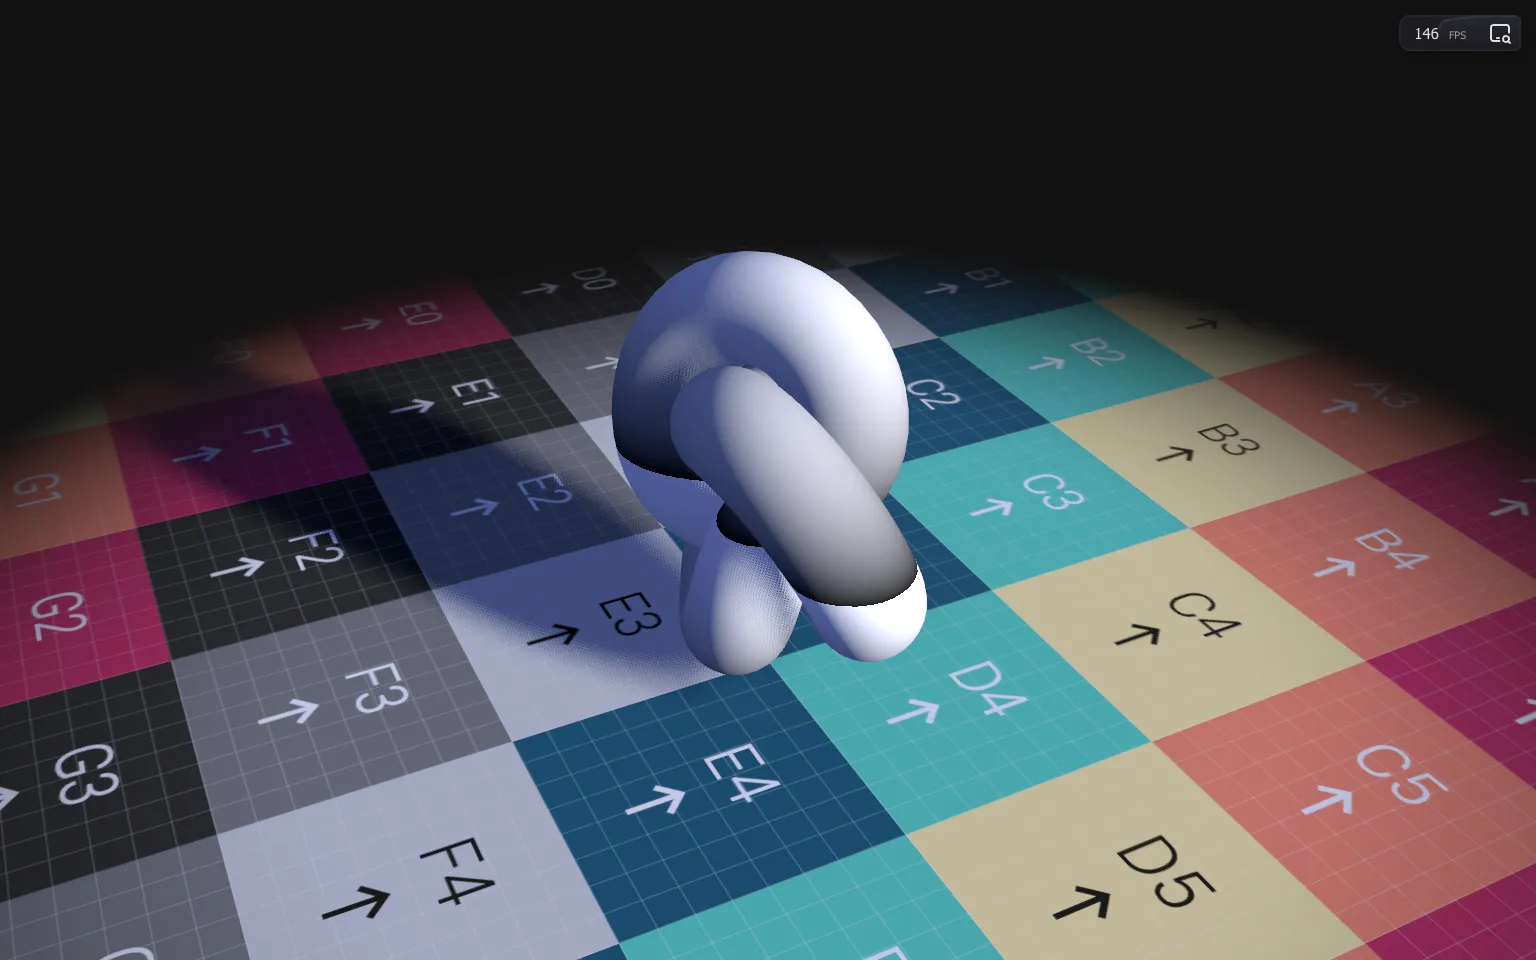
Before the fract(), subtract the time node so that the pattern goes up:
const pattern = positionWorld.y
    .sub(time)
    .fract()
We have our pattern, but it’s going too fast, and the gradient is too large. Furthermore, we want to control those aspects with our Inspector.
And that’s a job for the uniform() node.
How to use it 🤔
- Download the Starter pack or Final project
- Unzip it
- Open your terminal and go to the unzip folder
-
Run
npm installto install dependencies
(if your terminal warns you about vulnerabilities, ignore it) -
Run
npm run devto launch the local server
(project should open on your default browser automatically) - Start coding
- The JS is located in src/script.js
- The HTML is located in src/index.html
- The CSS is located in src/style.css