SPACEto play / pauseARROW RIGHTorLto go forwardARROW LEFTorJto go backwardARROW UPto increase volumeARROW DOWNto decrease volumeFto toggle fullscreenMto toggle mute0 to 9to go to the corresponding part of the videoSHIFT+,to decrease playback speedSHIFT+.or;to increase playback speed
Shortcuts ⌨️
Unlock content 🔓
To get access to 93 hours of video, a members-only Discord server, subtitles, lesson resources, future updates and much more join us for only $95!
Want to learn more? 👍
That's the end of the free part of this lesson
WebGPU & TSL Course
new
$45
VAT incl.
- 21 lessons · 24 hours of video
- Quizzes · Certificate
- Members-only Discord server · Future updates
Introduction 00:00
Good textures can make a huge difference in your projects.
While textures are perfectly supported by native Three.js materials, TSL brings a few more tricks, some of which we’ll discover in this lesson.
Setup 00:18
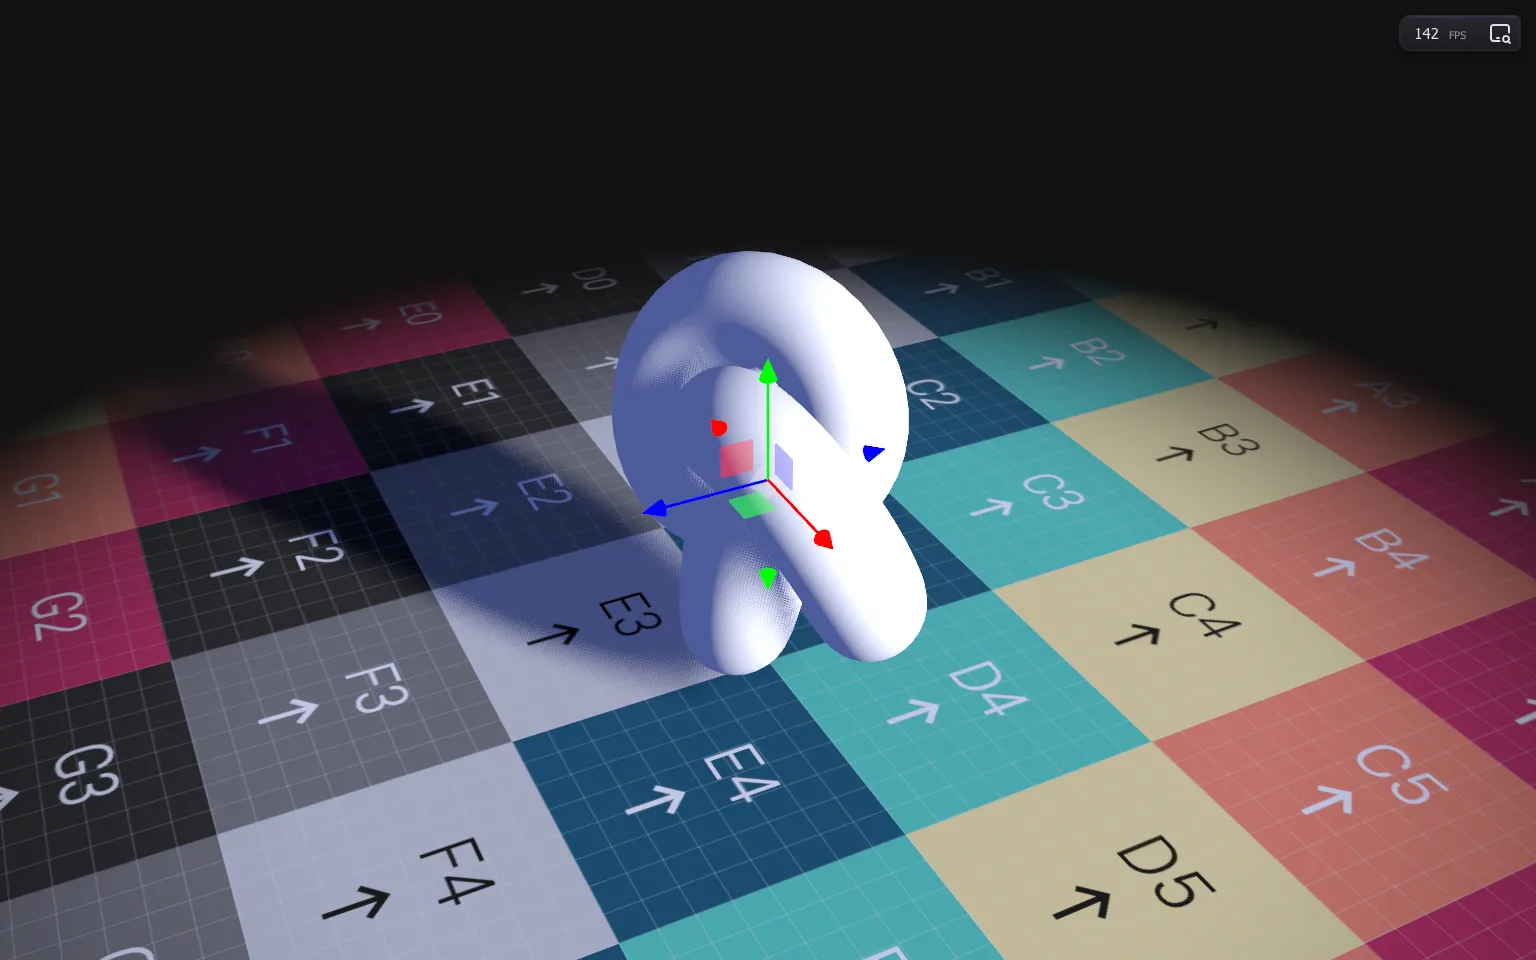
The starter is close to the previous lessons, but with small changes to accommodate the upcoming features:
OrbitControlsto rotate around- A floor already using the
MeshStandardNodeMaterialwith the fade out and a UV checker texture generated on uvchecker.atlux.one - A torus already using the
MeshStandardNodeMaterial - Running the
WebGPURenderer - Some lighting with shadows
- An instance of the
Inspector - An instance of the
TransformControlsto play with the torus
Texture sampling 01:02
In the Floor section, comment the map property on the MeshStandardNodeMaterial:
const material = new THREE.MeshStandardNodeMaterial({
    // map: uvChecker,
    transparent: true
})
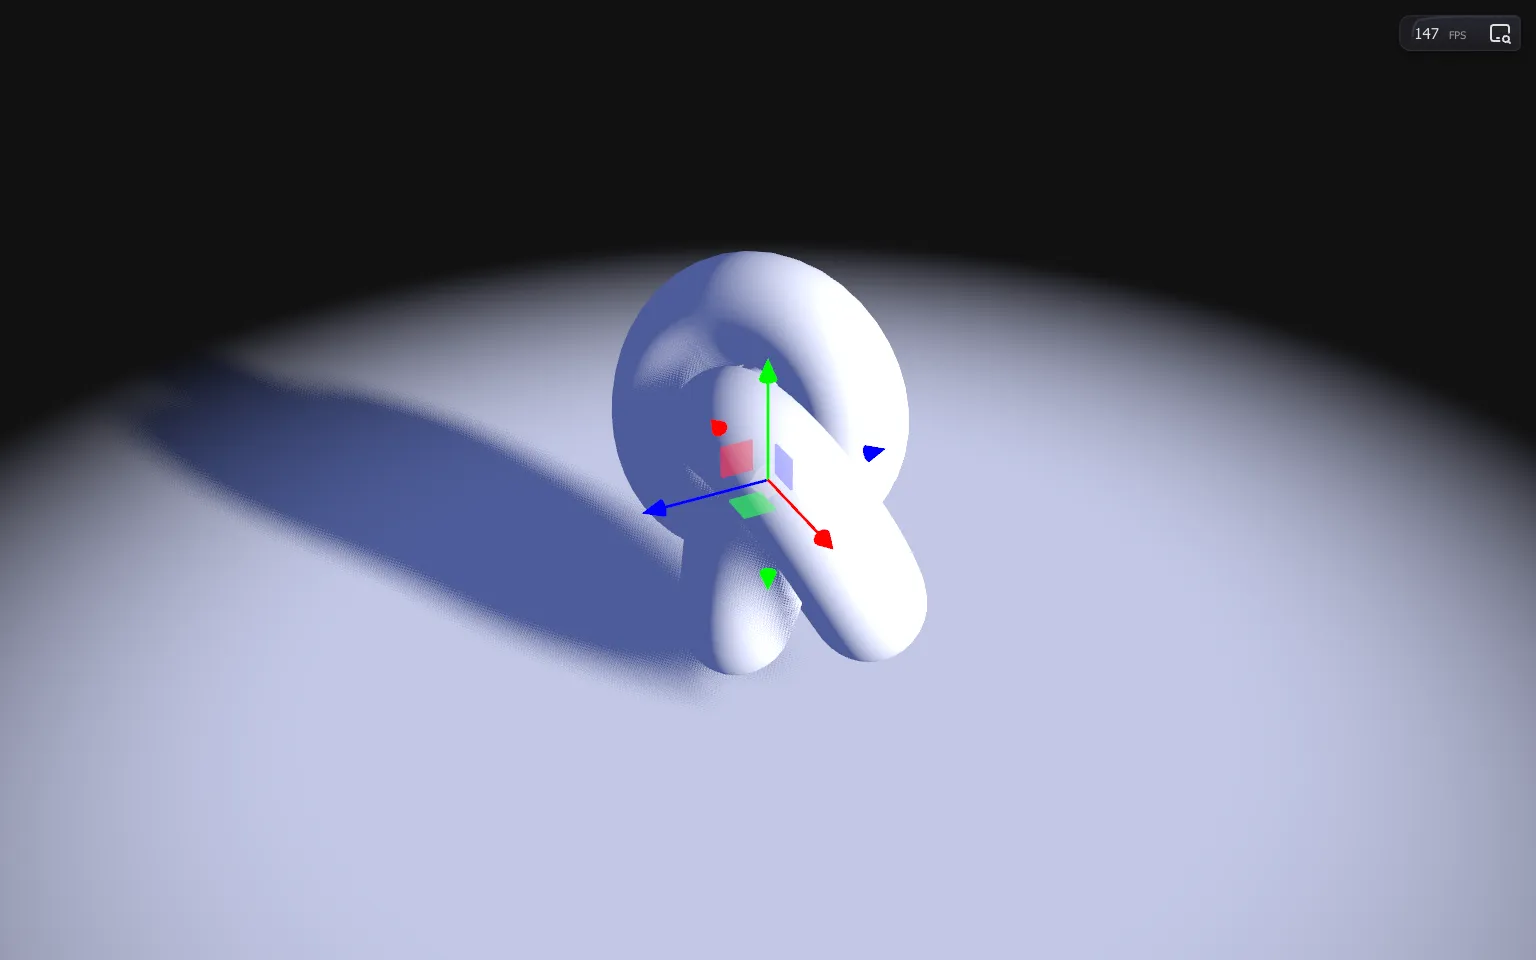
We’ll sample the texture using TSL, and we can do that with the texture() node.
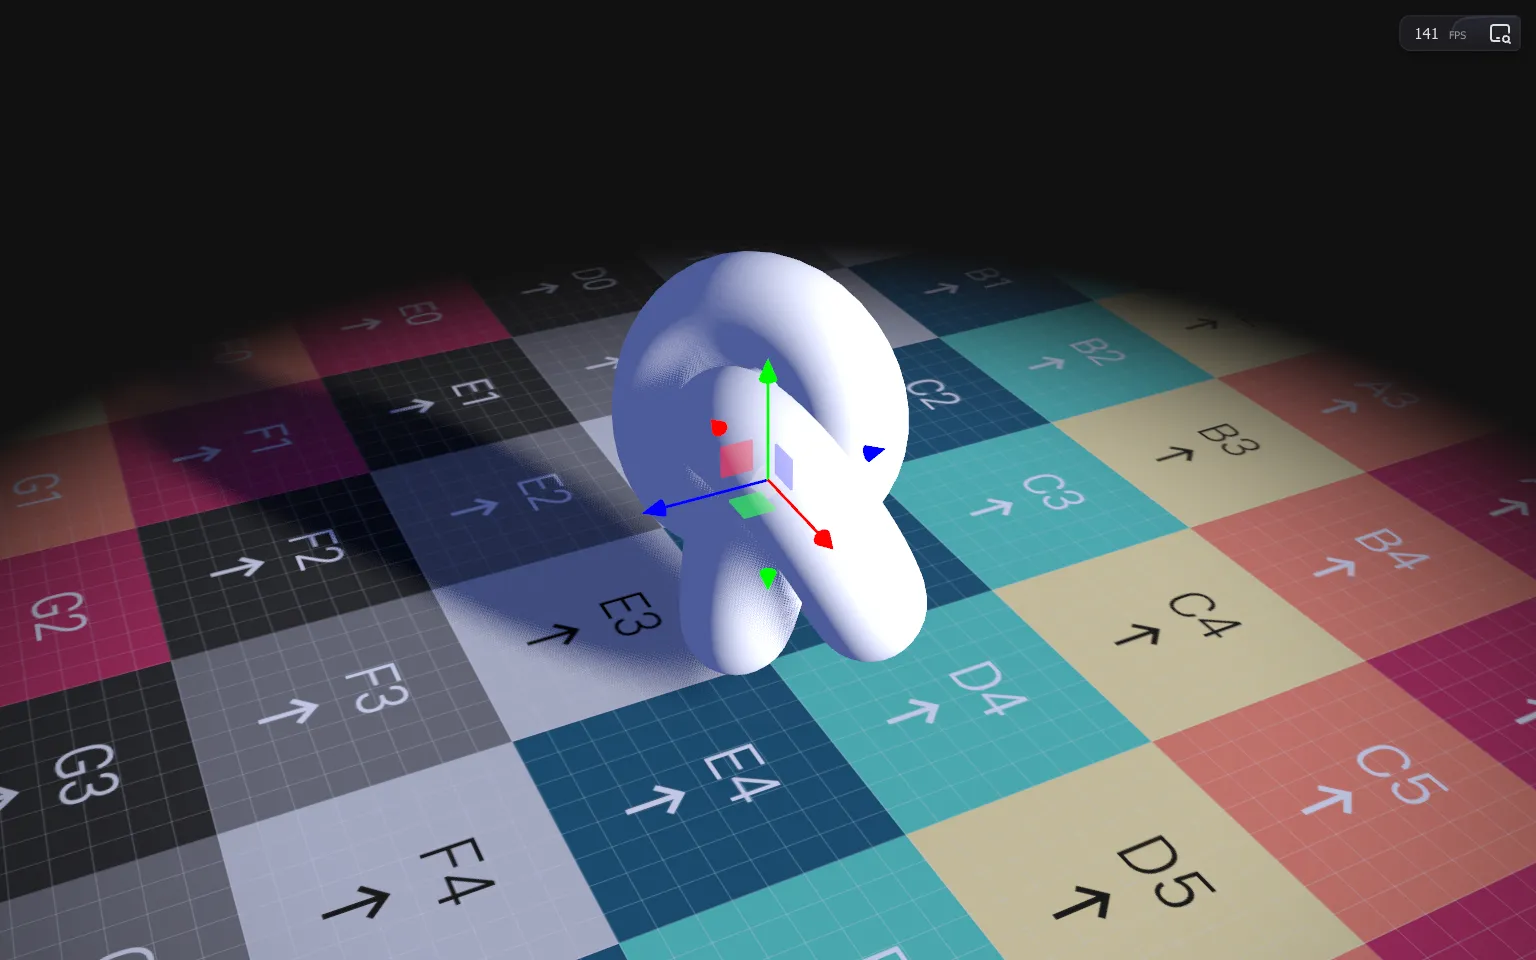
Send the uvChecker (which is our floor texture) to the texture() node, and assign the result to colorNode:
material.colorNode = texture(uvChecker)
☝
texture() returns a vec4(), meaning that it supports the alpha channel. While colorNode officially requires a vec3(), we can send a vec4() and the alpha will be used.
At the same time, many texture related features are automatically supported:
colorSpacewrapSwrapTrepeatrotationcentermagFilterminFilter
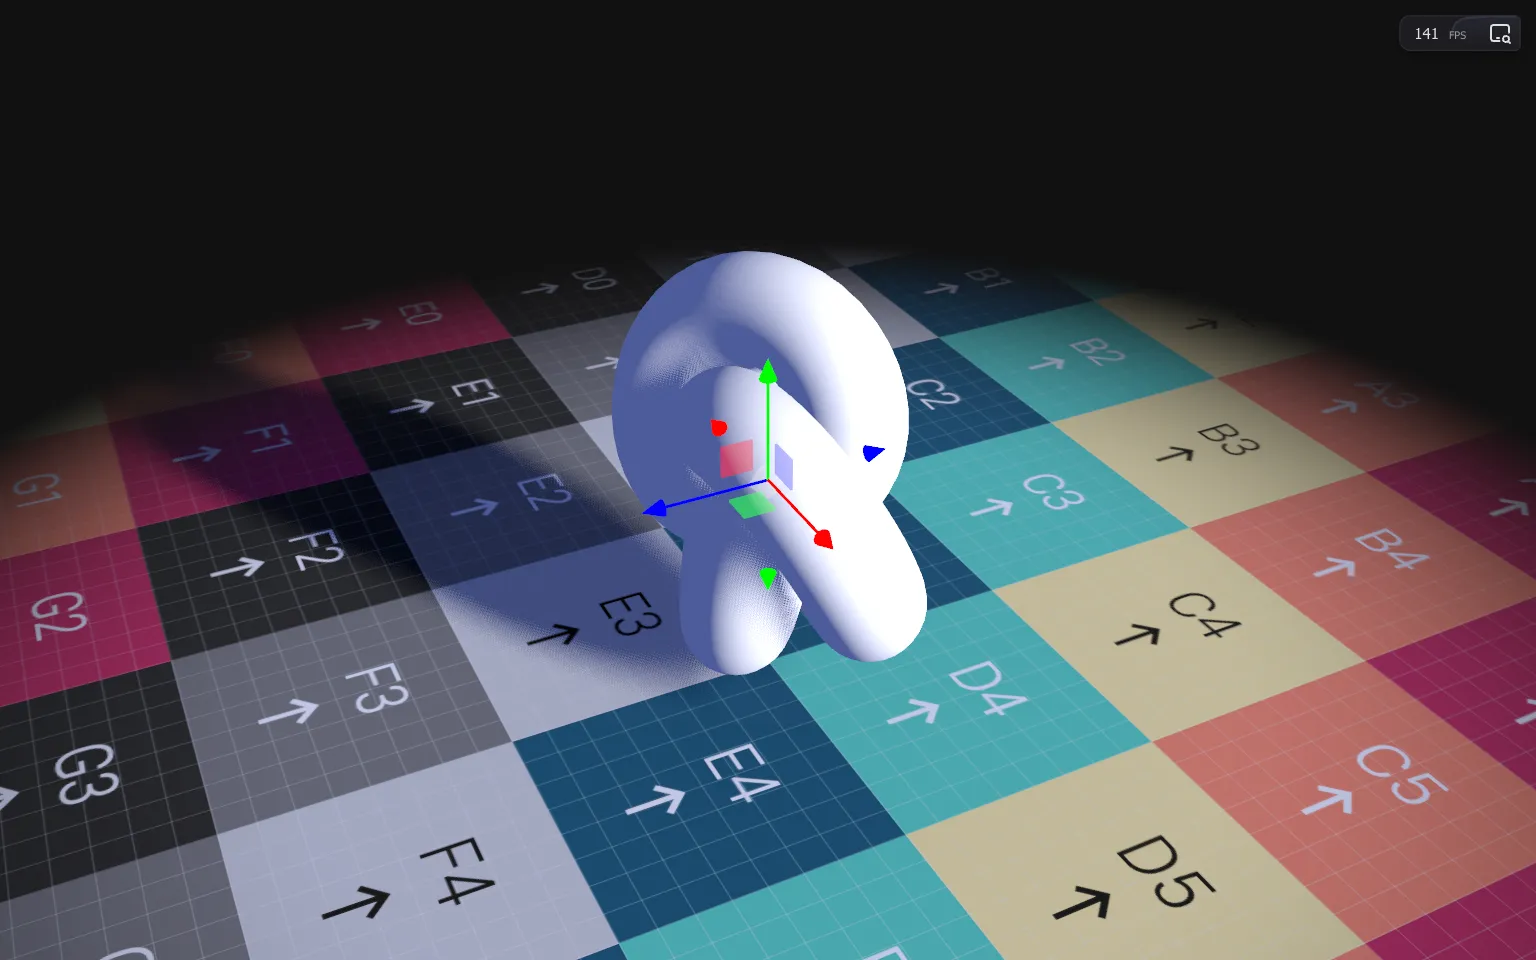
Let’s see that in action by changing some of the uvChecker properties as follows:
uvChecker.wrapS = THREE.MirroredRepeatWrapping
uvChecker.wrapT = THREE.MirroredRepeatWrapping
uvChecker.repeat.set(3, 3)
uvChecker.rotation = 1
By default, texture() will automatically use the uv() node, but we can also provide it ourselves as the second argument:
material.colorNode = texture(uvChecker, uv())
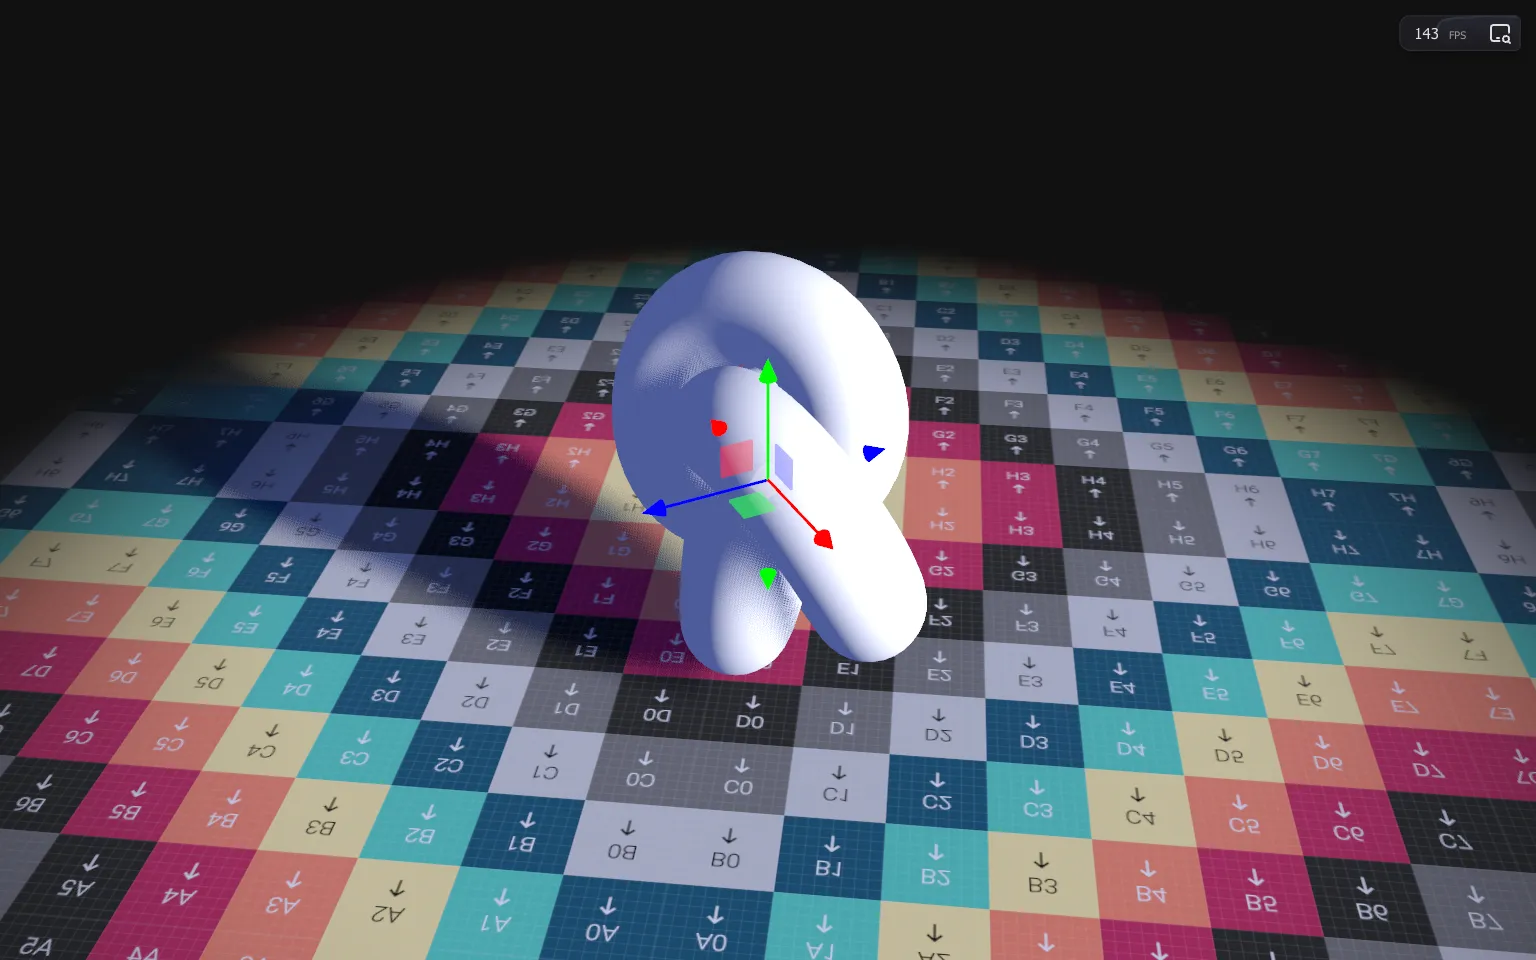
Some of the texture settings are ignored, like the repeat and rotation. Fortunately, we can do it ourselves.
How to use it 🤔
- Download the Starter pack or Final project
- Unzip it
- Open your terminal and go to the unzip folder
-
Run
npm installto install dependencies
(if your terminal warns you about vulnerabilities, ignore it) -
Run
npm run devto launch the local server
(project should open on your default browser automatically) - Start coding
- The JS is located in src/script.js
- The HTML is located in src/index.html
- The CSS is located in src/style.css