SPACEto play / pauseARROW RIGHTorLto go forwardARROW LEFTorJto go backwardARROW UPto increase volumeARROW DOWNto decrease volumeFto toggle fullscreenMto toggle mute0 to 9to go to the corresponding part of the videoSHIFT+,to decrease playback speedSHIFT+.or;to increase playback speed
Shortcuts ⌨️
Unlock content 🔓
To get access to 93 hours of video, a members-only Discord server, subtitles, lesson resources, future updates and much more join us for only $95!
Want to learn more? 🤘
That's the end of the free part of this lesson
WebGPU & TSL Course
new
$45
VAT incl.
- 21 lessons · 24 hours of video
- Quizzes · Certificate
- Members-only Discord server · Future updates
Introduction 00:00
Before we even start talking about sprites, we need to clarify a few concepts.
There are 3 important terms to understand, both what they mean in the Three.js context and what they used to mean:
- Point
- Particle
- Sprite
In game engines, particles often refer to a system composed of multiple objects. It can be debris following an explosion, confetti, dust flying around, balls in a ball pit, etc. Those are not necessarily flat, and they can be 3D meshes, but the idea is that they are multiple.
Also in game engines, sprites often refer to the combination of multiple images into one texture. It can be different steps of an animation, or a combination of textures, like the block textures in Minecraft.
But in Three.js, we used to have a different interpretation of those terms. And yes, I’m using the past tense. “Points” and “Particles” meant planes facing the camera, and they implied a significant quantity, while “Sprite” meant one plane facing the camera.
Now, with the recent updates including WebGPU support and TSL, we consider things slightly differently.
- A Point is a one-pixel-size point.
- Particles are objects represented multiple times. But since habits are hard to kill, we usually refer to particles as planes facing the camera (like the old Points).
- Sprite still refers to one plane facing the camera.
It’s fuzzy and you probably don’t understand why there is a change. Don’t worry, at the end of the lesson you’ll know what is what.
Points before 02:02
Before WebGPU support, the Three.js Points class was a way to instantiate billboarding quads.
☝
Quads are just planes, and are usually composed of two triangles. And billboarding means that they’re oriented toward the camera.
And this Three.js class was relying on a native WebGL spec.
Unfortunately, not everything was perfect, and there were two main inconsistencies that could vary between GPUs:
The maximum size of a point
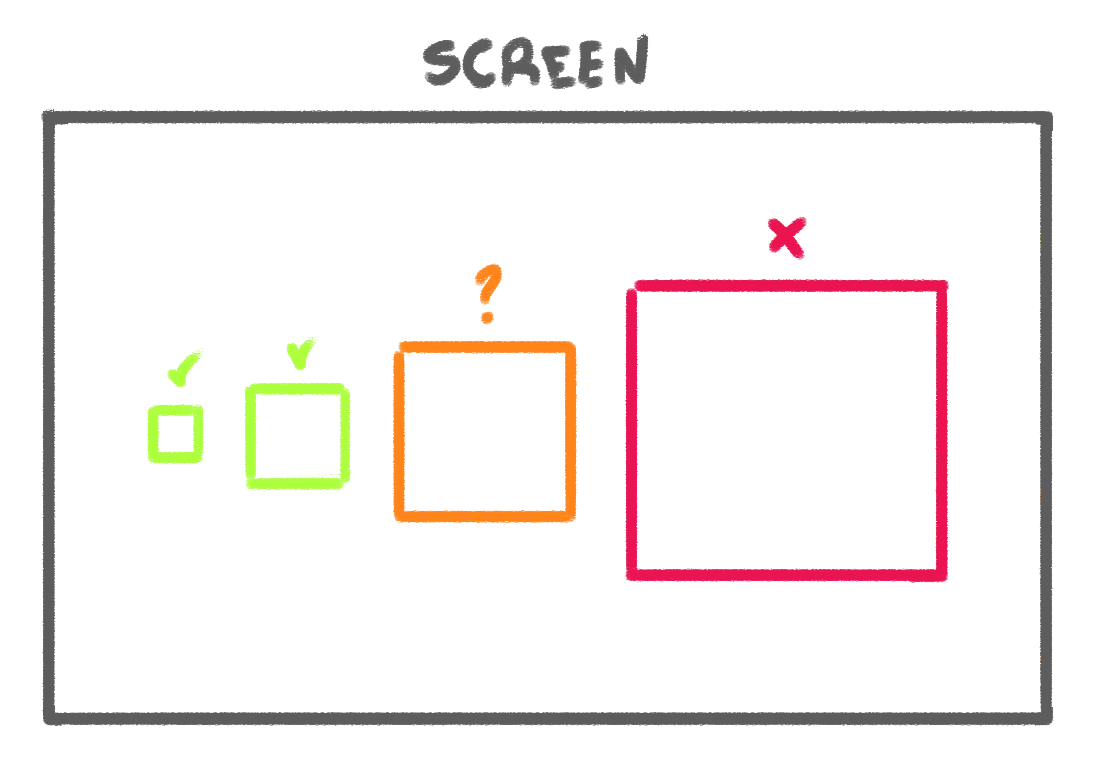
The condition to cull a point. Should the point be culled when its center is outside the clip space, or when it’s entirely outside of the clip space?
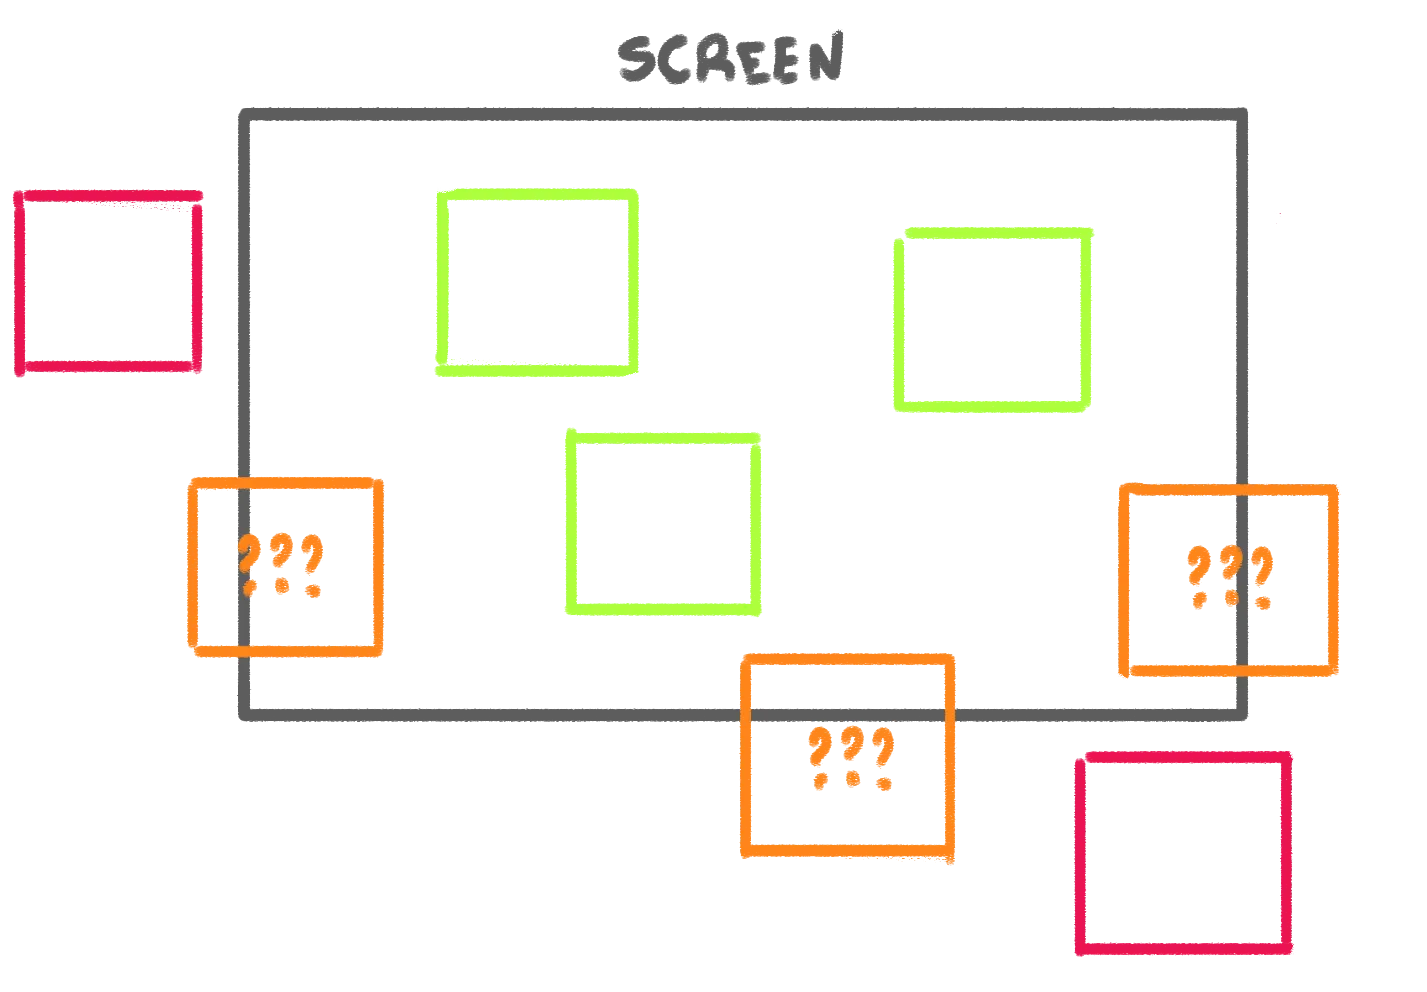
In the end, those two inconsistencies became common knowledge. We were just making sure not to use points that were too big, and didn’t care about the condition for the point to be culled.
Setup 04:15
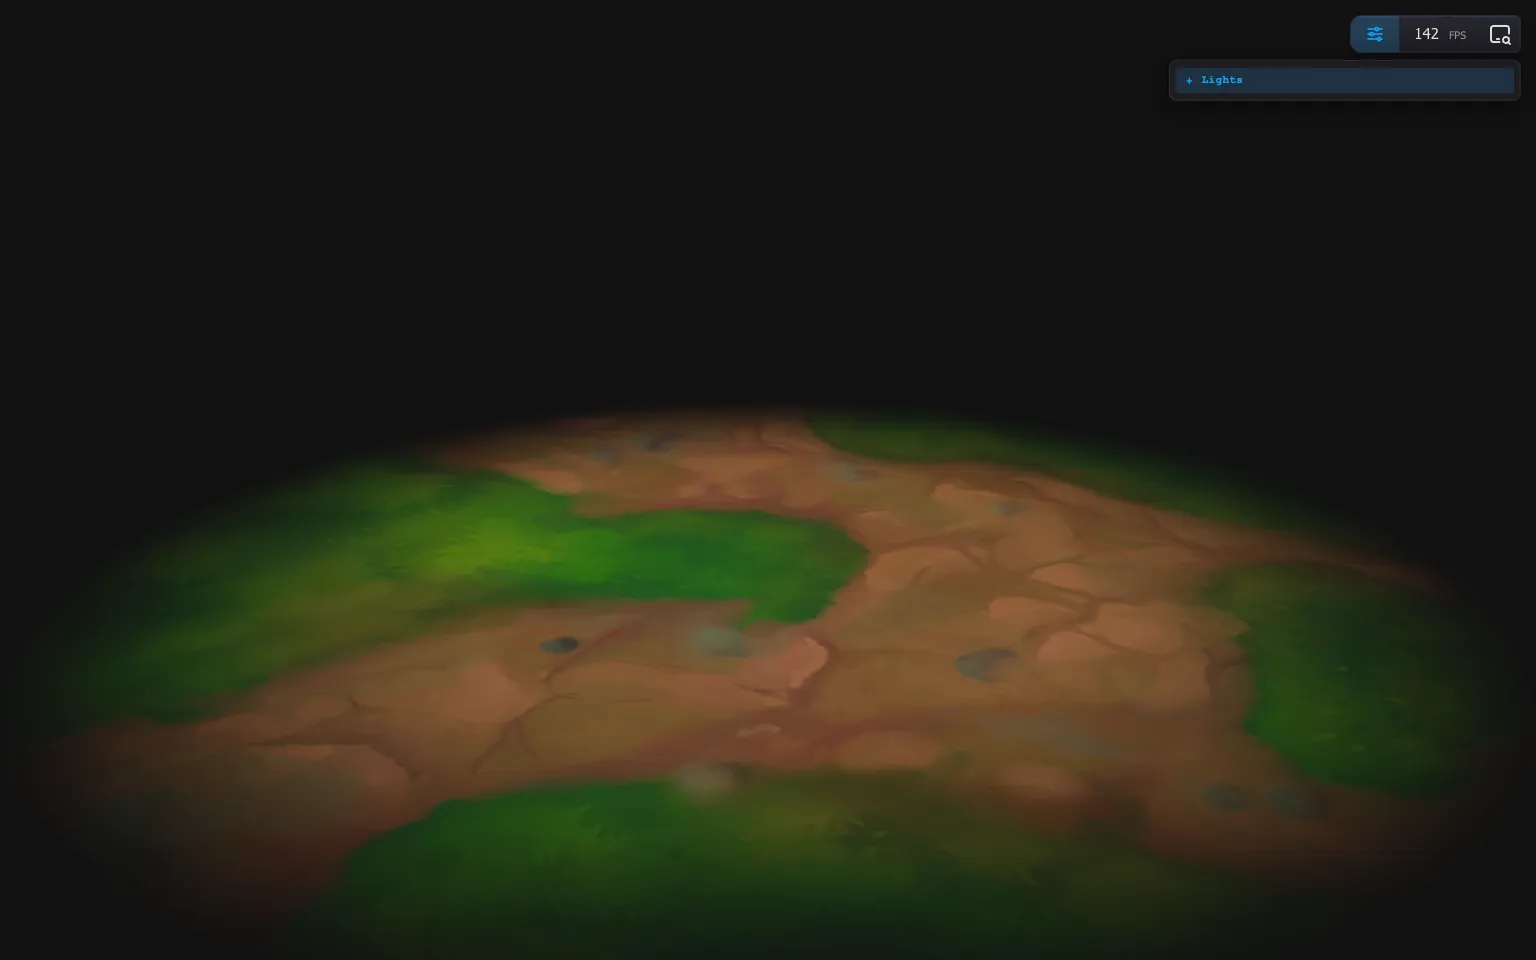
The starter already contains the following:
- The same floor we used in previous lessons
OrbitControlsto rotate around- An instance of the
Inspector - Some lighting with shadows
Points now 04:33
With the rise of WebGPU, they decided to go for a clean slate. Points are now “points”, meaning 1 by 1 pixels, and Three.js went along with it.
How to use it 🤔
- Download the Starter pack or Final project
- Unzip it
- Open your terminal and go to the unzip folder
-
Run
npm installto install dependencies
(if your terminal warns you about vulnerabilities, ignore it) -
Run
npm run devto launch the local server
(project should open on your default browser automatically) - Start coding
- The JS is located in src/script.js
- The HTML is located in src/index.html
- The CSS is located in src/style.css