SPACEto play / pauseARROW RIGHTorLto go forwardARROW LEFTorJto go backwardARROW UPto increase volumeARROW DOWNto decrease volumeFto toggle fullscreenMto toggle mute0 to 9to go to the corresponding part of the videoSHIFT+,to decrease playback speedSHIFT+.or;to increase playback speed
Three.js Journey
- Coffee Smoke (original lesson)
Shortcuts ⌨️
Unlock content 🔓
To get access to 93 hours of video, a members-only Discord server, subtitles, lesson resources, future updates and much more join us for only $95!
Want to learn more? 👍
That's the end of the free part of this lesson
WebGPU & TSL Course
new
$45
VAT incl.
- 21 lessons · 24 hours of video
- Quizzes · Certificate
- Members-only Discord server · Future updates
Introduction 00:00
Let’s continue re-doing some of the old Shaders lessons, this time with the Coffee Smoke.
The exercise is a simple mix of vertex and fragment, making it the perfect opportunity to practice TSL in a familiar environment.
We’ll go a little faster this time. Having done the original lesson would help, but it’s not mandatory, and we still explain every step.
We’ll also stray from the original lesson on a few specific features, so we can learn some cool TSL tricks along the way.
Setup 00:36
The starter already contains the following:
- Base baked model with the table and the mug
- A subdivided plane ready to receive the smoke shader
OrbitControlsto rotate around- Running the
WebGPURendererwith theInspector
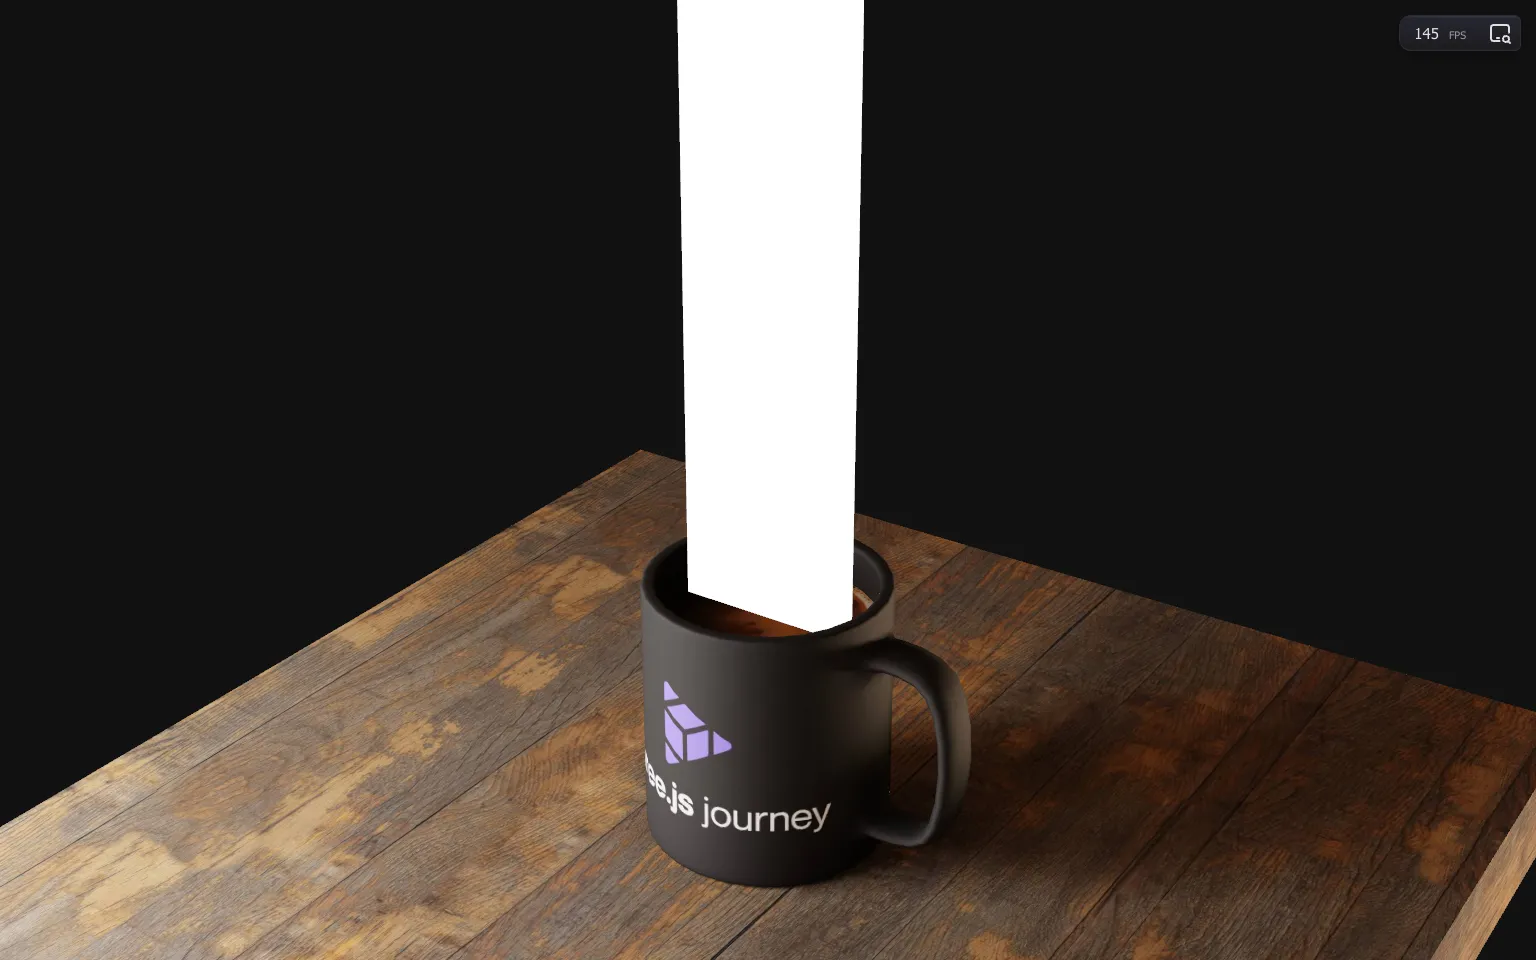
Overall, it’s very similar to the original Coffee lesson, except it runs on WebGPU and we skip the plane creation.
Position 01:16
Let’s start by moving the vertices. The animation is composed of 2 main parts:
- A general and regular twist, so that we can see the smoke from any angle
- A wind effect to make it move realistically, as if there were turbulences in the air
To help us distinguish the vertices and their position, let’s switch the smoke material wireframe to true:
// Material
const material = new THREE.MeshBasicNodeMaterial({
    // ...
    wireframe: true
})
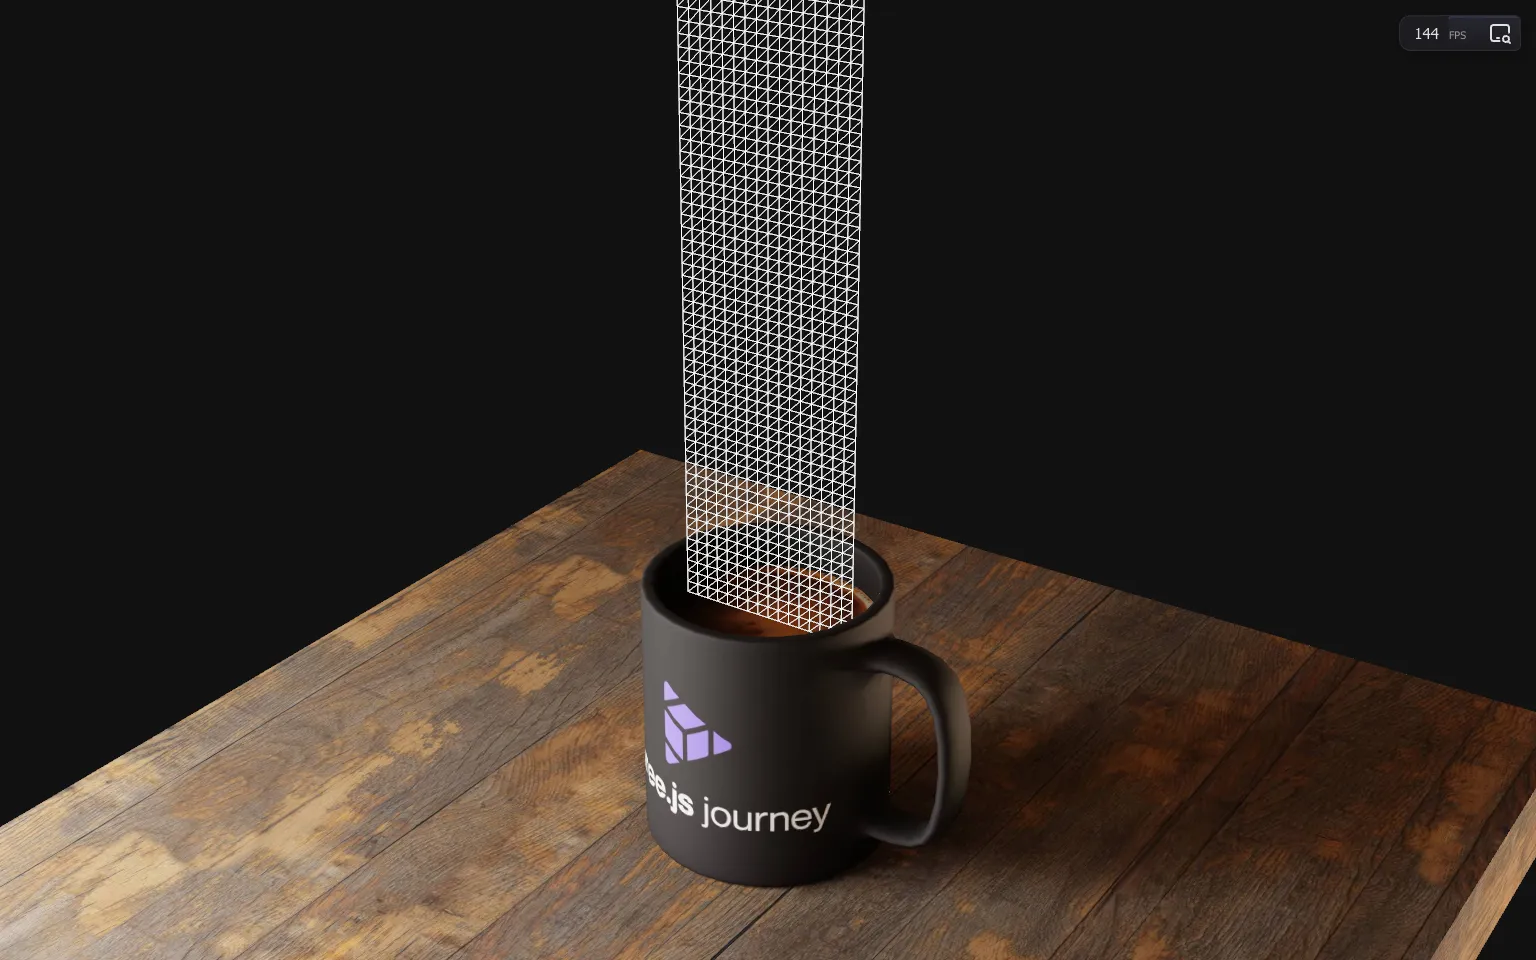
Since we want to move the vertices, we’ll use the positionNode. Right from the beginning, assign it a Fn():
// Position
material.positionNode = Fn(() =>
{

})()
Don’t forget to call the Fn() with () at the end.
At this stage, it doesn’t work because we are not returning anything.
Using a Fn() here isn’t mandatory, but it lets us use some features like assign, and it also creates a JavaScript scope for the variables.
Create a newPosition variable, assign it the positionLocal node and return it:
material.positionNode = Fn(() =>
{
    const newPosition = positionLocal

    return newPosition
})()
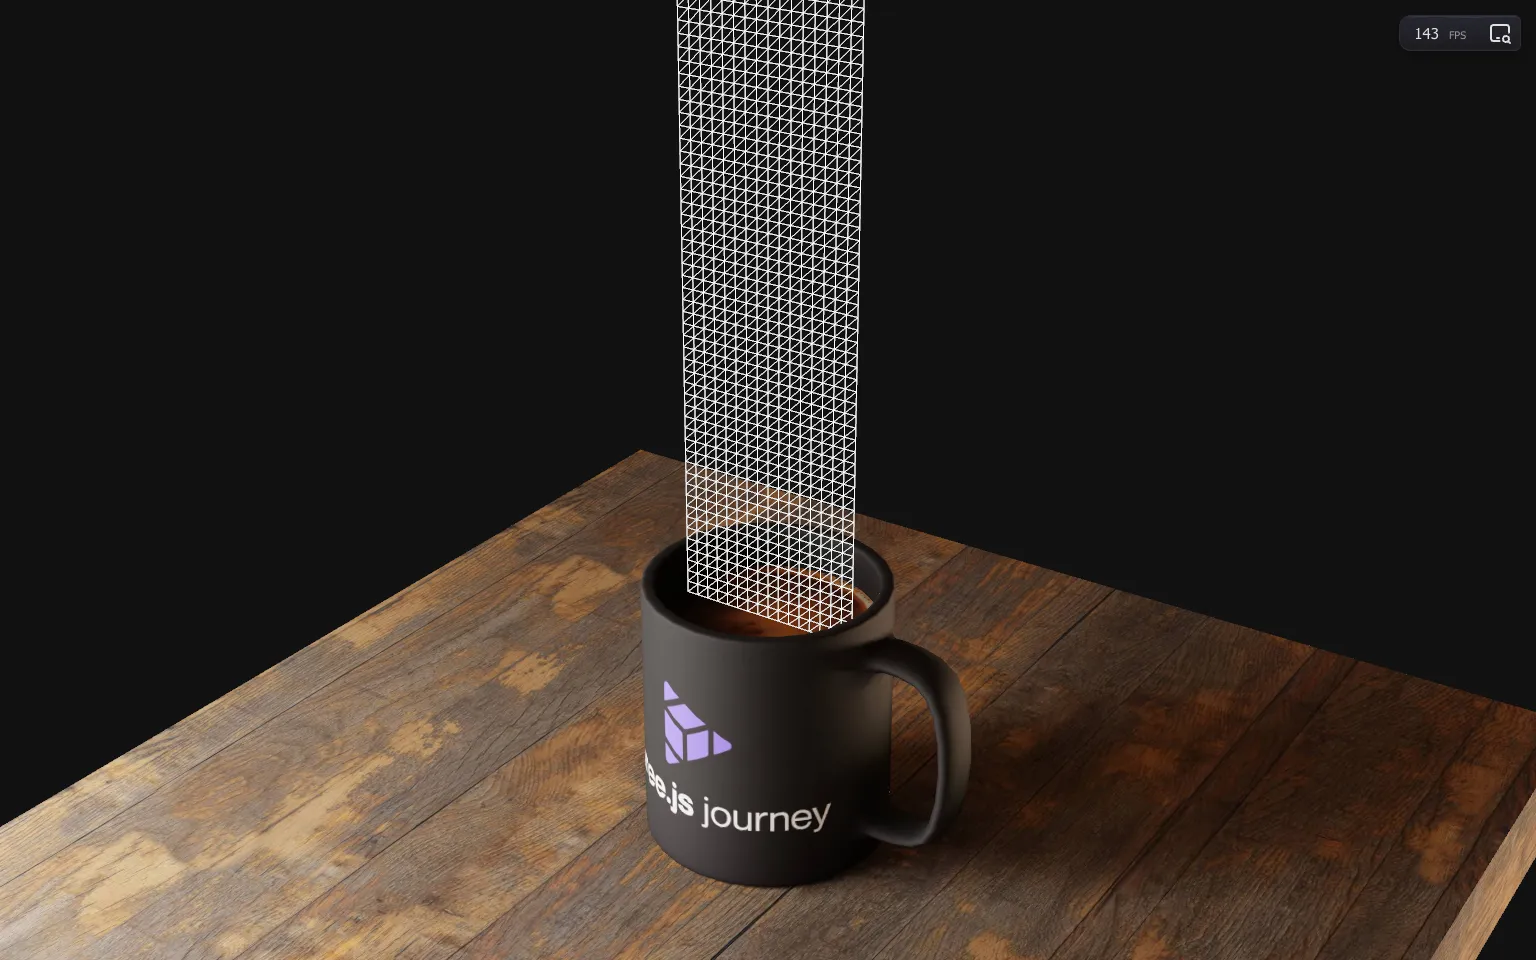
We have our material back.
To make sure that everything is working properly, let’s try to move newPosition on the x axis with addAssign():
material.positionNode = Fn(() =>
{
    const newPosition = positionLocal
    newPosition.x.addAssign(2)

    return newPosition
})()
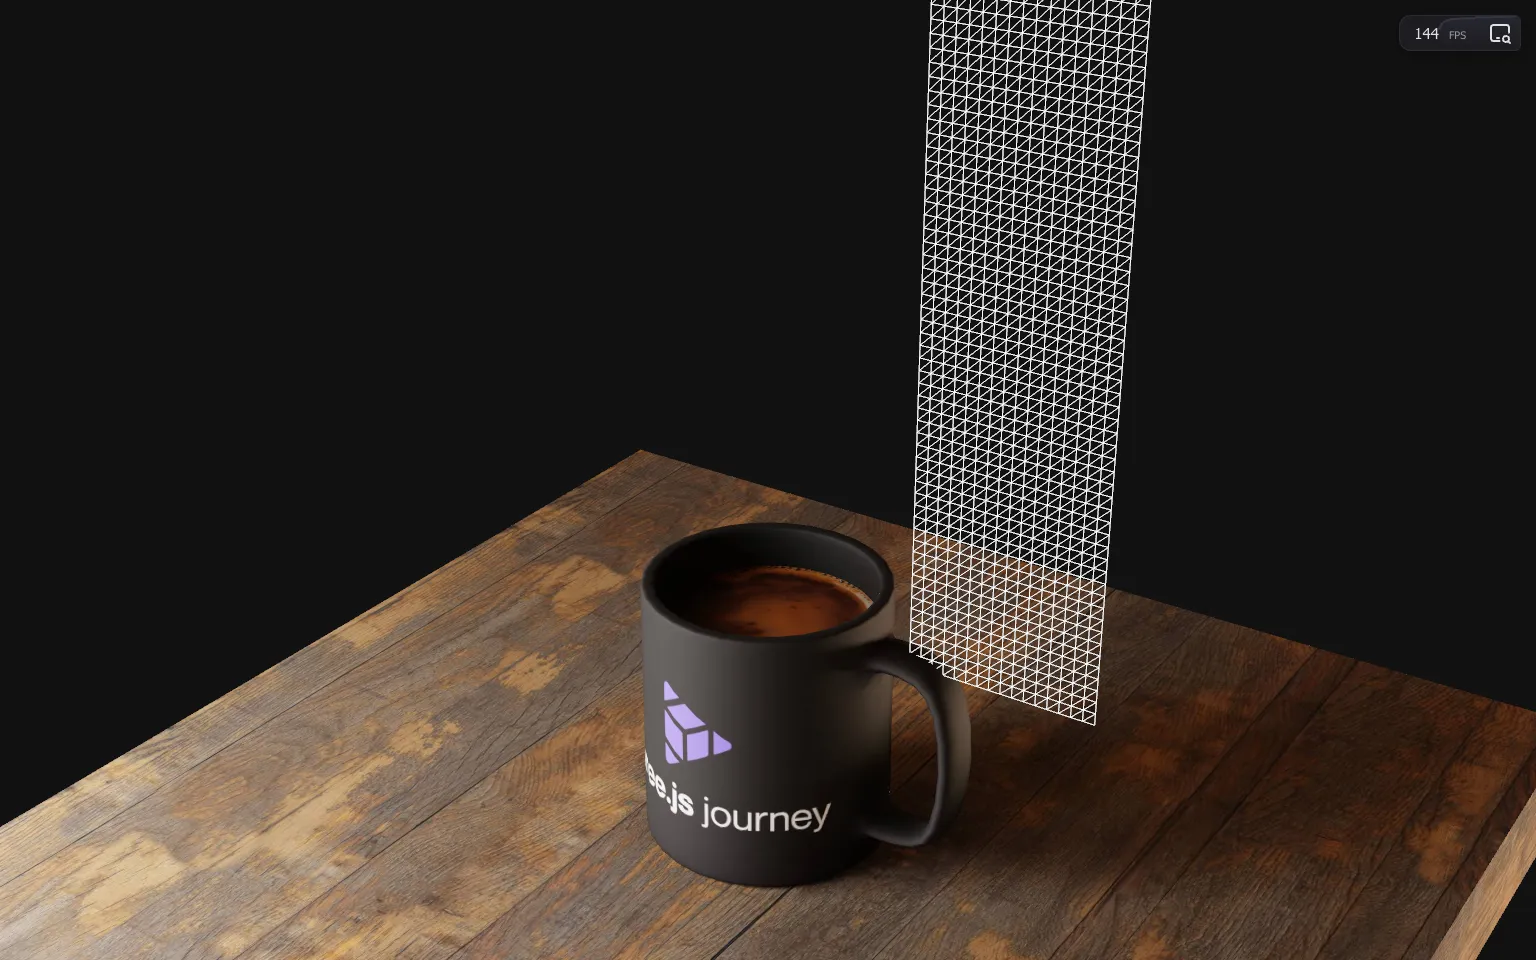
It worked.
Out of curiosity, let’s try with positionGeometry instead of positionLocal
material.positionNode = Fn(() =>
{
    const newPosition = positionGeometry
    newPosition.x.addAssign(2)

    return newPosition
})()
We get an error indicating cannot assign to value of type 'f32'.
This is due to positionGeometry returning the actual attribute, which can’t be mutated.
It’s one of the downsides of having an abstraction layer and, as a beginner, we could have hardly known about this. If you really want to go for positionGeometry (which is not our case), what you can do is explicitly create a variable out of it using toVar():
material.positionNode = Fn(() =>
{
    const newPosition = positionGeometry.toVar()
    newPosition.x.addAssign(2)

    return newPosition
})()
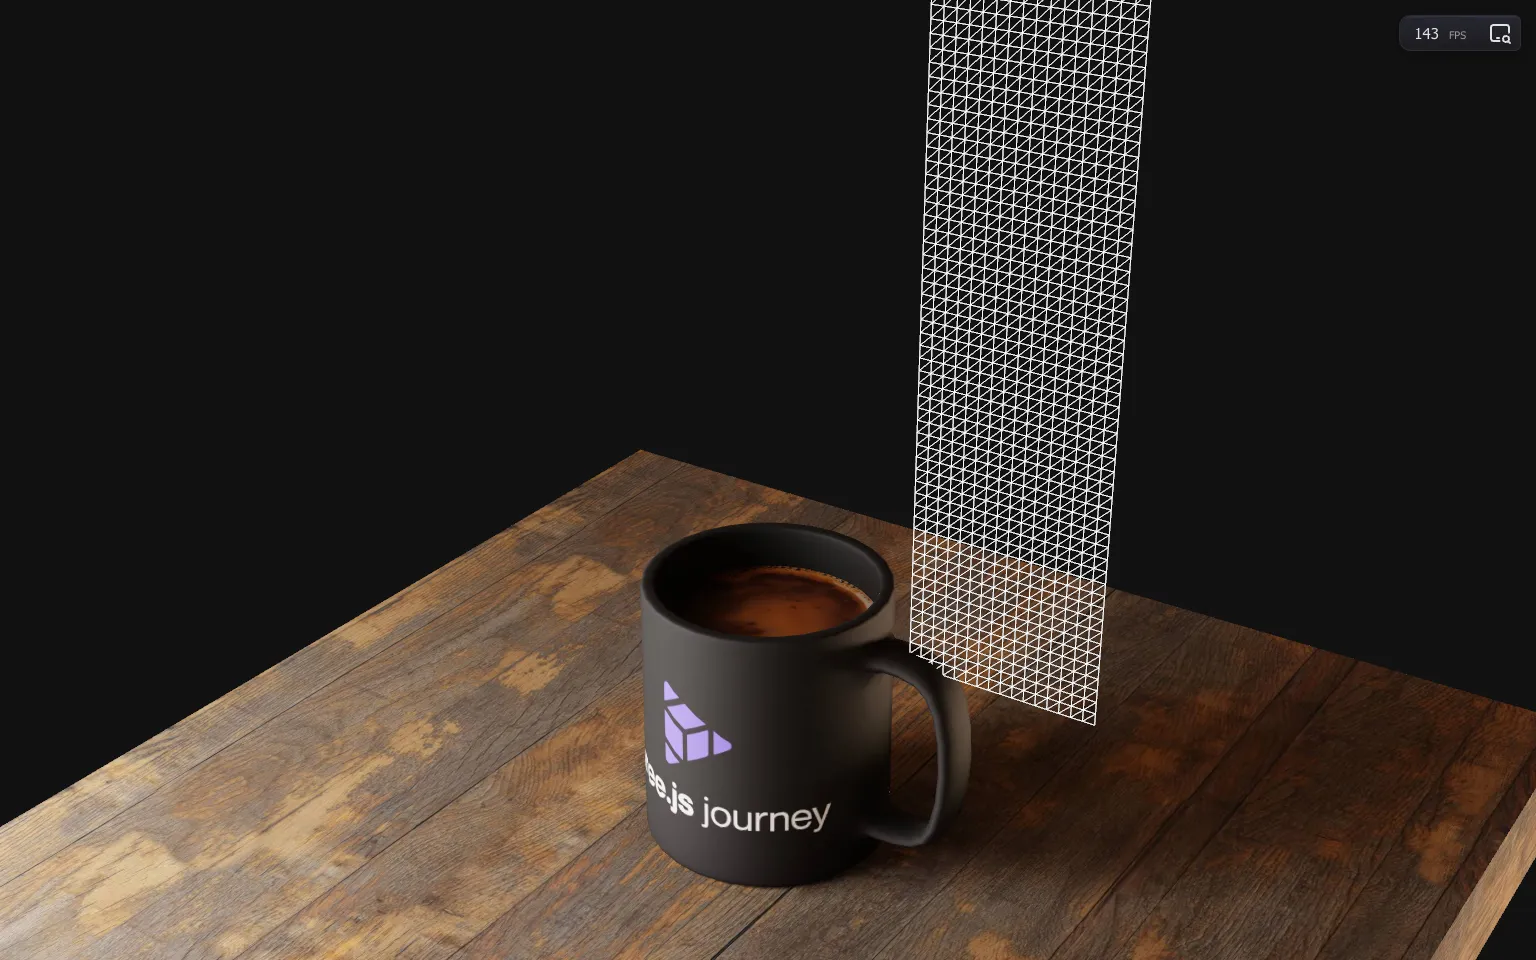
And now it works like before.
Switch back to positionLocal without toVar():
material.positionNode = Fn(() =>
{
    const newPosition = positionLocal
    newPosition.x.addAssign(2)

    return newPosition
})()
☝
positionGeometry corresponds to the position attribute, and positionLocal corresponds to the positionGeometry with added displacement (if displacement there is).
Twist
The twist animation is a rotation on the xz plane (around the y), and the angle changes according to the elevation and the time.
Let’s start with a constant rotation.
How to use it 🤔
- Download the Starter pack or Final project
- Unzip it
- Open your terminal and go to the unzip folder
-
Run
npm installto install dependencies
(if your terminal warns you about vulnerabilities, ignore it) -
Run
npm run devto launch the local server
(project should open on your default browser automatically) - Start coding
- The JS is located in src/script.js
- The HTML is located in src/index.html
- The CSS is located in src/style.css