SPACEto play / pauseARROW RIGHTorLto go forwardARROW LEFTorJto go backwardARROW UPto increase volumeARROW DOWNto decrease volumeFto toggle fullscreenMto toggle mute0 to 9to go to the corresponding part of the videoSHIFT+,to decrease playback speedSHIFT+.or;to increase playback speed
Shortcuts ⌨️
Unlock content 🔓
To get access to 93 hours of video, a members-only Discord server, subtitles, lesson resources, future updates and much more join us for only $95!
Want to learn more? 👍
That's the end of the free part of this lesson
WebGPU & TSL Course
new
$45
VAT incl.
- 21 lessons · 24 hours of video
- Quizzes · Certificate
- Members-only Discord server · Future updates
Introduction 00:00
You should now have a good idea of how variables work in TSL, and you’ve discovered some cool nodes provided with TSL. But we skipped a few important steps that we’ll take more slowly in this lesson.
Remember that, from now on, the lesson won’t specify when to import nodes from TSL.
Setup 00:34
The starter is nearly the same as the final output of the previous lesson:
OrbitControlsto rotate around- A floor already using the
MeshStandardNodeMaterial - A torus knot already using the
MeshStandardNodeMaterial - Running the
WebGPURenderer - Some lighting with shadows
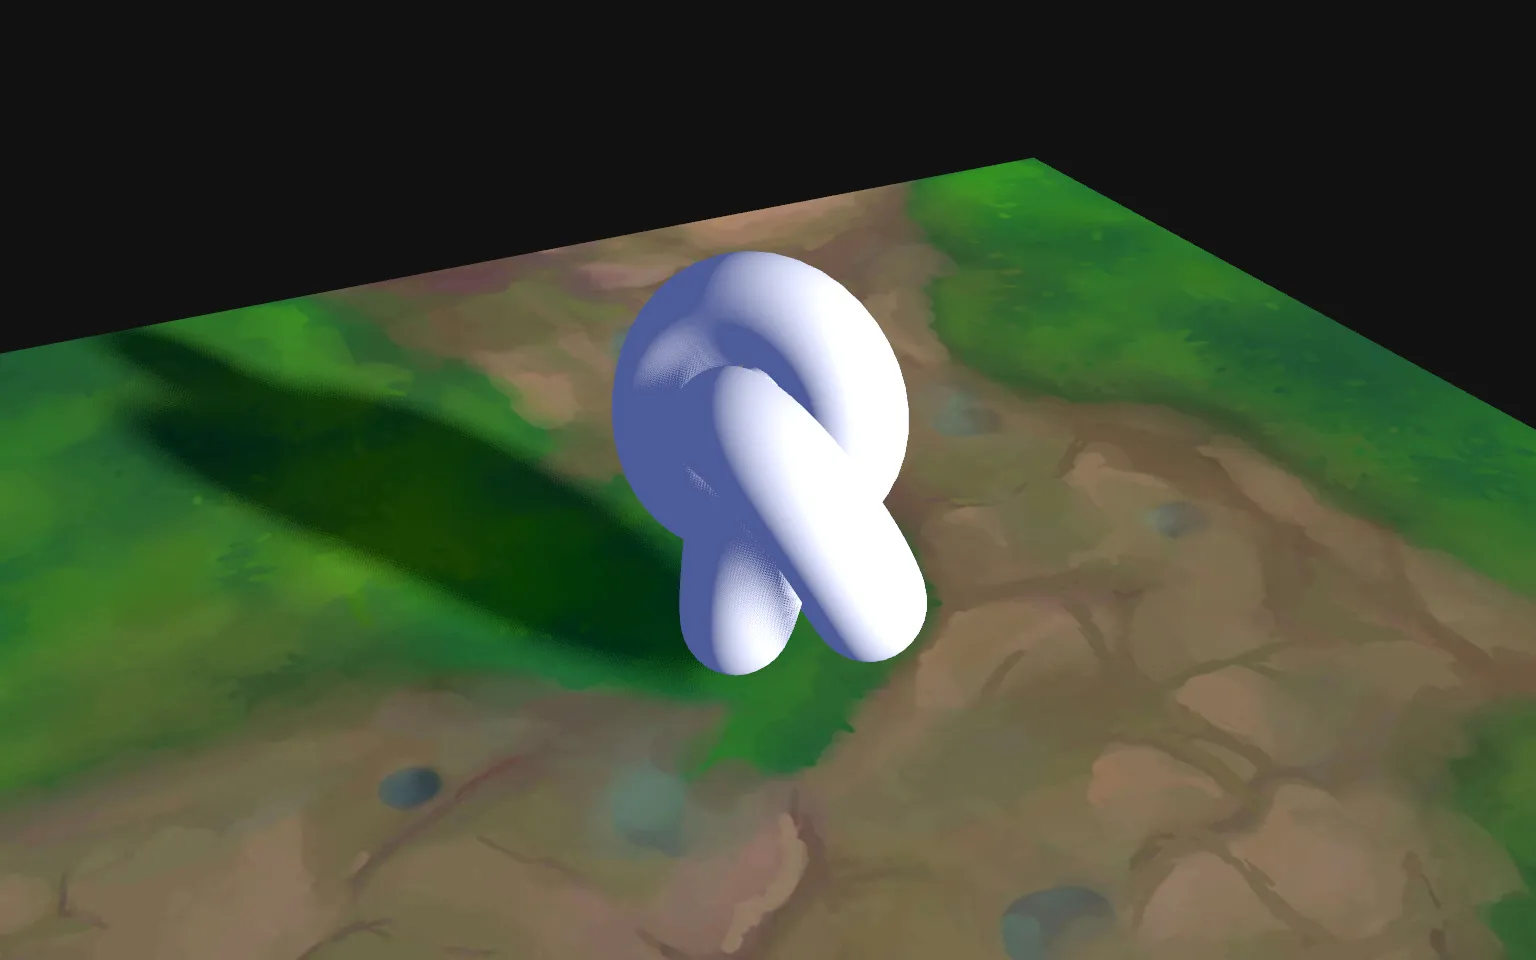
Typed variables 00:47
Let’s get back to basics and start with the typed variables.
We’ll focus on the colorNode of the torus as a playground.
In the Torus Knot section, let’s start fresh with a simple MeshStandardNodeMaterial (no parameter) and set its colorNode to vec3(1, 0, 0):
const material = new THREE.MeshStandardNodeMaterial()

material.colorNode = vec3(1, 0, 0)
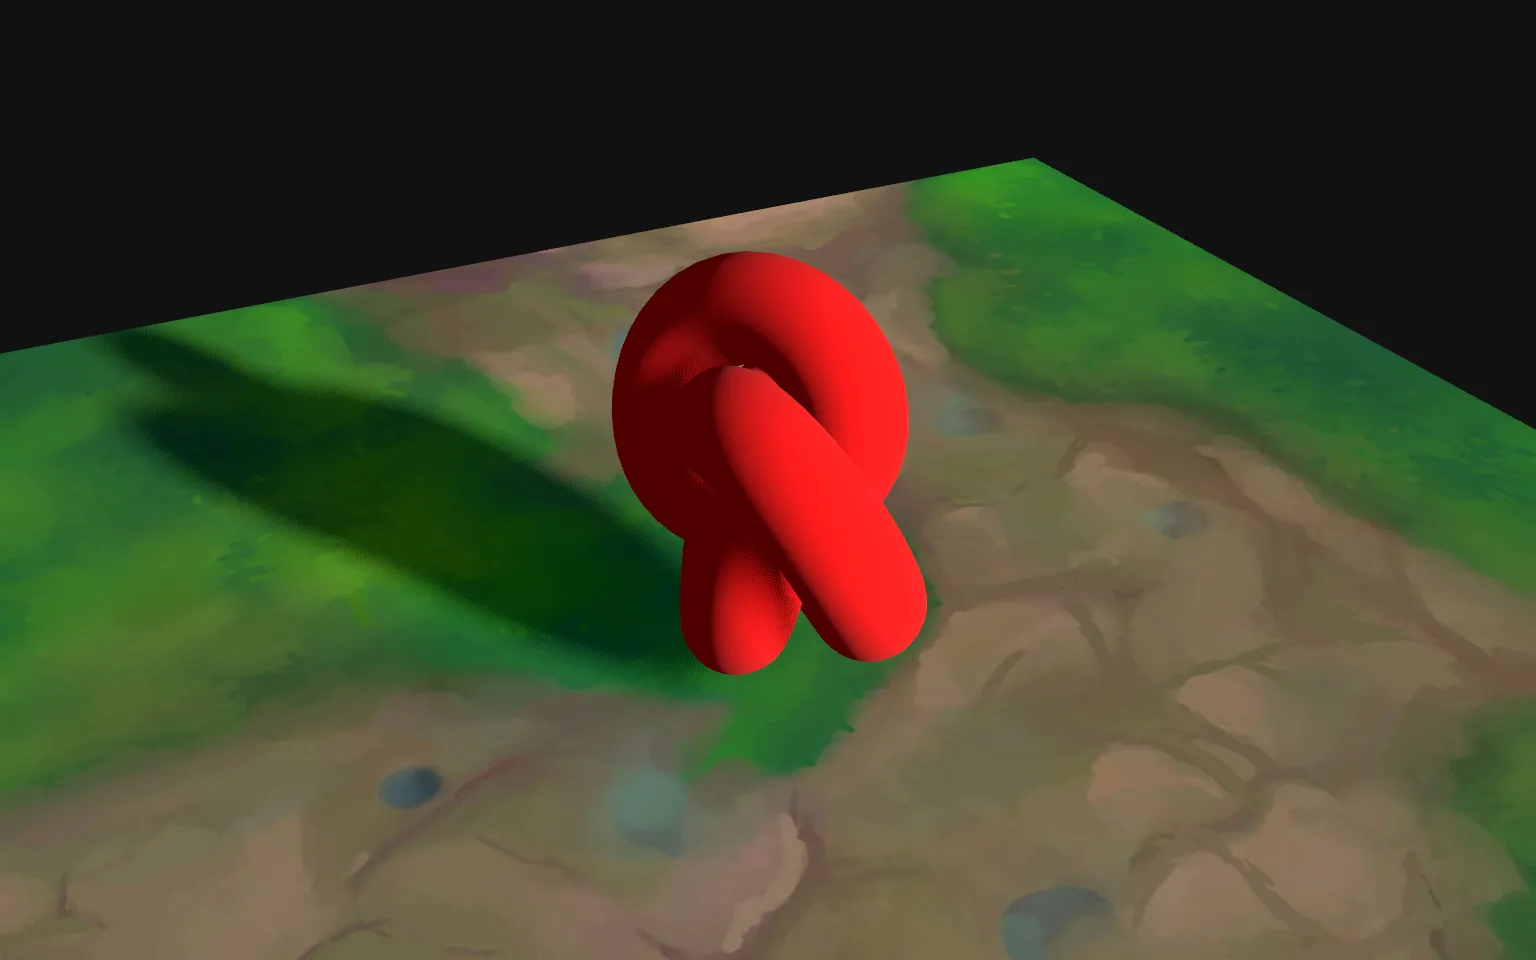
According to the documentation, colorNode expects a vec3() node.
In fact, colorNode also accepts a vec4() where the fourth value is alpha. It’s a little bit confusing, but let’s say it’s the permissive side of TSL.
We mentioned vec3(), vec4(), and you guessed it, there is also vec2() that we already used with the uv().
Back to that vec3() we already have.
First, you can provide only one value:
material.colorNode = vec3(1)
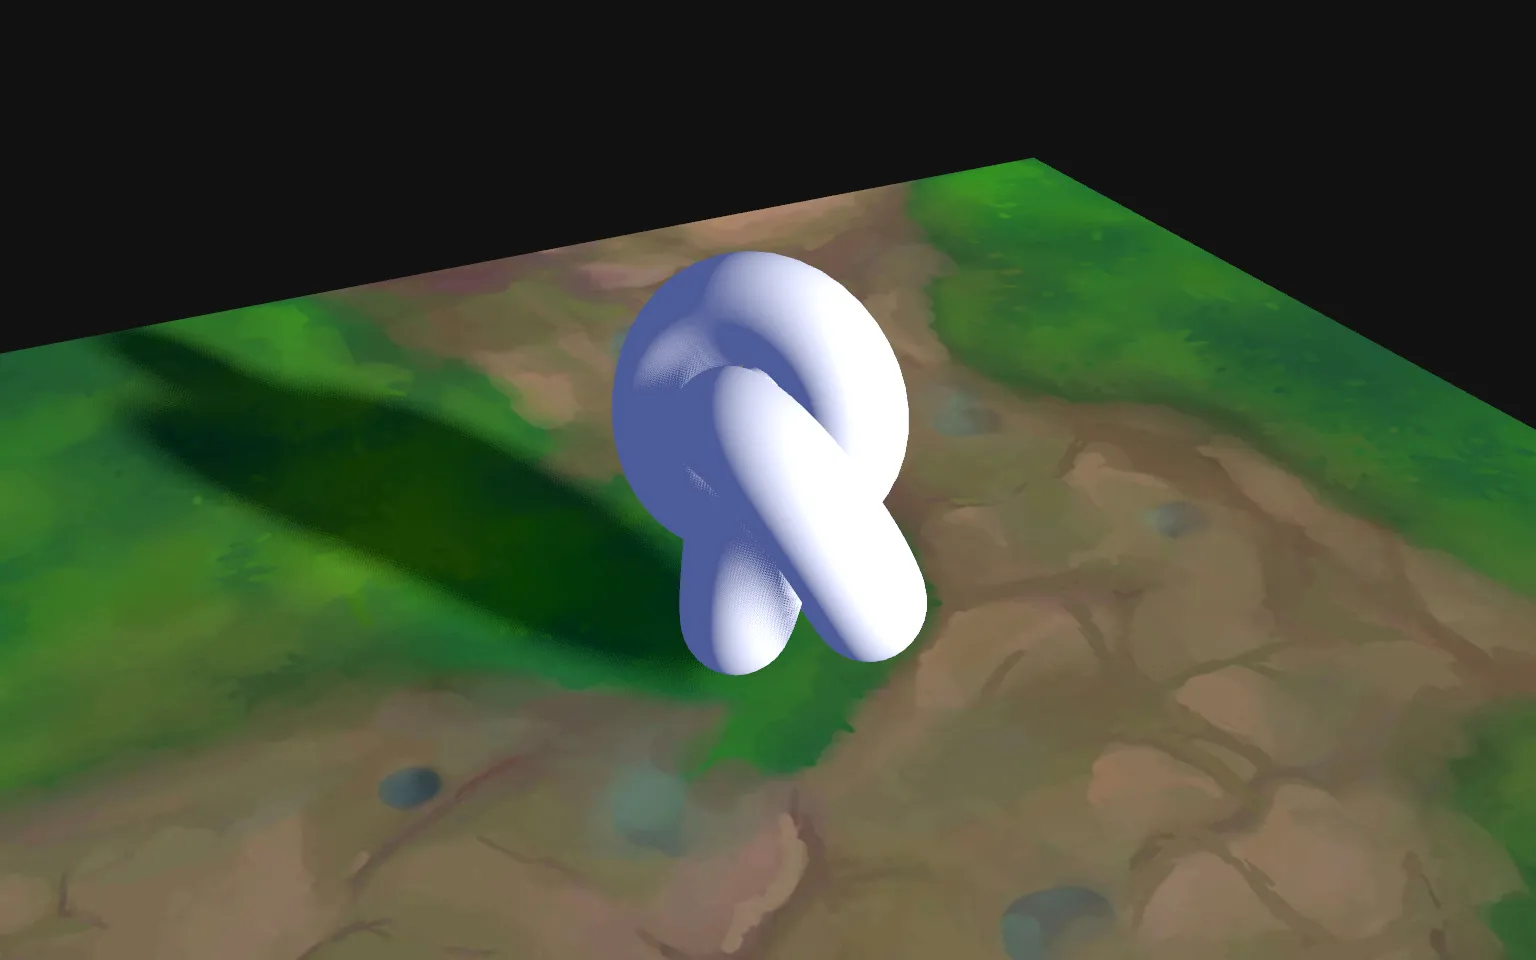
And this value will be used with all three properties of the vec3().
You don’t even have to provide a value:
material.colorNode = vec3()
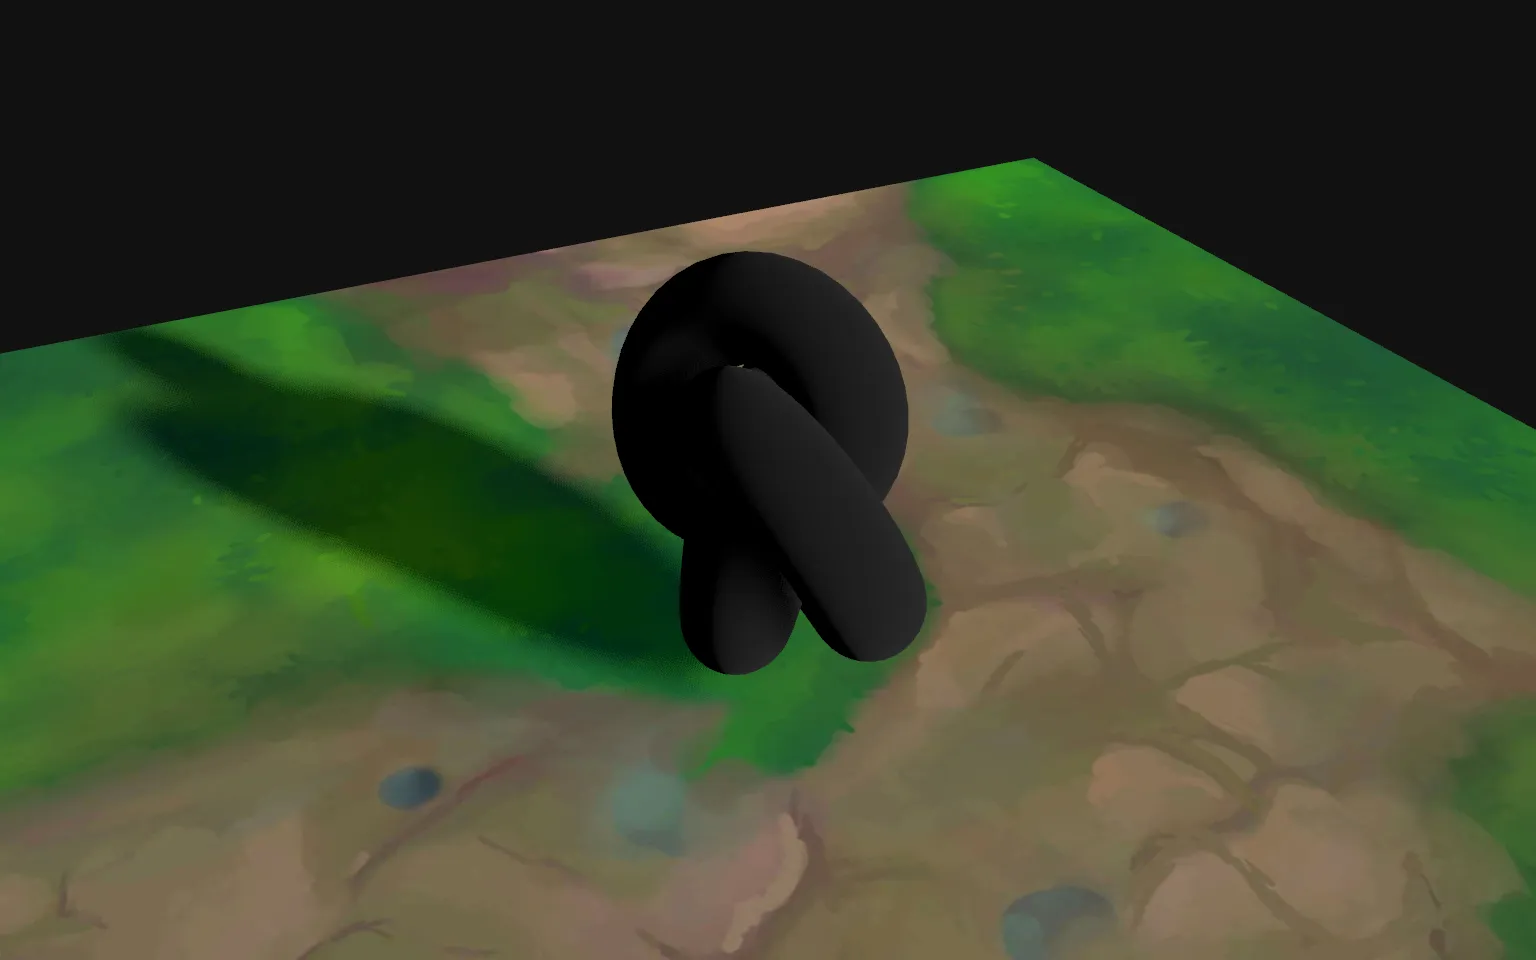
In that case, 0 will be assigned to each of the three properties.
We can also send the properties of a vec2() to a vec3 by accessing its x, y, or z properties:
const foo = vec2(0.5, 1)
material.colorNode = vec3(foo.x, foo.y, 0)
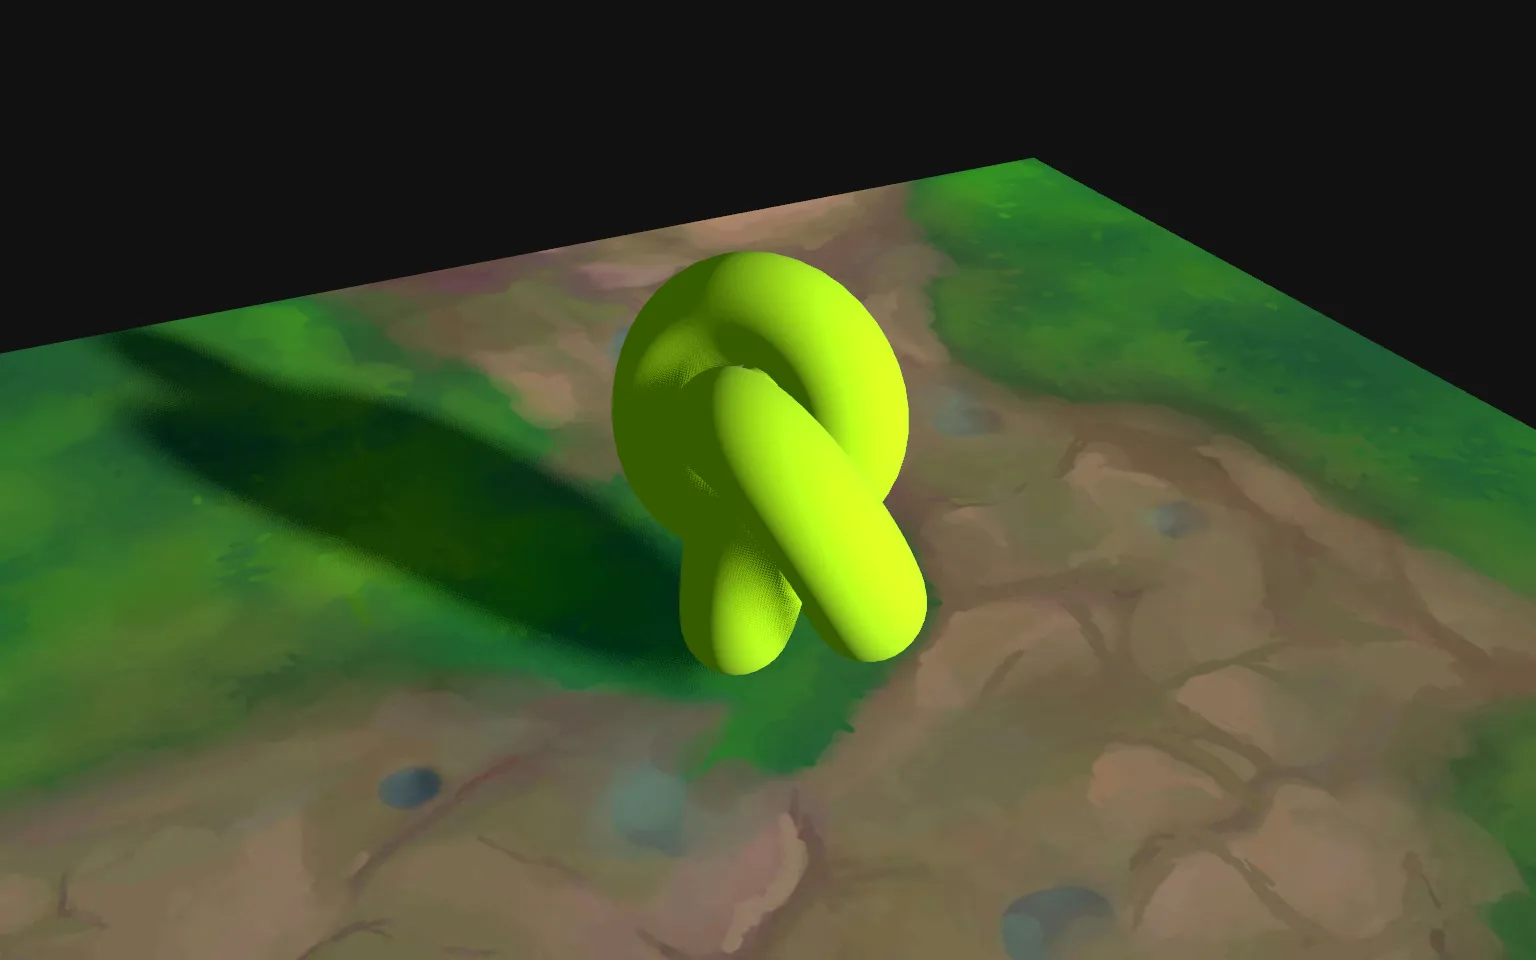
And while we used x, y, and z, we can also use r, g and b for the same result:
const foo = vec2(0.5, 1)
material.colorNode = vec3(foo.r, foo.g, 0)
☝
In the case of a vec4(), the fourth value can be accessed as w or a.
Now look at that:
const foo = vec2(0.5, 1)
material.colorNode = vec3(foo, 0)
We provided an entire vec2() that was used as the x and y of vec3(), and we filled the gap with our own value for the z. We get the same result again.
And we can swizzle the vectors any way we want (y first, then x):
const foo = vec2(0.5, 1)
material.colorNode = vec3(foo.yx, 0)
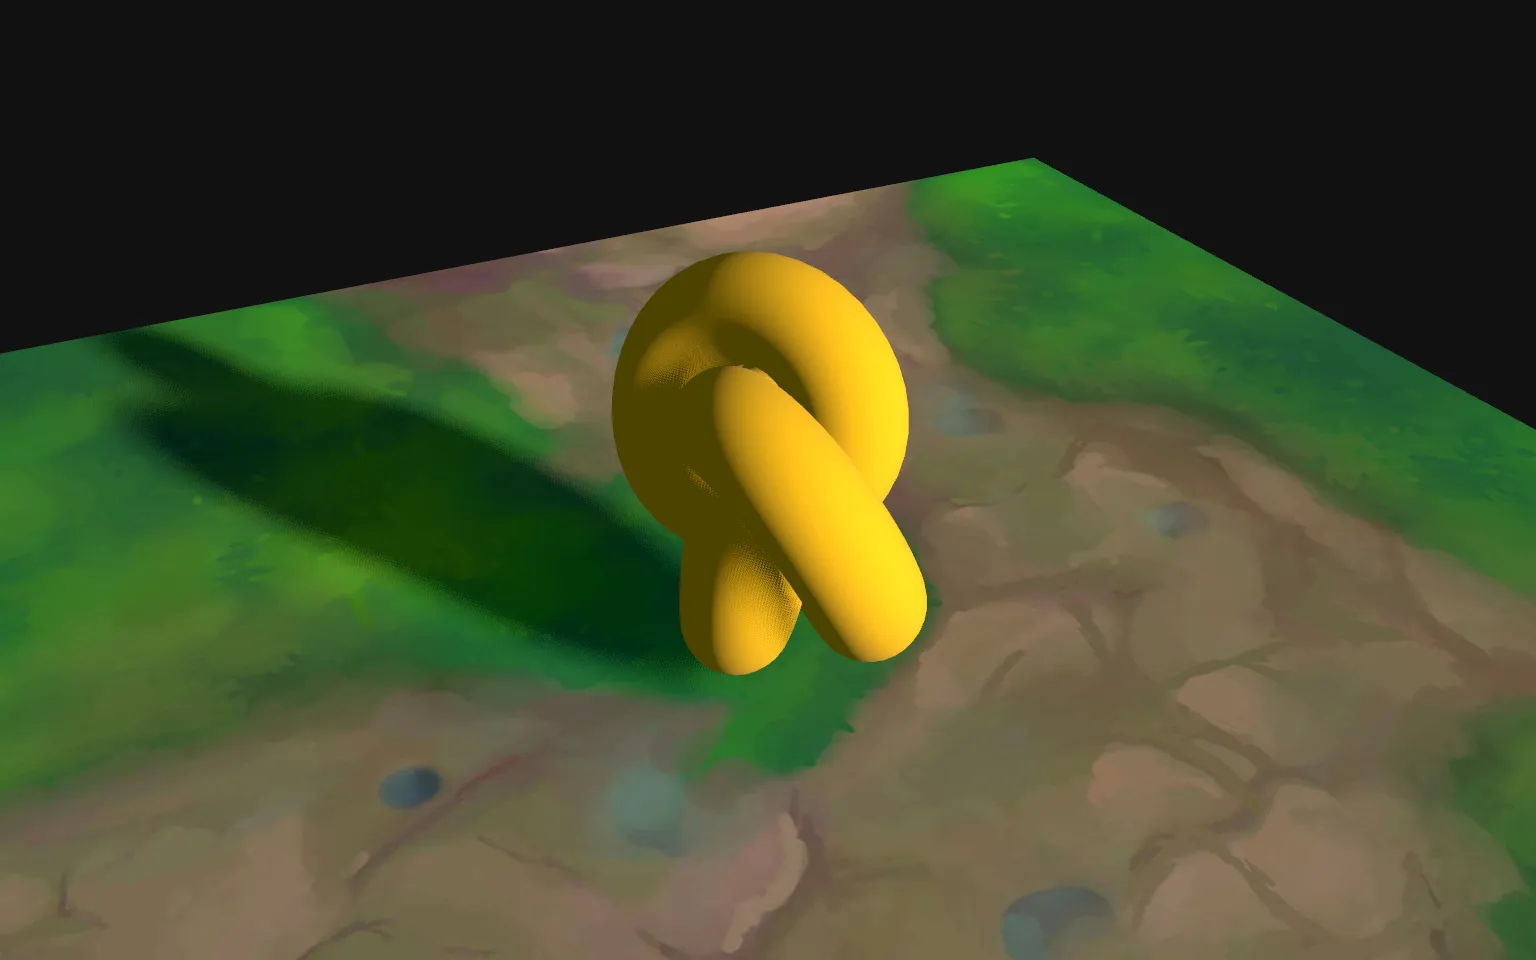
We can swizzle more (x and x):
const foo = vec2(0.5, 1)
material.colorNode = vec3(foo.xx, 0)
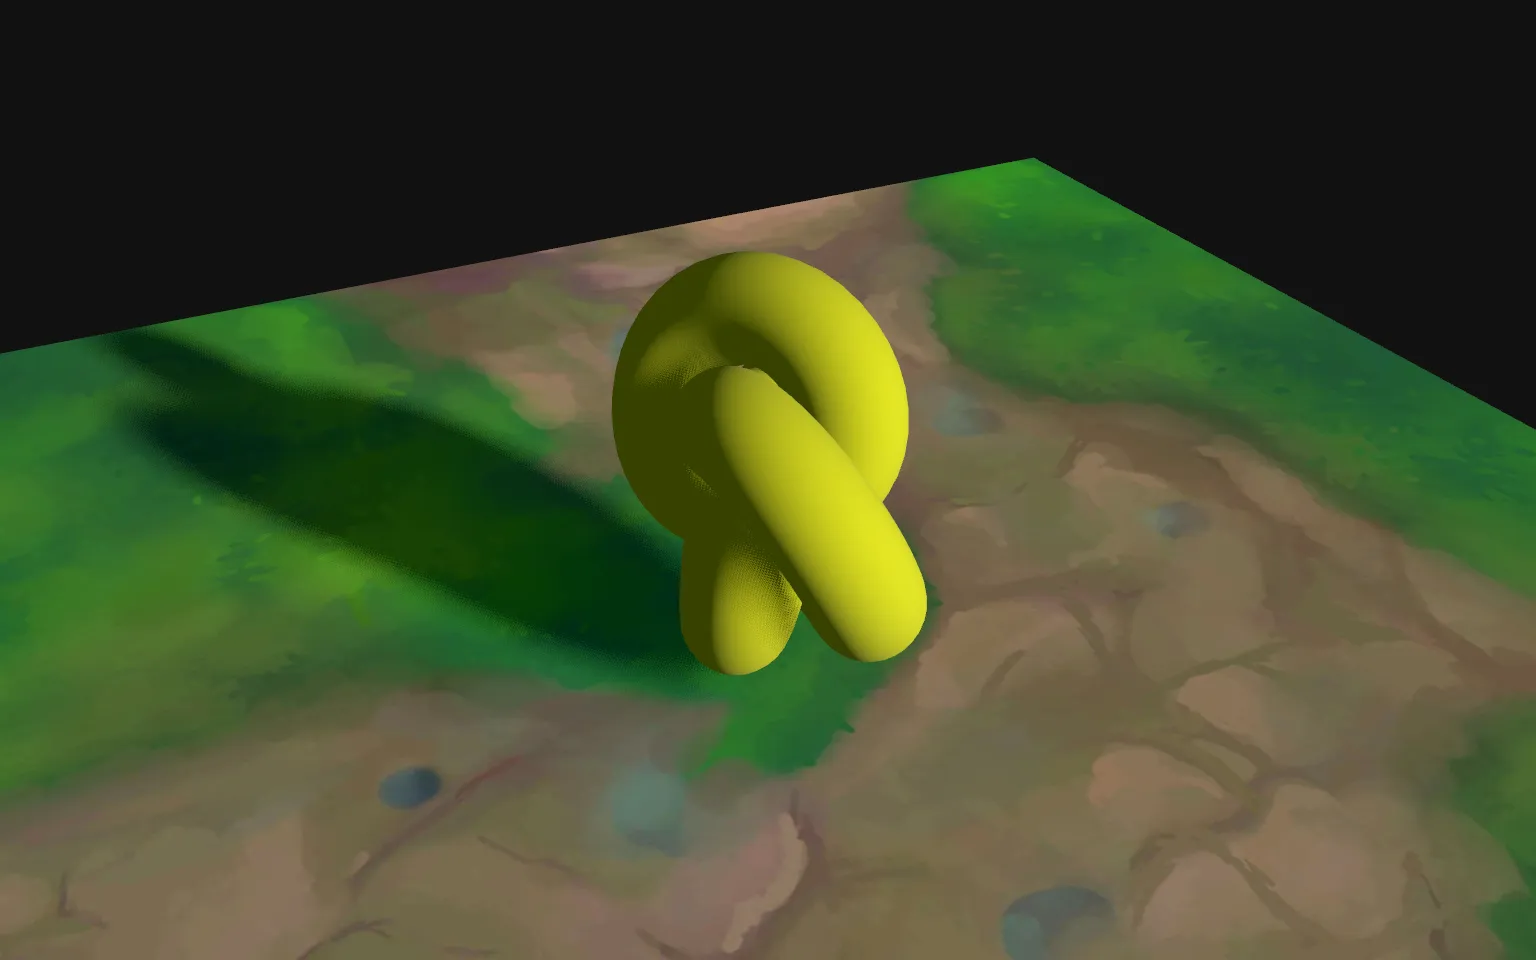
And we can swizzle even harder (x, x, and y):
const foo = vec2(0.5, 1)
material.colorNode = vec3(foo.xxy)
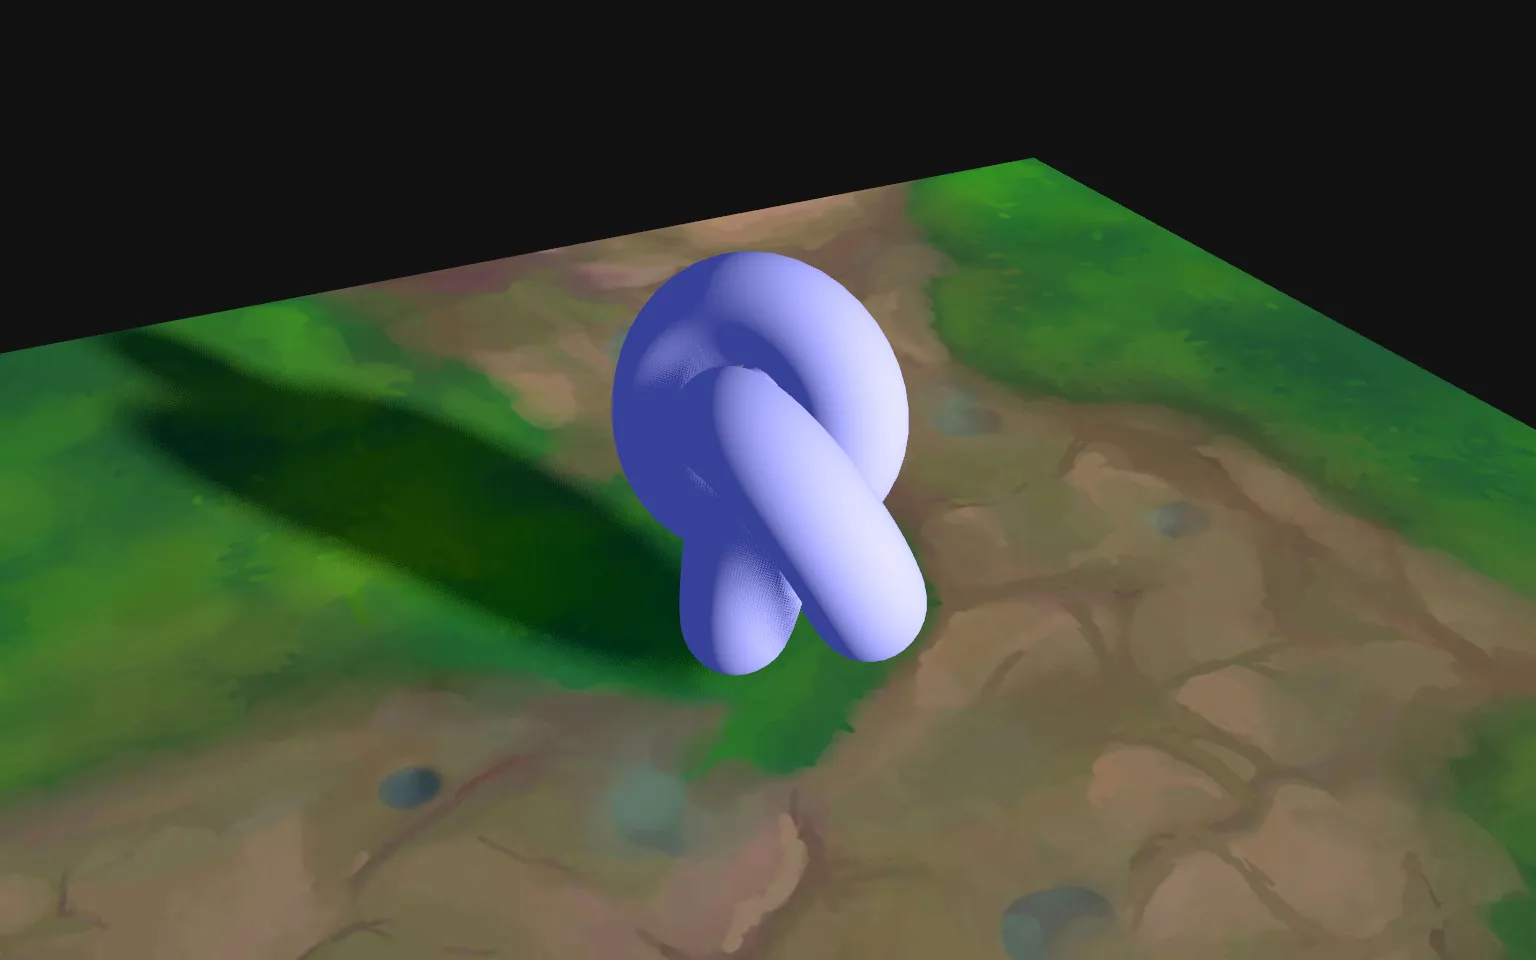
And since swizzling out three properties outputs a vec3() already, no need to explicitly write vec3():
const foo = vec2(0.5, 1)
material.colorNode = foo.xxyHow to use it 🤔
- Download the Starter pack or Final project
- Unzip it
- Open your terminal and go to the unzip folder
-
Run
npm installto install dependencies
(if your terminal warns you about vulnerabilities, ignore it) -
Run
npm run devto launch the local server
(project should open on your default browser automatically) - Start coding
- The JS is located in src/script.js
- The HTML is located in src/index.html
- The CSS is located in src/style.css