SPACEto play / pauseARROW RIGHTorLto go forwardARROW LEFTorJto go backwardARROW UPto increase volumeARROW DOWNto decrease volumeFto toggle fullscreenMto toggle mute0 to 9to go to the corresponding part of the videoSHIFT+,to decrease playback speedSHIFT+.or;to increase playback speed
Shortcuts ⌨️
Unlock content 🔓
To get access to 93 hours of video, a members-only Discord server, subtitles, lesson resources, future updates and much more join us for only $95!
Want to learn more? 👍
That's the end of the free part of this lesson
WebGPU & TSL Course
new
$45
VAT incl.
- 21 lessons · 24 hours of video
- Quizzes · Certificate
- Members-only Discord server · Future updates
Introduction 00:00
Having all these nodes and this abstraction layer makes it hard to understand what is truly happening. We are assuming things, which can lead to performance mistakes we don’t even notice. Furthermore, it’s hard to debug when it doesn’t behave as expected.
Fortunately, we have a few solutions available.
This lesson is split into two main sections: External tools and Internal tools that we can use directly in our code.
Setup 00:41
The starter is nearly the same as the final output of the previous lesson:
OrbitControlsto rotate around- A floor already using the
MeshStandardNodeMaterialwith the fade out - A torus knot already using the
MeshStandardNodeMaterial - Running the
WebGPURenderer - Some lighting with shadows
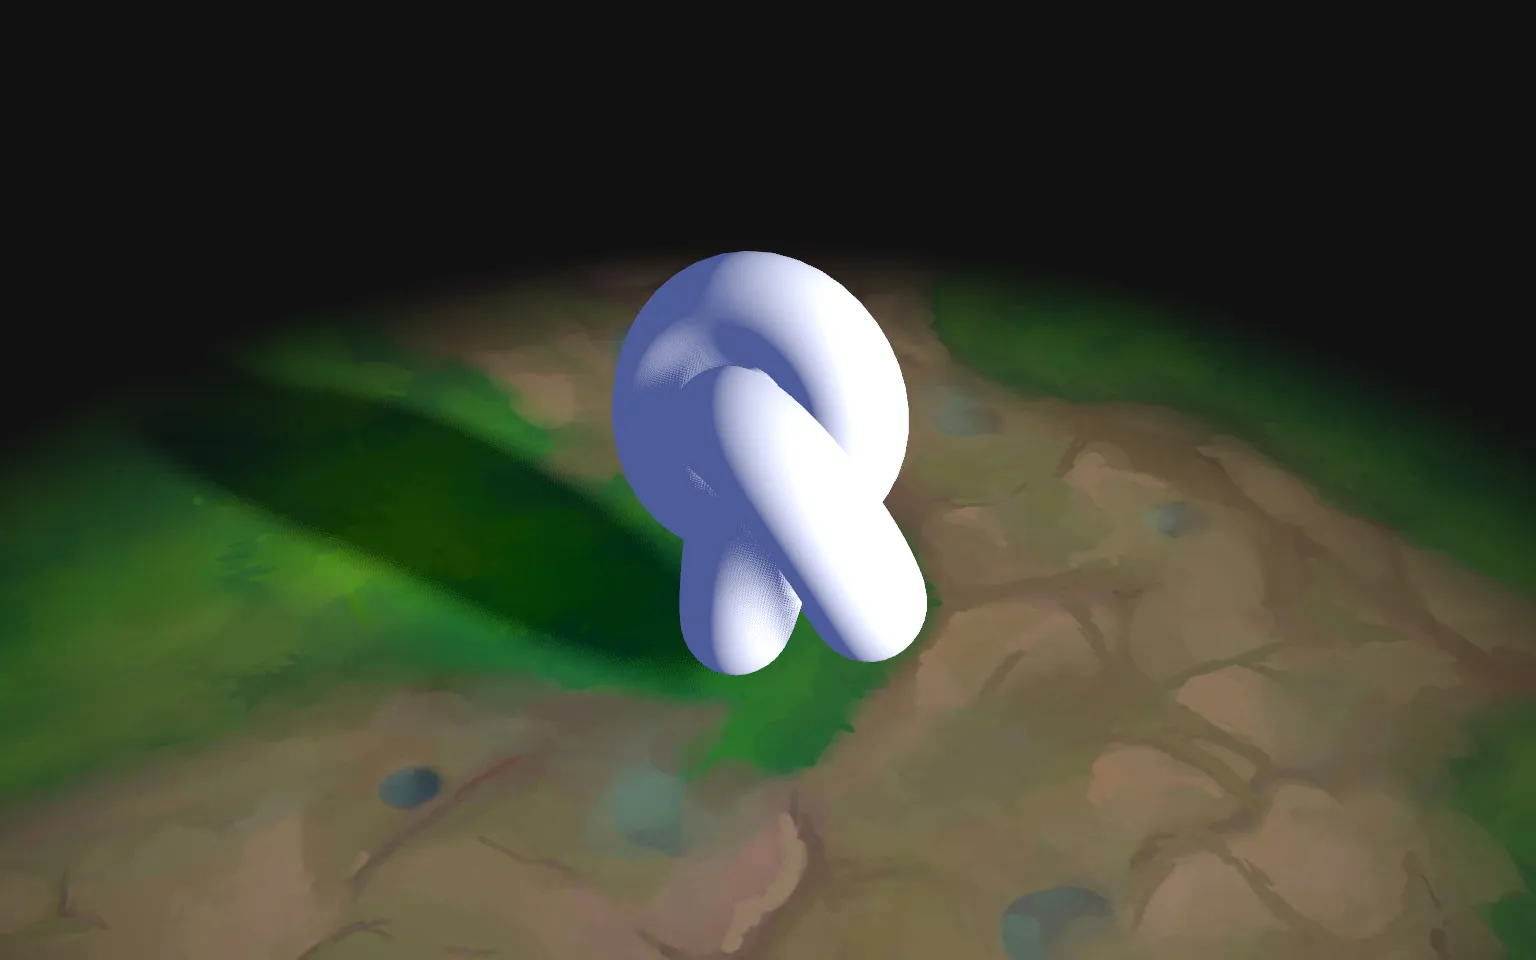
We won’t need it right now, but we will by the end of the lesson.
External tools 00:53
Let’s start with some external tools.
Editor
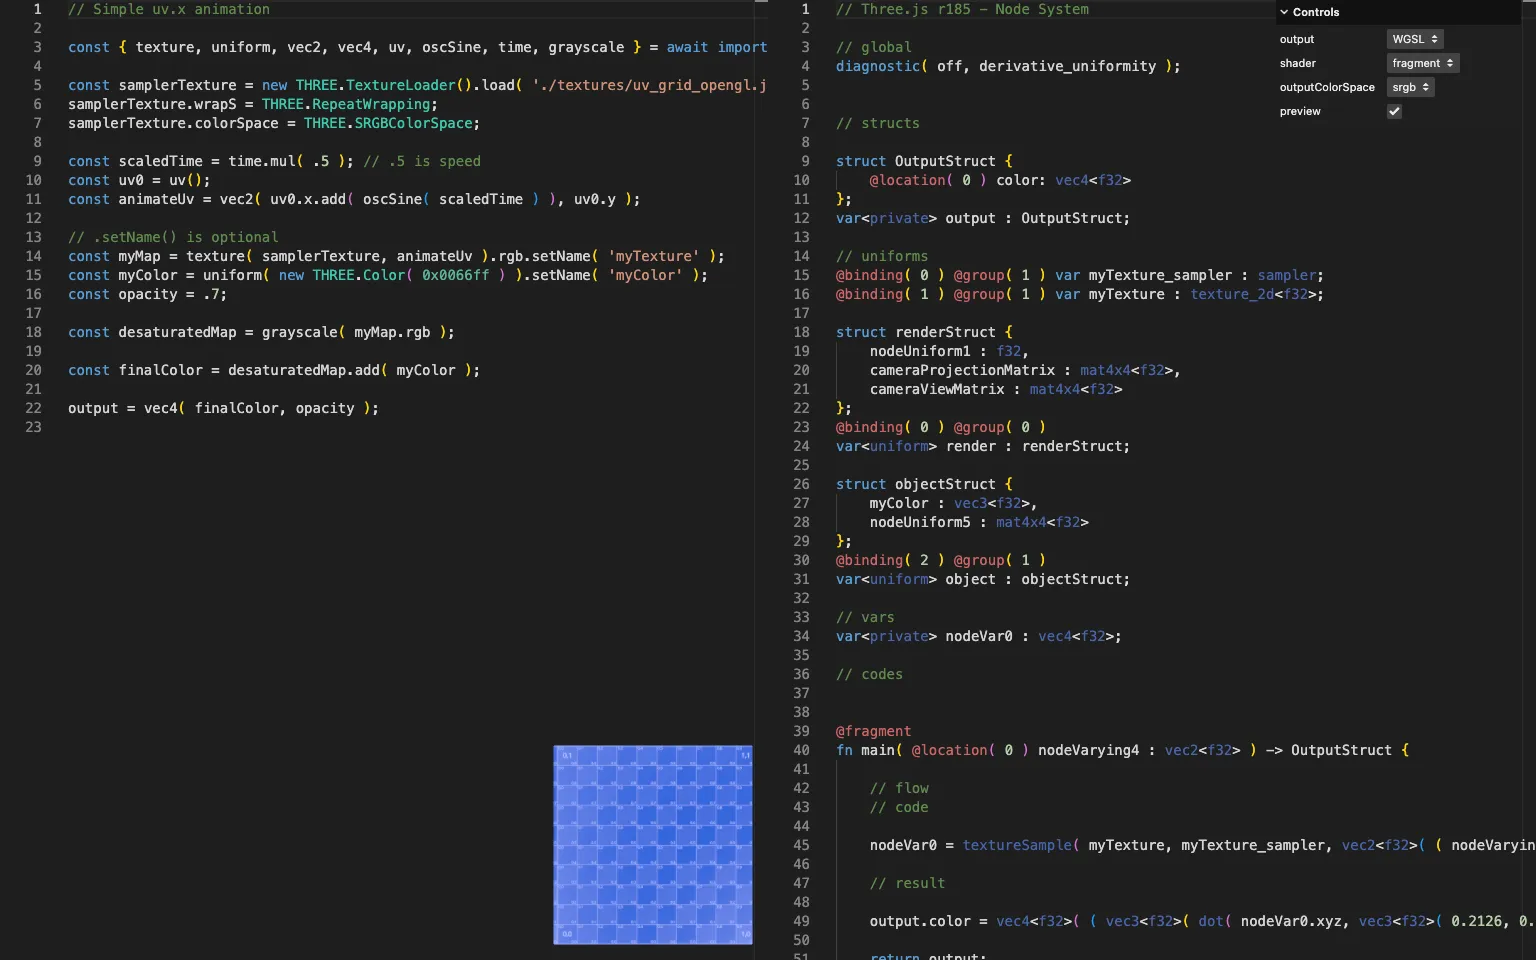
https://threejs.org/examples/webgpu_tsl_editor.html
On the left, we can write some TSL, and on the right, we can see the corresponding shader program. We can choose between WGSL and GLSL, fragment and vertex.
While it’s limited, it’s a good way to quickly test how TSL builds the program from the node.
Let’s try something:
const { float, int, add } = await import( 'three/tsl' );

const foo = float(1)
const bar = int(2.8)
output = add(bar, foo)
TSL converted 2.8 to 3 because bar is an integer, but then converted back to a float because that’s what fragColor is expecting since it’s a vec4().
Now try to invert foo and bar in the add():
const { float, int, add } = await import( 'three/tsl' );

const foo = float(1)
const bar = int(2.8)
output = add(foo, bar)
We get a different result.
Since foo is a float and was first in the addition, TSL converted bar to a float, and there was no need to convert the result of the addition to a float.
Now try the following:
const { add, rand, uv } = await import( 'three/tsl' );

output = add(rand(uv()), rand(uv()))
The whole rand(uv()) was built twice.
Now with this:
const { add, rand, uv } = await import( 'three/tsl' );

const test = rand(uv())
output = add(test, test)
The instructions corresponding to the rand() was saved in a variable, and used twice.
Whenever you have a doubt, it’s good practice to test in the Editor.
Transpiler
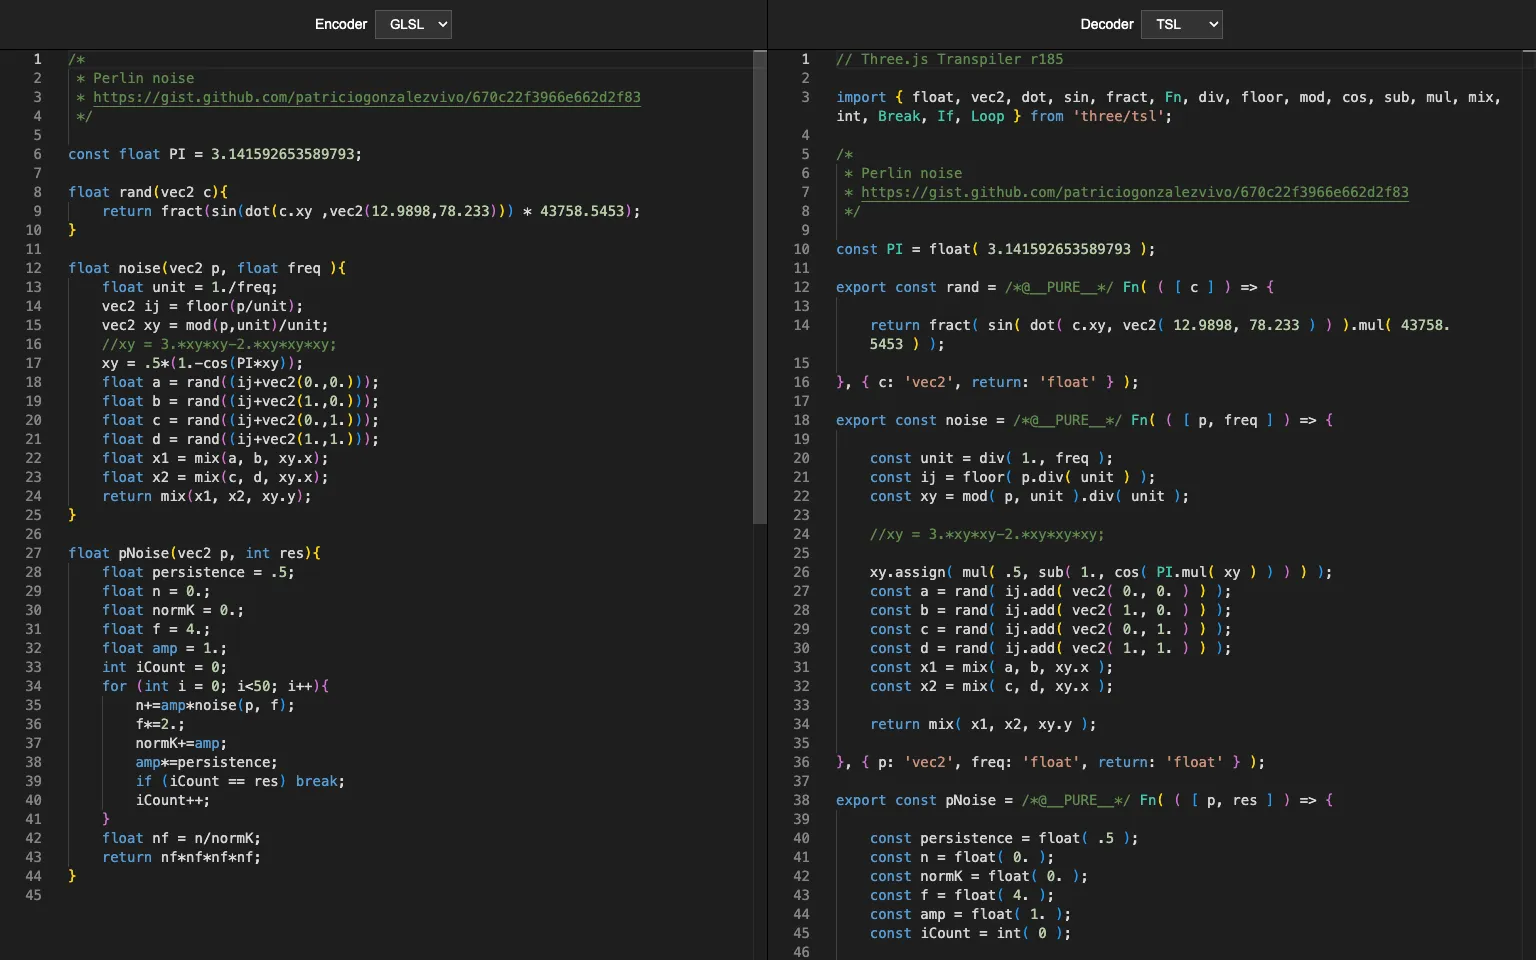
https://threejs.org/examples/webgpu_tsl_transpiler.html
When you have big GLSL shader functions, typically from old projects or something you found somewhere, you could convert them yourself, or use the Transpiler.
Give it a try with some of those noises we used in previous lessons.
While the Transpiler works most of the time, sometimes it makes mistakes. Whenever this happens, don’t hesitate to report it in the Three.js GitHub issues.
TSL Graph
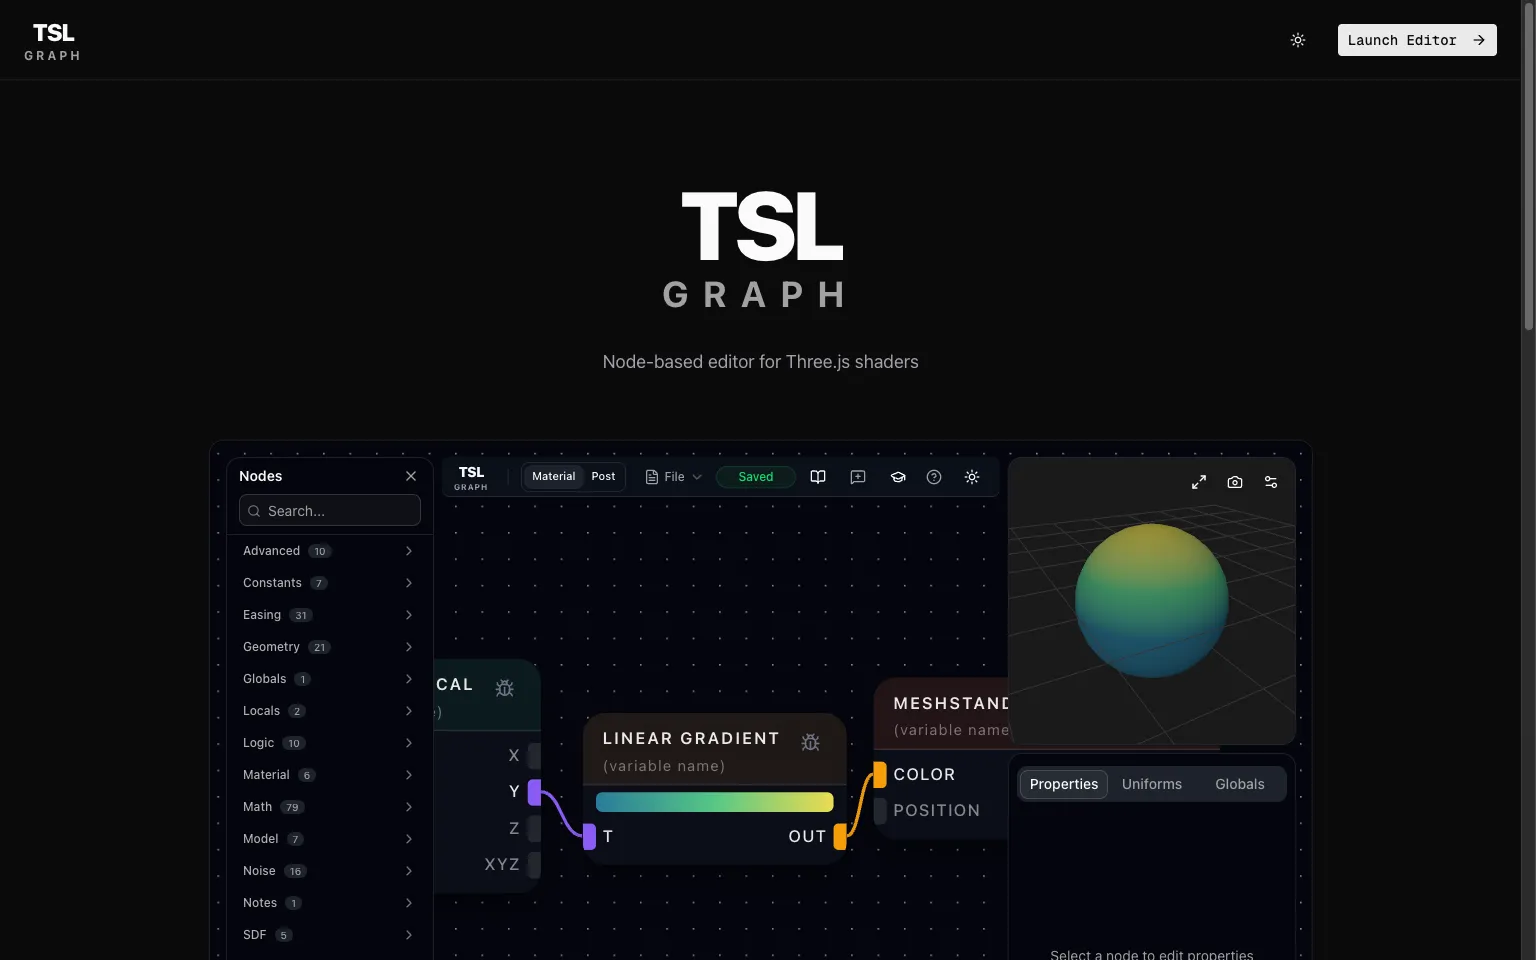
In the previous lesson, I showed you graph versions of the TSL nodes:
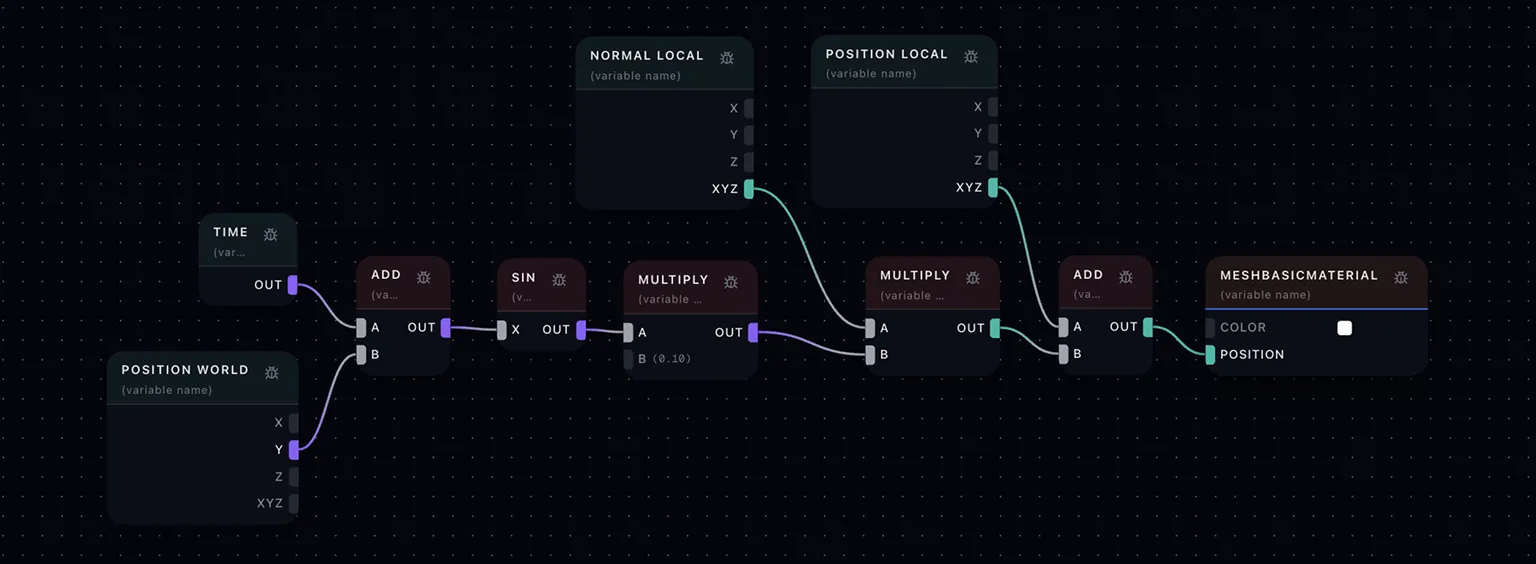
The screenshots came from the TSL Graph website, and it’s exactly what you can expect from the name.
Add nodes visually, connect them, enjoy the result.
It’s very intuitive, and visual learners will appreciate it.
TSL Graph is developed by Bhushan Wagh, and he is actively working on it, so expect improvements in the near future. You can check his X account for updates.
Internal tools 08:59
Now for the tools that we can use directly in our code.
How to use it 🤔
- Download the Starter pack or Final project
- Unzip it
- Open your terminal and go to the unzip folder
-
Run
npm installto install dependencies
(if your terminal warns you about vulnerabilities, ignore it) -
Run
npm run devto launch the local server
(project should open on your default browser automatically) - Start coding
- The JS is located in src/script.js
- The HTML is located in src/index.html
- The CSS is located in src/style.css