SPACEto play / pauseARROW RIGHTorLto go forwardARROW LEFTorJto go backwardARROW UPto increase volumeARROW DOWNto decrease volumeFto toggle fullscreenMto toggle mute0 to 9to go to the corresponding part of the videoSHIFT+,to decrease playback speedSHIFT+.or;to increase playback speed
Shortcuts ⌨️
Unlock content 🔓
To get access to 93 hours of video, a members-only Discord server, subtitles, lesson resources, future updates and much more join us for only $95!
Want to learn more? 👋
That's the end of the free part of this lesson
WebGPU & TSL Course
new
$45
VAT incl.
- 21 lessons · 24 hours of video
- Quizzes · Certificate
- Members-only Discord server · Future updates
WebGPU & TSL
Chapter 01 — Fundamentals
02. Node Materials
Introduction 00:00
In the previous lesson we set up our Three.js project to run with WebGPU and TSL. And while we had a glimpse of what those nodes look like, it’s time to learn what TSL is really about.
The goal of this lesson and the following ones is to cover the fundamentals of TSL. We’ll discover many techniques and features, and unless you are built differently, you won’t retain all the knowledge. Don’t worry, it’s all part of the process. First, we cover most of what there is to know, then we practice by building fun experiences to consolidate it.
Try to remember as much as possible, maybe stray a little from the lesson to make a happy accident, and enjoy the power of TSL.
Setup 01:00
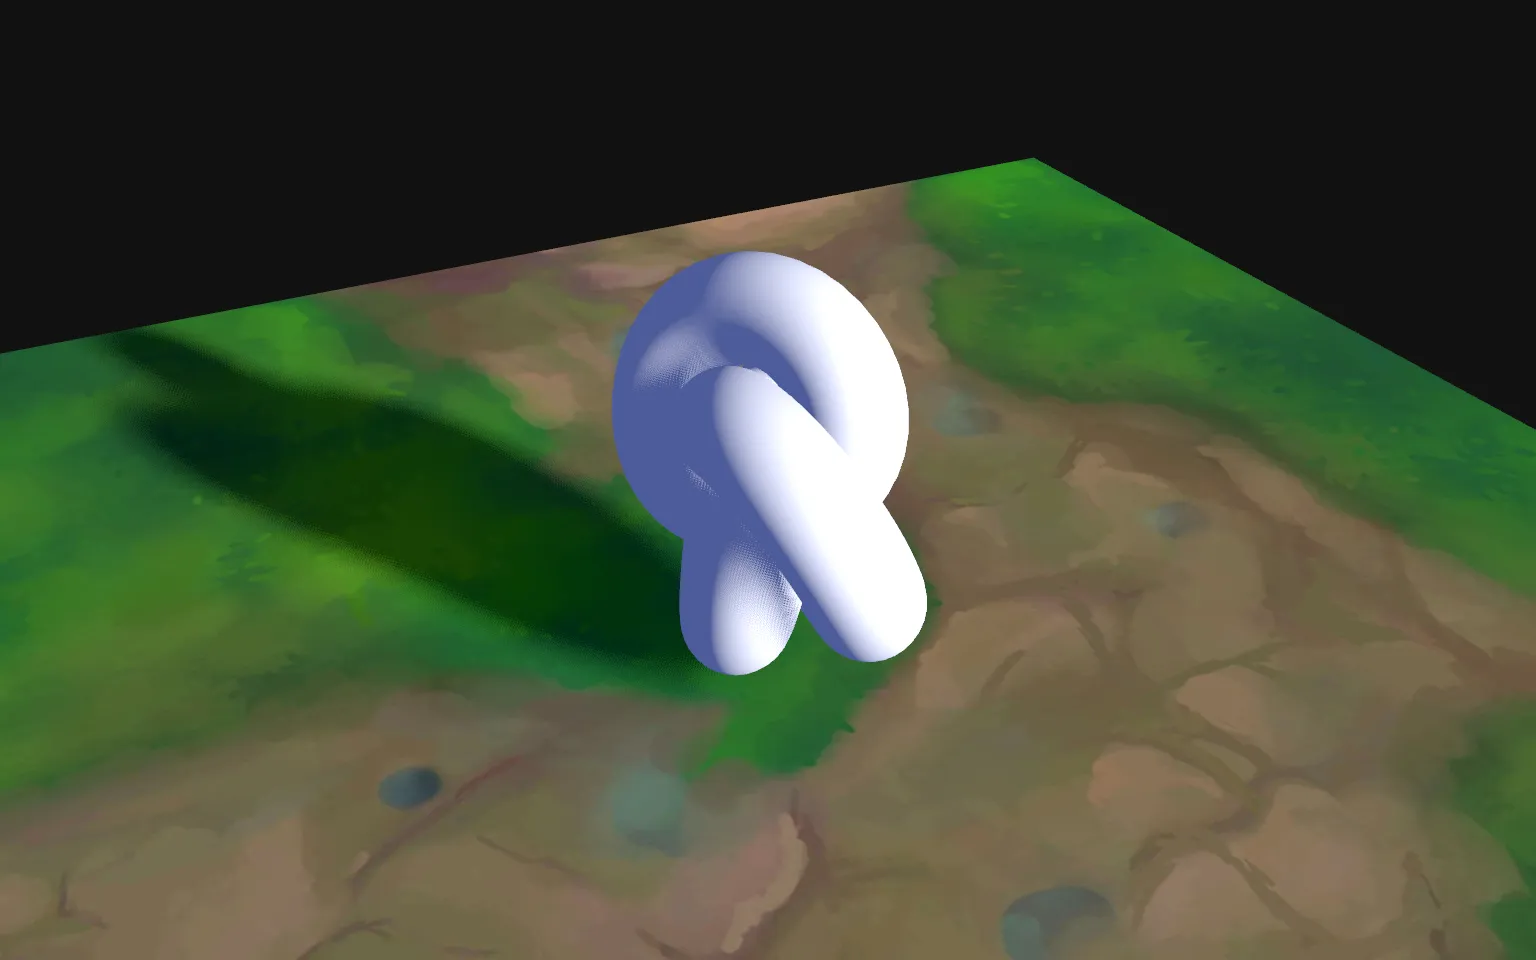
The starter is directly taken from the previous lesson, and already contains the following:
OrbitControlsto rotate around- A floor
- A torus knot ready to receive some cool shaders
- Running the
WebGPURenderer - Some lighting with shadows
From Material to NodeMaterial 01:23
When using the WebGPURenderer, all the Three.js materials now rely on the nodes system. But the default materials such as MeshStandardMaterial don’t expose their nodes.
We can still use those materials, and they work for basic usage, but if we want to enhance them, we need to use the “Node” versions.
To use the Node version of a material, all we need to do is replace Material with NodeMaterial, so MeshStandardMaterial becomes MeshStandardNodeMaterial.
In the Torus Knot section, replace the MeshStandardMaterial with MeshStandardNodeMaterial:
const material = new THREE.MeshStandardNodeMaterial()
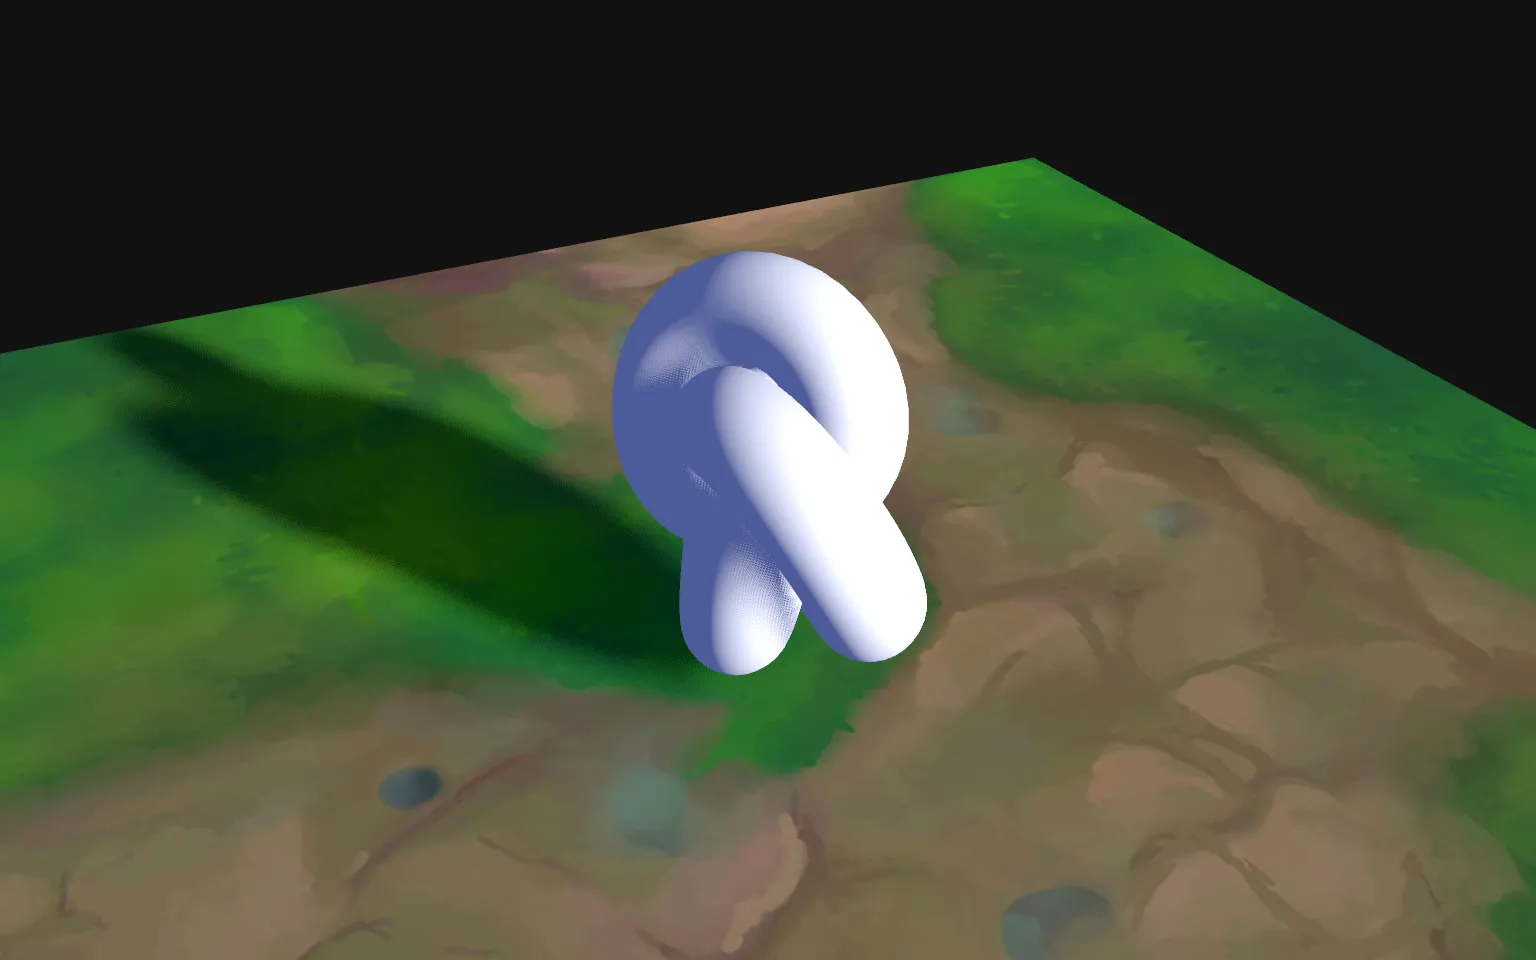
We get the same result, and all the properties of the MeshStandardMaterial are working.
☝
While basic material nodes are not exposed, you can actually tweak them without changing to the Node version. It works, but it’s not recommended, and it might result in bugs.
Let’s try some properties, just to make sure of that.
Add the color, the metalness, and the roughness on the MeshStandardNodeMaterial:
const material = new THREE.MeshStandardNodeMaterial({
    color: 0xff0000,
    metalness: 0.5,
    roughness: 0.25
})
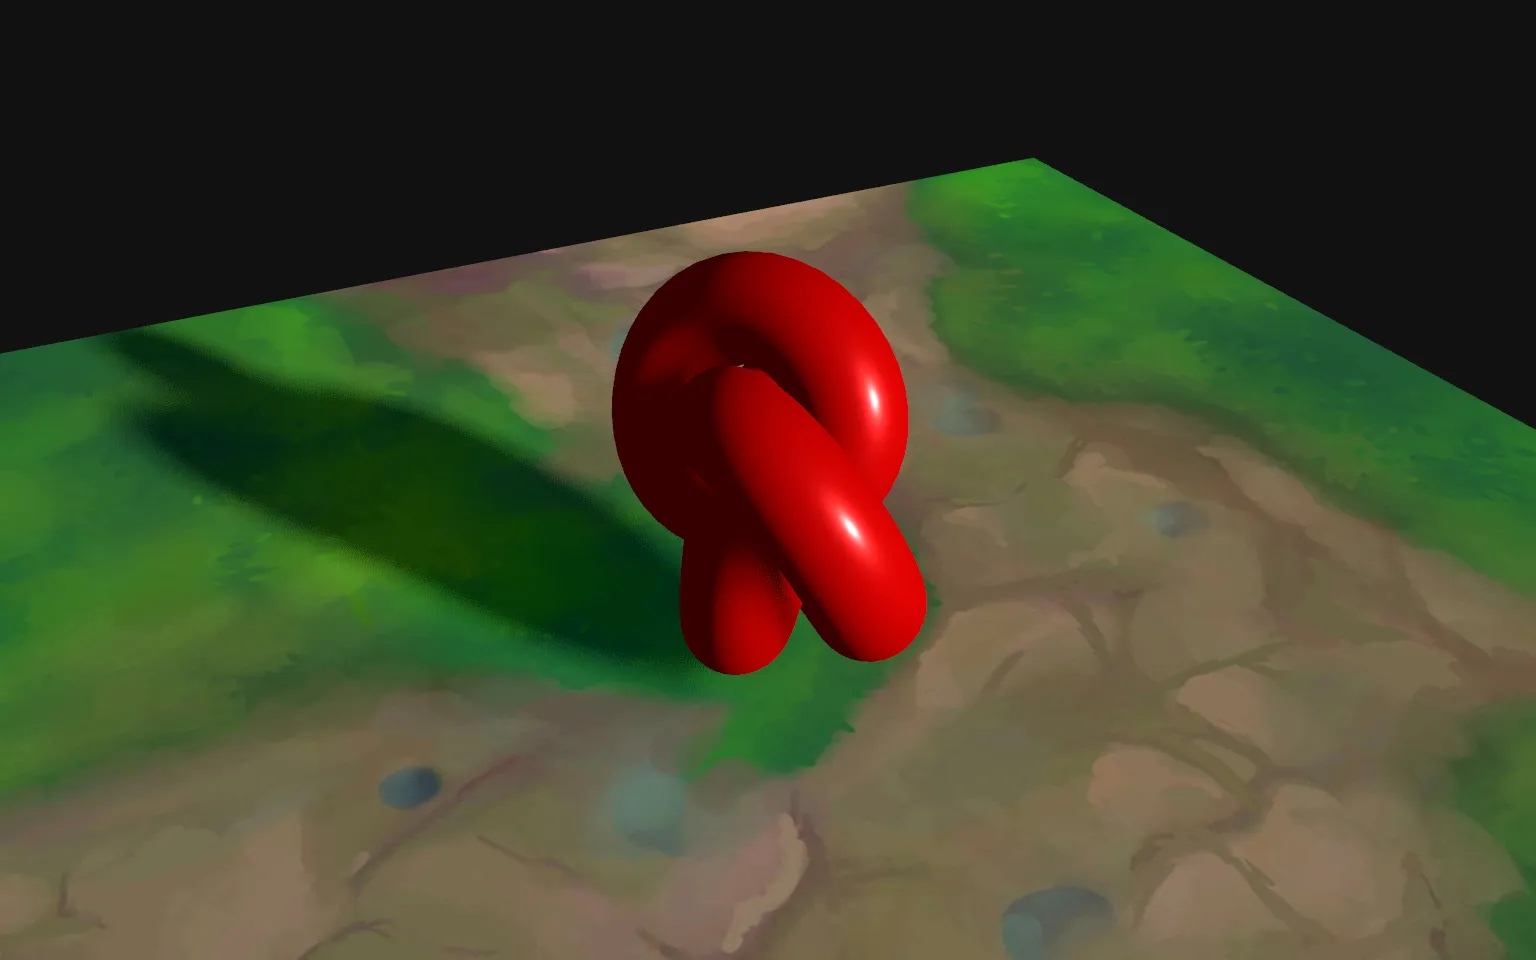
This means that the original MeshStandardMaterial documentation is still valid, and in addition, we can check the MeshStandardNodeMaterial for the newly exposed nodes.
With that MeshStandardNodeMaterial, we are ready to write our first TSL nodes.
First TSL shader 04:43
Let’s do some doodling, just to get started and have fun. We’ll use those exposed nodes I’ve been teasing you about for a while.
How to use it 🤔
- Download the Starter pack or Final project
- Unzip it
- Open your terminal and go to the unzip folder
-
Run
npm installto install dependencies
(if your terminal warns you about vulnerabilities, ignore it) -
Run
npm run devto launch the local server
(project should open on your default browser automatically) - Start coding
- The JS is located in src/script.js
- The HTML is located in src/index.html
- The CSS is located in src/style.css