SPACEto play / pauseARROW RIGHTorLto go forwardARROW LEFTorJto go backwardARROW UPto increase volumeARROW DOWNto decrease volumeFto toggle fullscreenMto toggle mute0 to 9to go to the corresponding part of the videoSHIFT+,to decrease playback speedSHIFT+.or;to increase playback speed
Shortcuts ⌨️
Unlock content 🔓
To get access to 93 hours of video, a members-only Discord server, subtitles, lesson resources, future updates and much more join us for only $95!
Want to learn more? 🤘
That's the end of the free part of this lesson
WebGPU & TSL Course
new
$45
VAT incl.
- 21 lessons · 24 hours of video
- Quizzes · Certificate
- Members-only Discord server · Future updates
WebGPU & TSL
Chapter 02 — Advanced Projects
19. Sphere Particles Physics
Introduction 00:00
Now that you’re starting to understand the power of compute, let’s push it even further and use it to do physics on the GPU.
One of the simplest physics bodies in 2D is the circle. And in 3D, you guessed it, it’s the sphere. So how about we put a few thousand spheres together, make them collide, and add some cool effects on top?
Until now, we’ve seen particles as billboarding quads, but we often use the term “particle” as an object that repeats, especially in other environments such as game engines. In this case, the particles are the spheres. Don’t be surprised if this term is used throughout the lesson.
For the physics, we’re going for a realistic simulation, but not accurate, and even less deterministic. The goal here is to make the physics believable, enjoyable, and tweakable. We won’t spend too much energy on details that are barely noticeable so that the lesson is digestible. As you’ll see, the way we will handle sphere physics is hard enough as it is.
☝
A deterministic physics always produces the same simulation result from the same initial conditions.
Setup 01:42
The starter already contains the following:
OrbitControlsto rotate around- The
WebGPURendererwith theRenderPipelineto add a bloom pass - An instance of the
Inspector - A dummy box, just to have something on screen
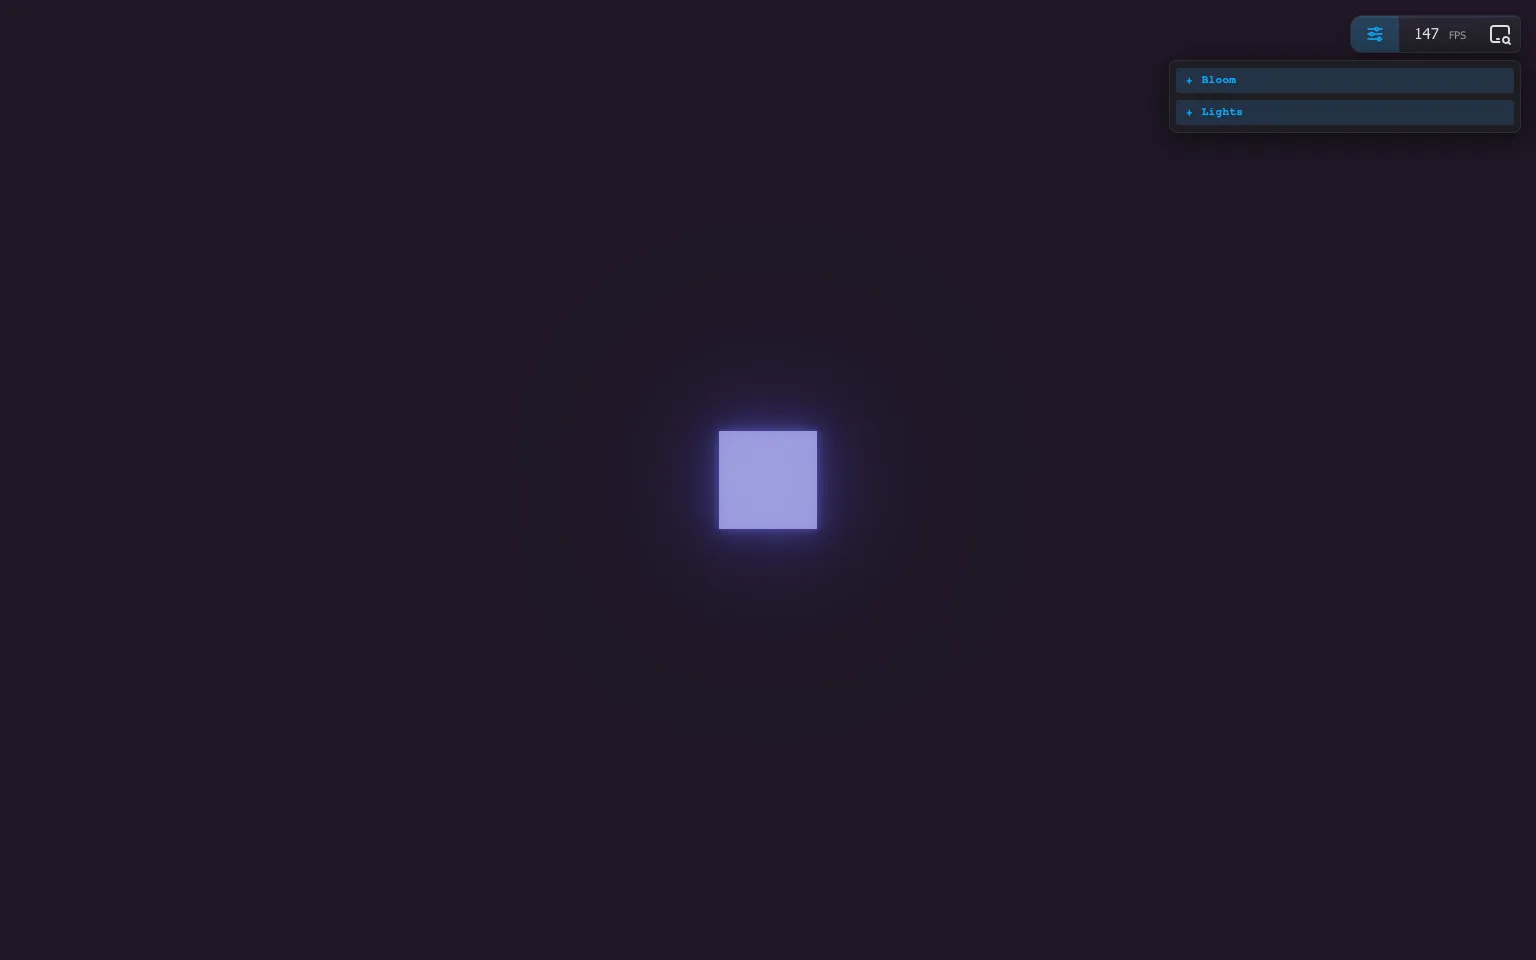
First particles 02:06
Let’s start right away with our spheres. As always, we’ll use instancing to render them all in one draw call.
First, create a Spheres particles section right before the Animate section:
/**
 * Spheres particles
 */
Create a count variable and assign it 10:
const count = 10For the geometry, we’ll use the IcosahedronGeometry class. Unlike the SphereGeometry (also called UV sphere), the triangles are spread more homogeneously. The main downside is that we lose the UV, but we won’t need it in this case.
Feel free to replace the IcosahedronGeometry with any other geometry you like, as long as it’s round-ish to match the physics.
Create a geometry variable, and assign an instance of IcosahedronGeometry with a radius of 1 and detail to 2:
// Geometry
const geometry = new THREE.IcosahedronGeometry(1, 2)
Since we’ll be tackling the frame rate limits, let’s save on performance wherever we can and use the cheapest material available. In our case, we do want light shading and shadows support, so let’s use the MeshLambertNodeMaterial.
Create a material variable and assign an instance of MeshLambertNodeMaterial with the color set to white:
// Material
const material = new THREE.MeshLambertNodeMaterial({ color: 0xffffff })
Finally, the mesh. And here’s what we need:
- Cast shadow
- Receive shadow
- The
countproperty tocountso that we enable instancing - No frustum culling so that it’s always rendered
// Mesh
const mesh = new THREE.Mesh(geometry, material)
mesh.castShadow = true
mesh.receiveShadow = true
mesh.frustumCulled = false
mesh.count = count
scene.add(mesh)
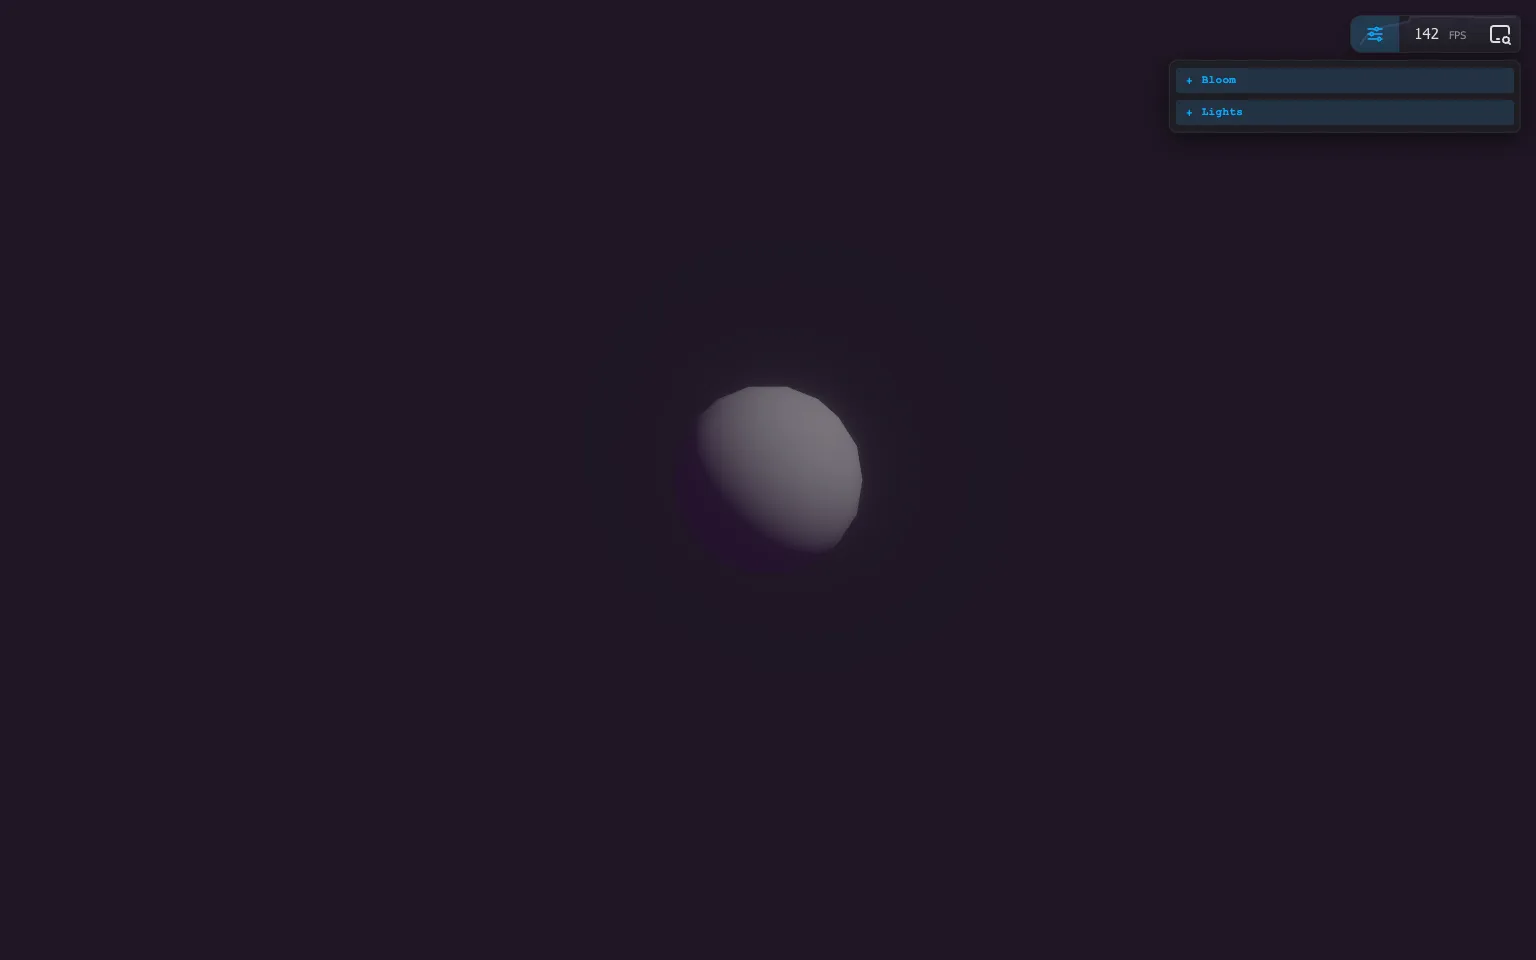
Here are 10 spheres on top of each other.
☝
We set frustumCulled to false because those particle spheres are the main attraction, and we expect them to always be visible. If you were to use this exercise in a different context where the camera can move away, you would need to set frustumCulled to true, but also update the bounding of the mesh, so that Three.js knows when to cull it or not.
We can remove the dummy cube:
/**
 * Dummy
 */
// const dummy = new THREE.Mesh(
//     new THREE.BoxGeometry(),
//     new THREE.MeshNormalMaterial()
// )
// scene.add(dummy)
The spheres look dark because the lights are dimmed. I’ve already made ambiance and color choices, but feel free to create your own mood once you’re done with the lesson.
Buffers 06:07
Since we want to animate the particles on the GPU, we need this special type of buffer named “storage” that we’ve seen in a previous lesson. And just like we did in the Anvil lesson to handle the sparkles, we need a buffer for the position, and a buffer for the velocity.
On each frame, we’ll update the velocity according to various factors: bouncing against other spheres, gravity toward the center of the scene, and the cursor effect. Then, still on each frame, we’ll apply the velocity to the position. Finally, we use the positions buffer to move the instances.
How to use it 🤔
- Download the Starter pack or Final project
- Unzip it
- Open your terminal and go to the unzip folder
-
Run
npm installto install dependencies
(if your terminal warns you about vulnerabilities, ignore it) -
Run
npm run devto launch the local server
(project should open on your default browser automatically) - Start coding
- The JS is located in src/script.js
- The HTML is located in src/index.html
- The CSS is located in src/style.css