SPACEto play / pauseARROW RIGHTorLto go forwardARROW LEFTorJto go backwardARROW UPto increase volumeARROW DOWNto decrease volumeFto toggle fullscreenMto toggle mute0 to 9to go to the corresponding part of the videoSHIFT+,to decrease playback speedSHIFT+.or;to increase playback speed
Three.js examples
Shortcuts ⌨️
Unlock content 🔓
To get access to 93 hours of video, a members-only Discord server, subtitles, lesson resources, future updates and much more join us for only $95!
Want to learn more? 🤘
That's the end of the free part of this lesson
WebGPU & TSL Course
new
$45
VAT incl.
- 21 lessons · 24 hours of video
- Quizzes · Certificate
- Members-only Discord server · Future updates
WebGPU & TSL
Chapter 02 — Advanced Projects
20. Stylized Nature Scene
Introduction 00:00
My favorite type of environment in gaming is stylized nature. As opposed to realistic, the idea with “stylized” is more design oriented, usually colorful, and often low poly. Which is also the opportunity to improve on performance. No need for a realistic algorithm to get the outgoing light just perfect, and no need for very high poly models with all kinds of high resolution textures.
In this lesson, we’ll focus on some components of a stylized nature scene:
- Terrain
- Grass
- Water
Each one is an opportunity to learn cool TSL techniques, but also more general rendering tricks.
One of the features we’ll use is only available on the WebGPU backend. More about this in due time.
Setup 02:20
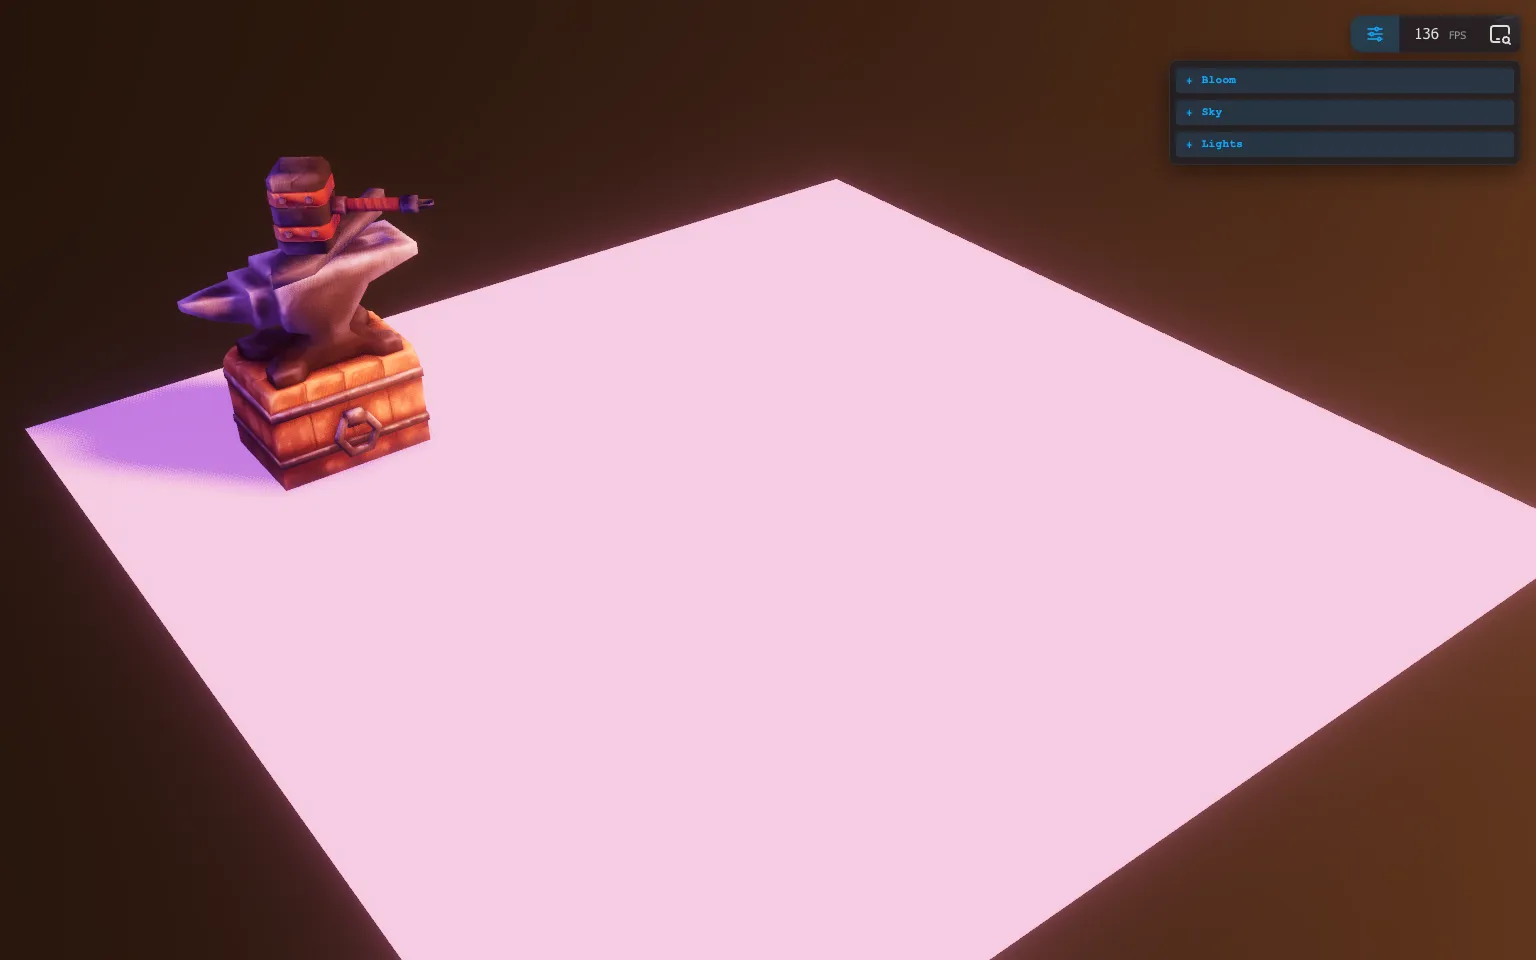
The starter already contains the following:
OrbitControlsto rotate around- The
WebGPURendererwith theRenderPipelineto add a bloom pass - An instance of the
Inspector - The usual anvil and hammer, just for decoration
- A
SkyMeshto have something to look at in the background - A plane ready to receive the floor texture
- Some textures in the
static/folder
Floor 03:05
Let’s start with the easiest part, but not one without surprises, the floor.
The floor textures are already available in the static/ folder.
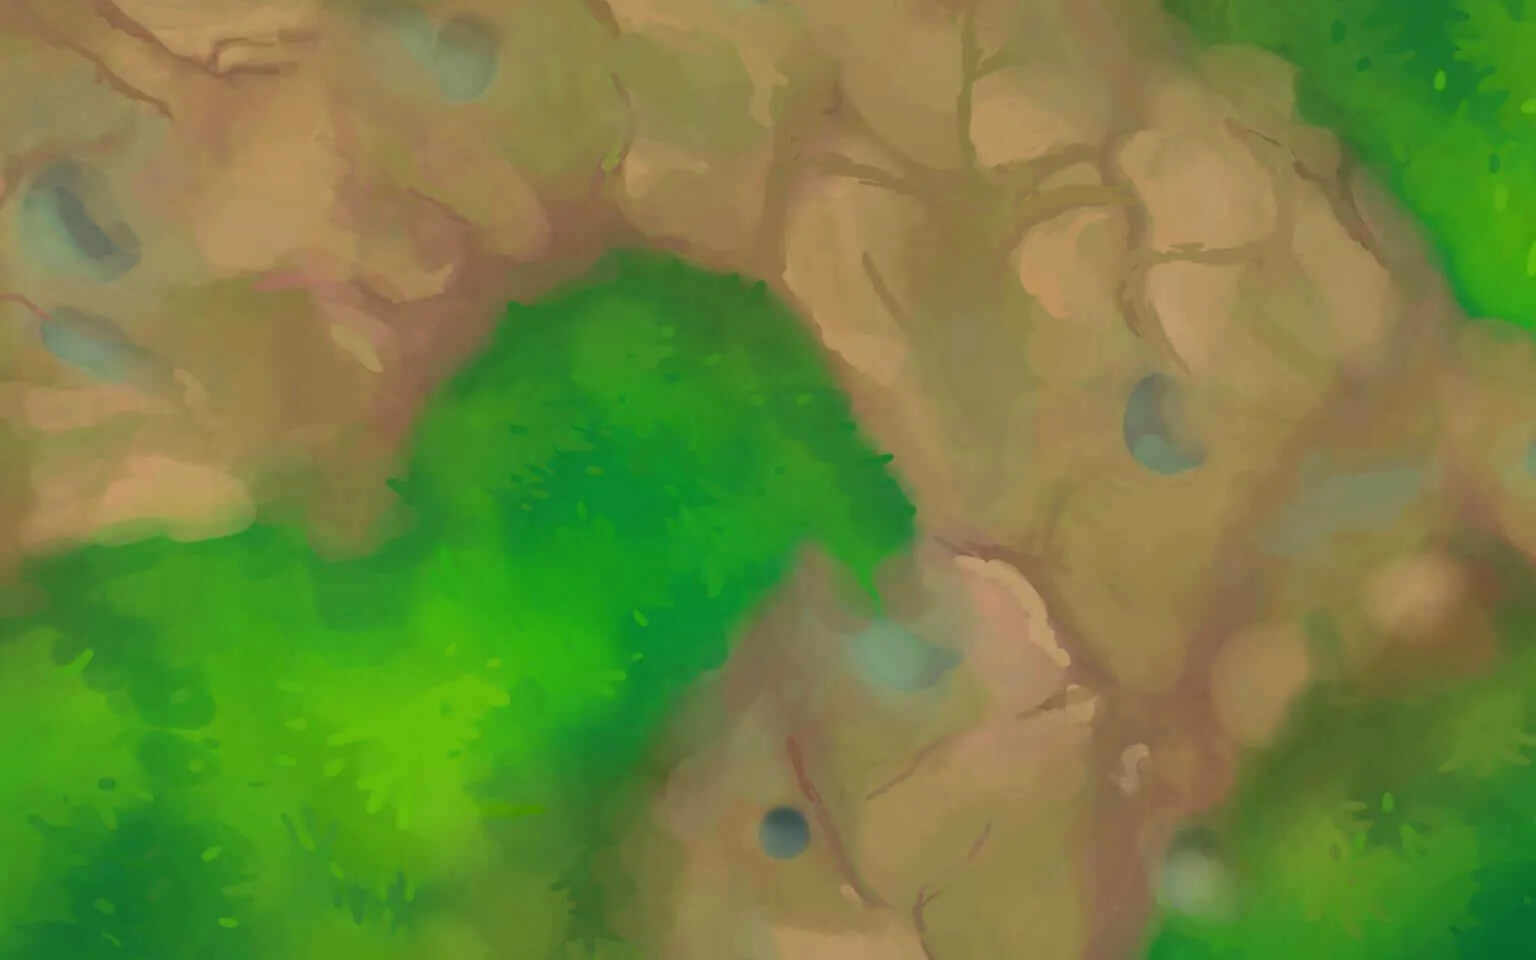
floor-color.jpg which is a painted floor mixing grass, dirt and some rocks:
floor-data.png which contains data in the r and g channels:
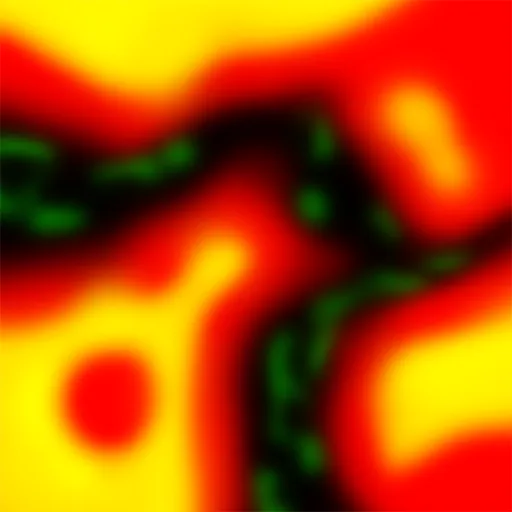
We won’t cover the painting of those textures in this lesson, but if you are curious, I used the paint tools in Photoshop and Blender.
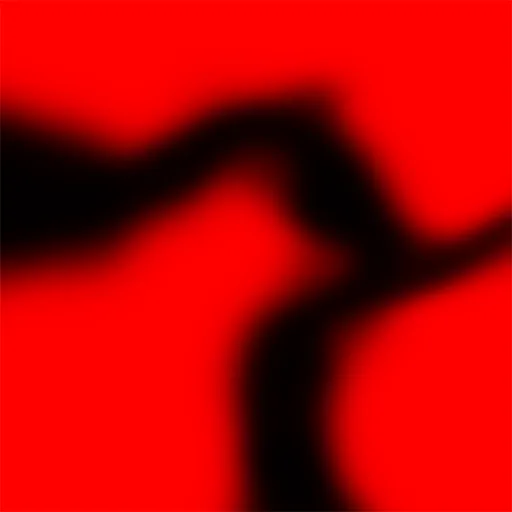
For the floor-data.png, the red channel contains the elevation:
And the green channel contains grass areas:
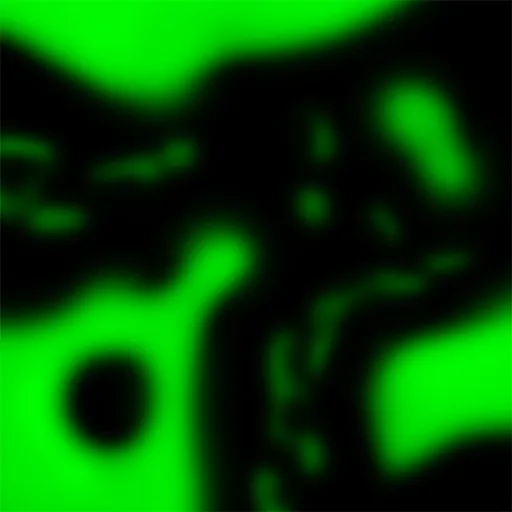
The blue and alpha channels are not used.
Let’s start by loading those textures.
Before the Floor section, use the textureLoader to load the './floor-data.png' file and use loadAsync() and await so that the script holds until the promises are resolved (textures loaded):
/**
 * Textures
 */
const terrainDataTexture = await textureLoader.loadAsync('./floor-data.png')
☝
We are using await because we’ll need the textures loaded and ready right from the beginning as you’ll see later. We could have used traditional loading, but that would have meant putting all the logic in callback functions, making the lesson unnecessarily complex.
And do the same for the './floor-color.jpg', this time with a colorSpace set to THREE.SRGBColorSpace:
const terrainDataTexture = // ...
const terrainColorTexture = await textureLoader.loadAsync('./floor-color.jpg')
terrainColorTexture.colorSpace = THREE.SRGBColorSpace
In the Floor section, use the terrainColorTexture on the material’s map:
const material = new THREE.MeshStandardNodeMaterial({
    map: terrainColorTexture
})
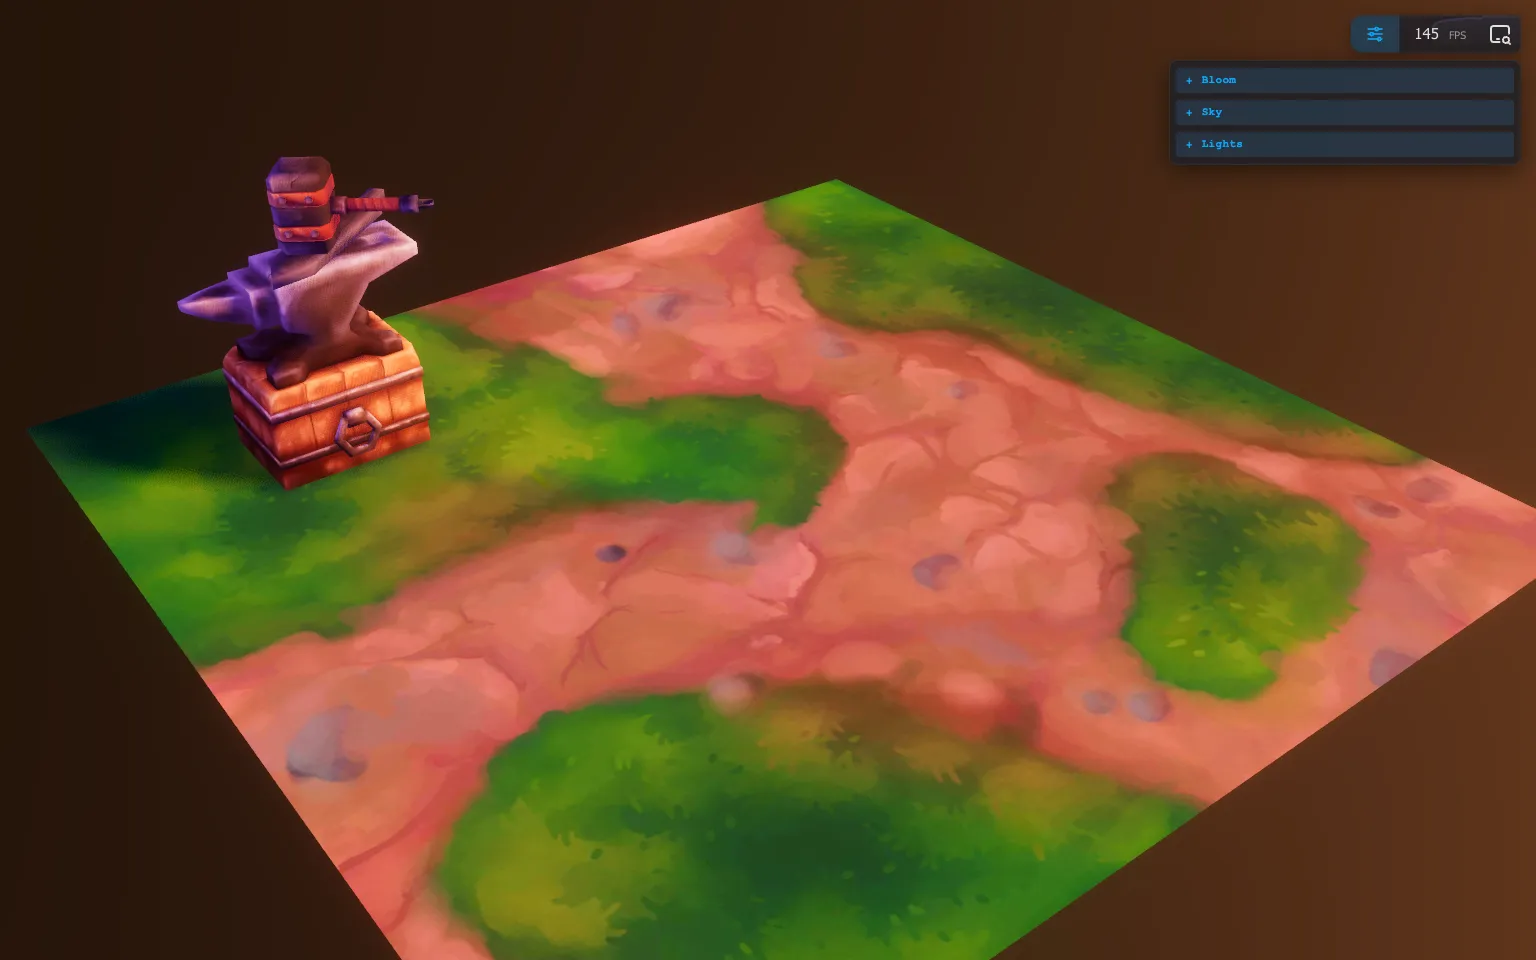
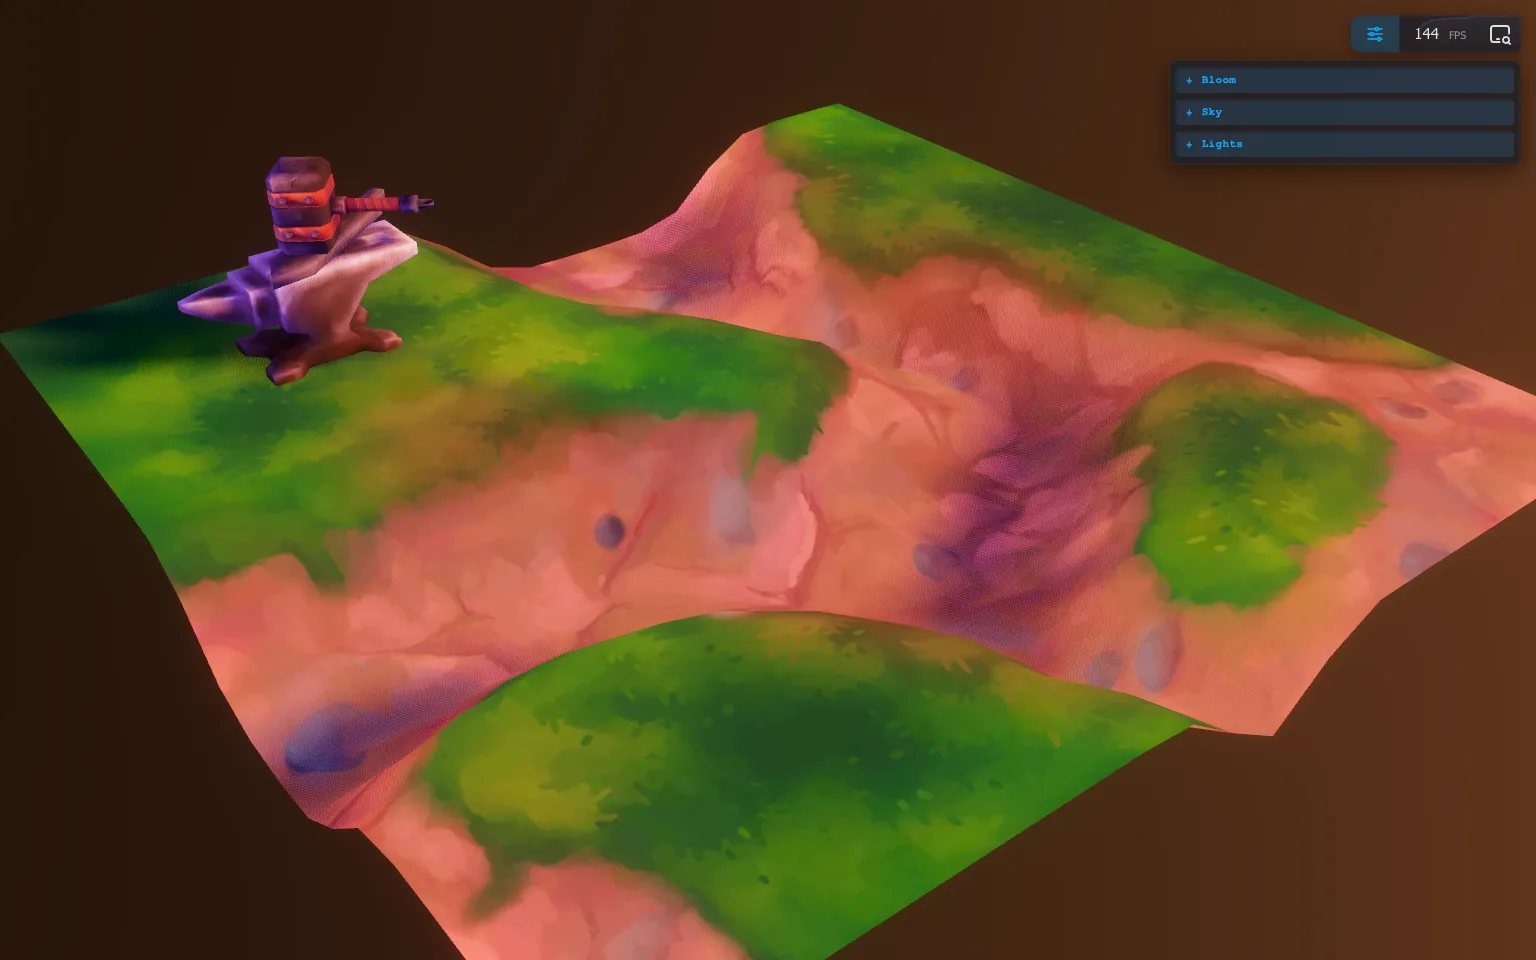
And use the terrainDataTexture on the material’s displacementMap:
const material = new THREE.MeshStandardNodeMaterial({
    map: terrainColorTexture,
    displacementMap: terrainDataTexture
})
☝
displacementMap expects the elevation data to be stored in the red channel. What a coincidence!
In the Anvil section, move the anvil up so that it sticks to the floor:
const anvil = await gltfLoader.loadAsync('./anvil.glb')
anvil.scene.position.x = -3
anvil.scene.position.y = 1
anvil.scene.position.z = 2.8
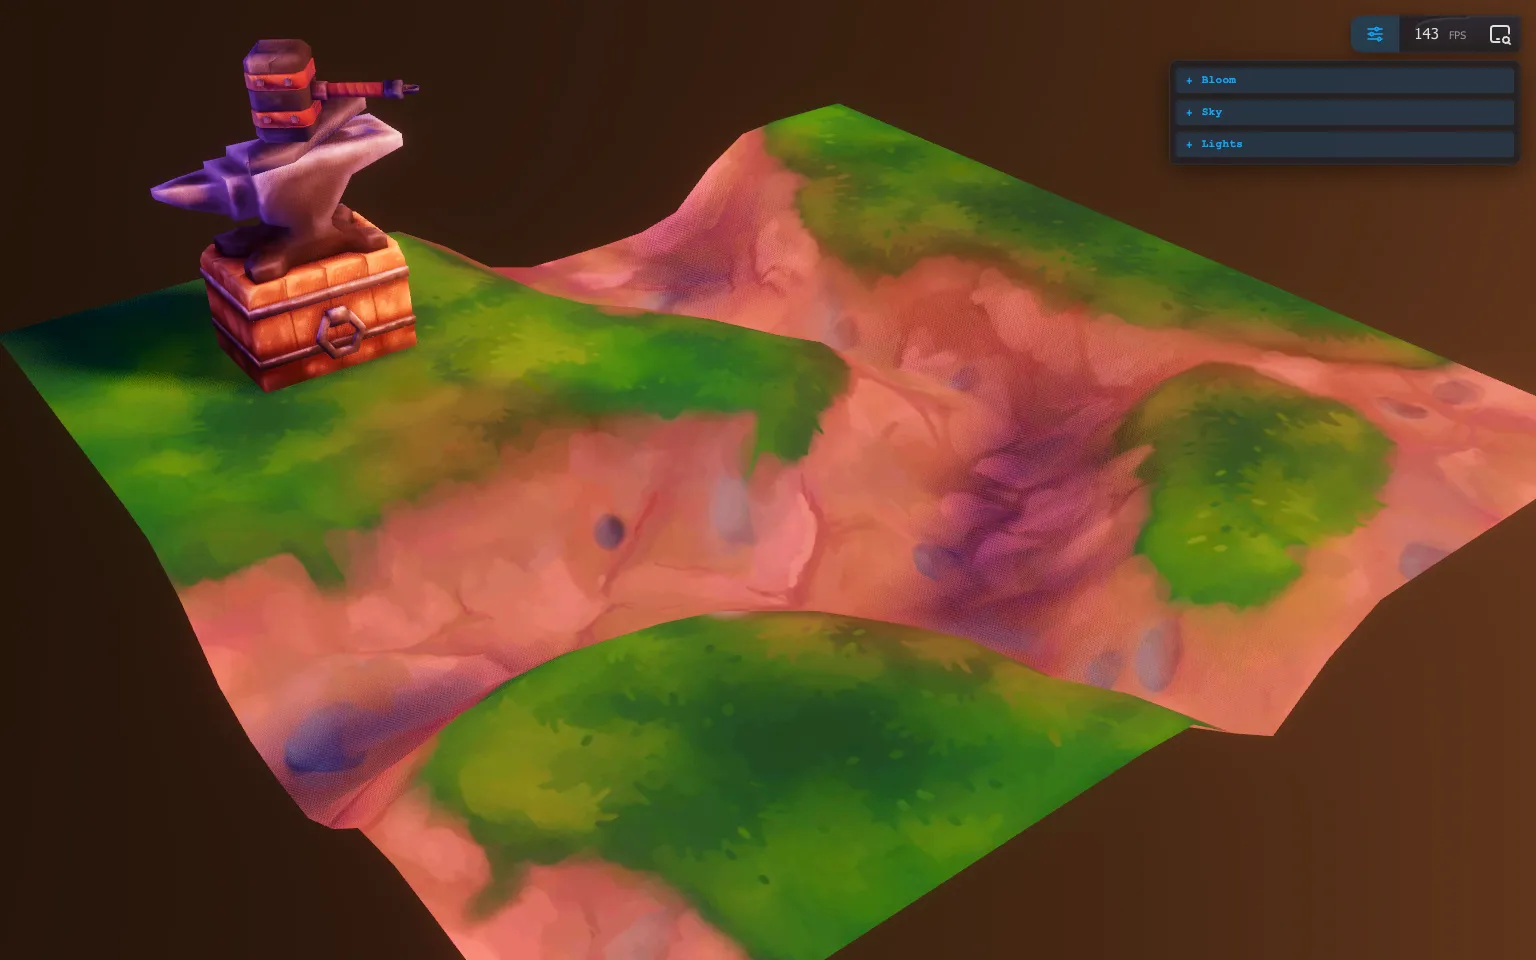
☝
The default displacement distance is 1 which is perfect in our case. You can change it with displacementScale.
Compute normal
How do you like the result? Noticing anything wrong?
Unfortunately, the shadows aren’t working properly. Three.js does move the vertices according to the displacementMap, but the normals aren’t being updated.
And if you’ve been following the previous lessons, you would probably go for the neighbors technique, which is a perfectly valid solution. But this time we’ll do things differently and compute a normal map from the elevation map.
How to use it 🤔
- Download the Starter pack or Final project
- Unzip it
- Open your terminal and go to the unzip folder
-
Run
npm installto install dependencies
(if your terminal warns you about vulnerabilities, ignore it) -
Run
npm run devto launch the local server
(project should open on your default browser automatically) - Start coding
- The JS is located in src/script.js
- The HTML is located in src/index.html
- The CSS is located in src/style.css